Winter Photography Packing List: Essential Gear, Clothing & Cold Weather Tips
The first time I photographed in Lapland in January, I made every rookie mistake in the book. I brought too little insulation, too few batteries, and I walked my camera straight from minus-20 temperatures into a warm hotel lobby without sealing it first. The condensation that formed inside the lens took two days to clear. That single mistake cost me two mornings of the Northern Lights.
Twenty years of winter photography across Iceland, Norway, Finland, Sweden, and beyond have taught me exactly what works and what fails when temperatures drop, snow blows sideways, and you are standing on a frozen lake at 2 am waiting for the aurora to fire up. This list reflects all of it.
Winter photography is one of the most rewarding things you can do with a camera. The light is extraordinary. The landscapes are unlike anything you find in summer. The Northern Lights are something you simply cannot understand until you are standing underneath them. But the cold is unforgiving if you are not prepared. Fingers that stop moving cannot press a shutter. Batteries that die in your first hour cannot be replaced by enthusiasm. Gear that fogs up from condensation cannot be fixed in the field.
This guide covers everything: how to layer for warmth and flexibility, how to protect your camera gear in extreme cold, the specific items that experienced winter photographers carry but most lists forget, and the destinations where all of this knowledge pays off. Whether you are heading to Iceland in December, chasing the Northern Lights in Lapland, or photographing the Lofoten Islands in March, this list is built for you.
Understanding Winter Photography Conditions
Before you pack a single item, understand what you are actually preparing for.
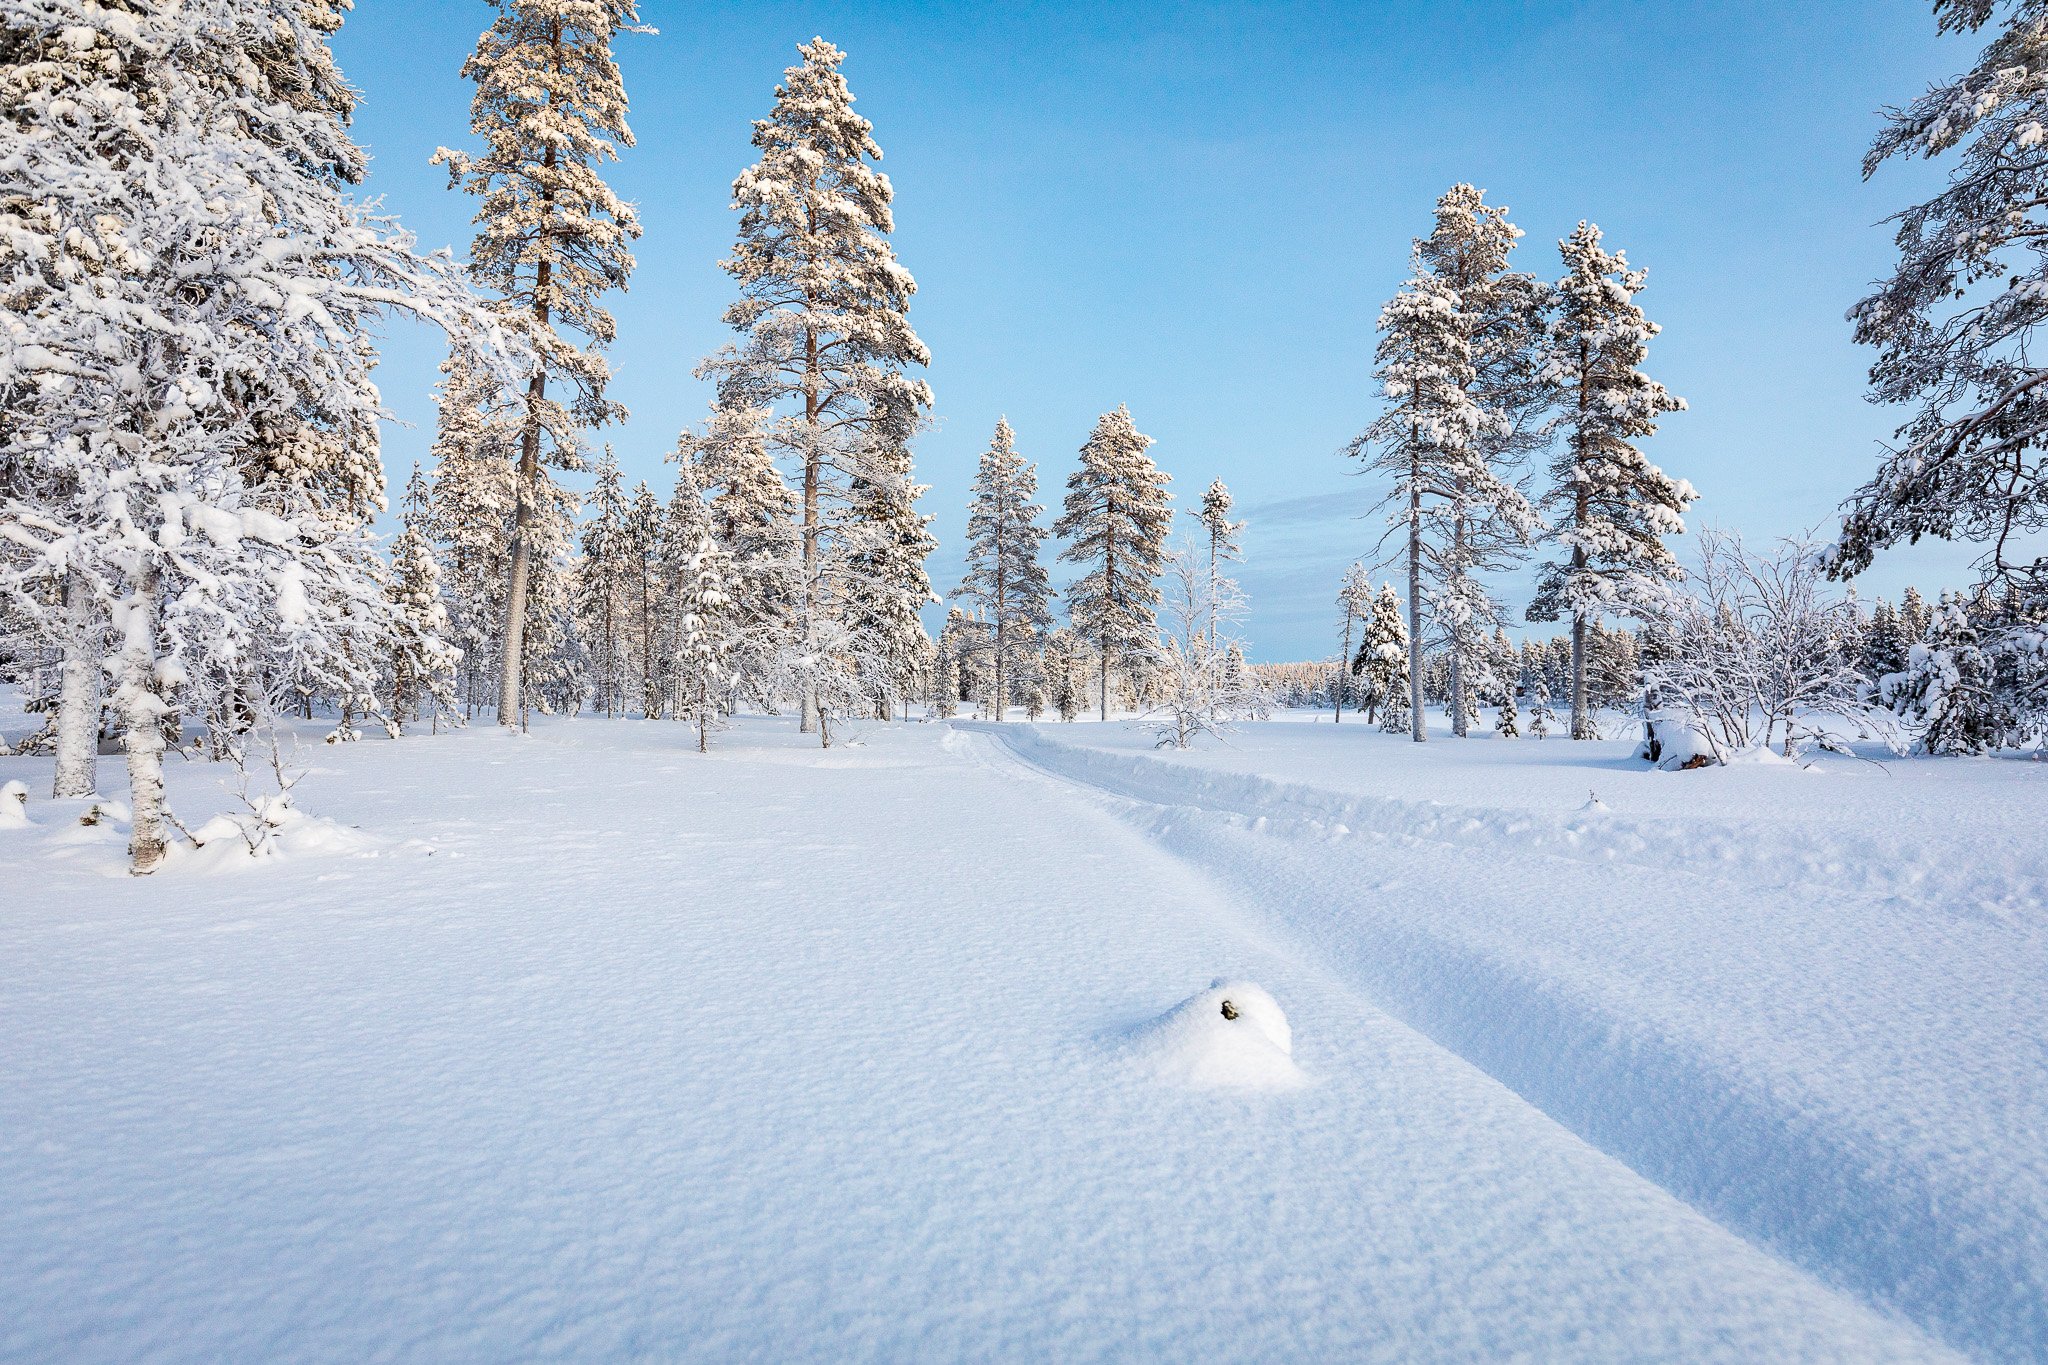
Temperature Range: Serious winter photography destinations run from 14°F to 32°F (-10°C to 0°C) on average. Lapland in January can drop to minus-22°F (-30°C) at night. Iceland in winter is rarely that cold, but the wind makes 28°F feel like minus-10°F. Wind chill is your real enemy, not air temperature alone.
Daylight: In Iceland in December, you get four to five hours of usable light per day. In Lapland above the Arctic Circle, you may get none at all during the polar night. Plan your shooting schedule around twilight and blue hour, which last longer at high latitudes and produce extraordinary light even without direct sun.
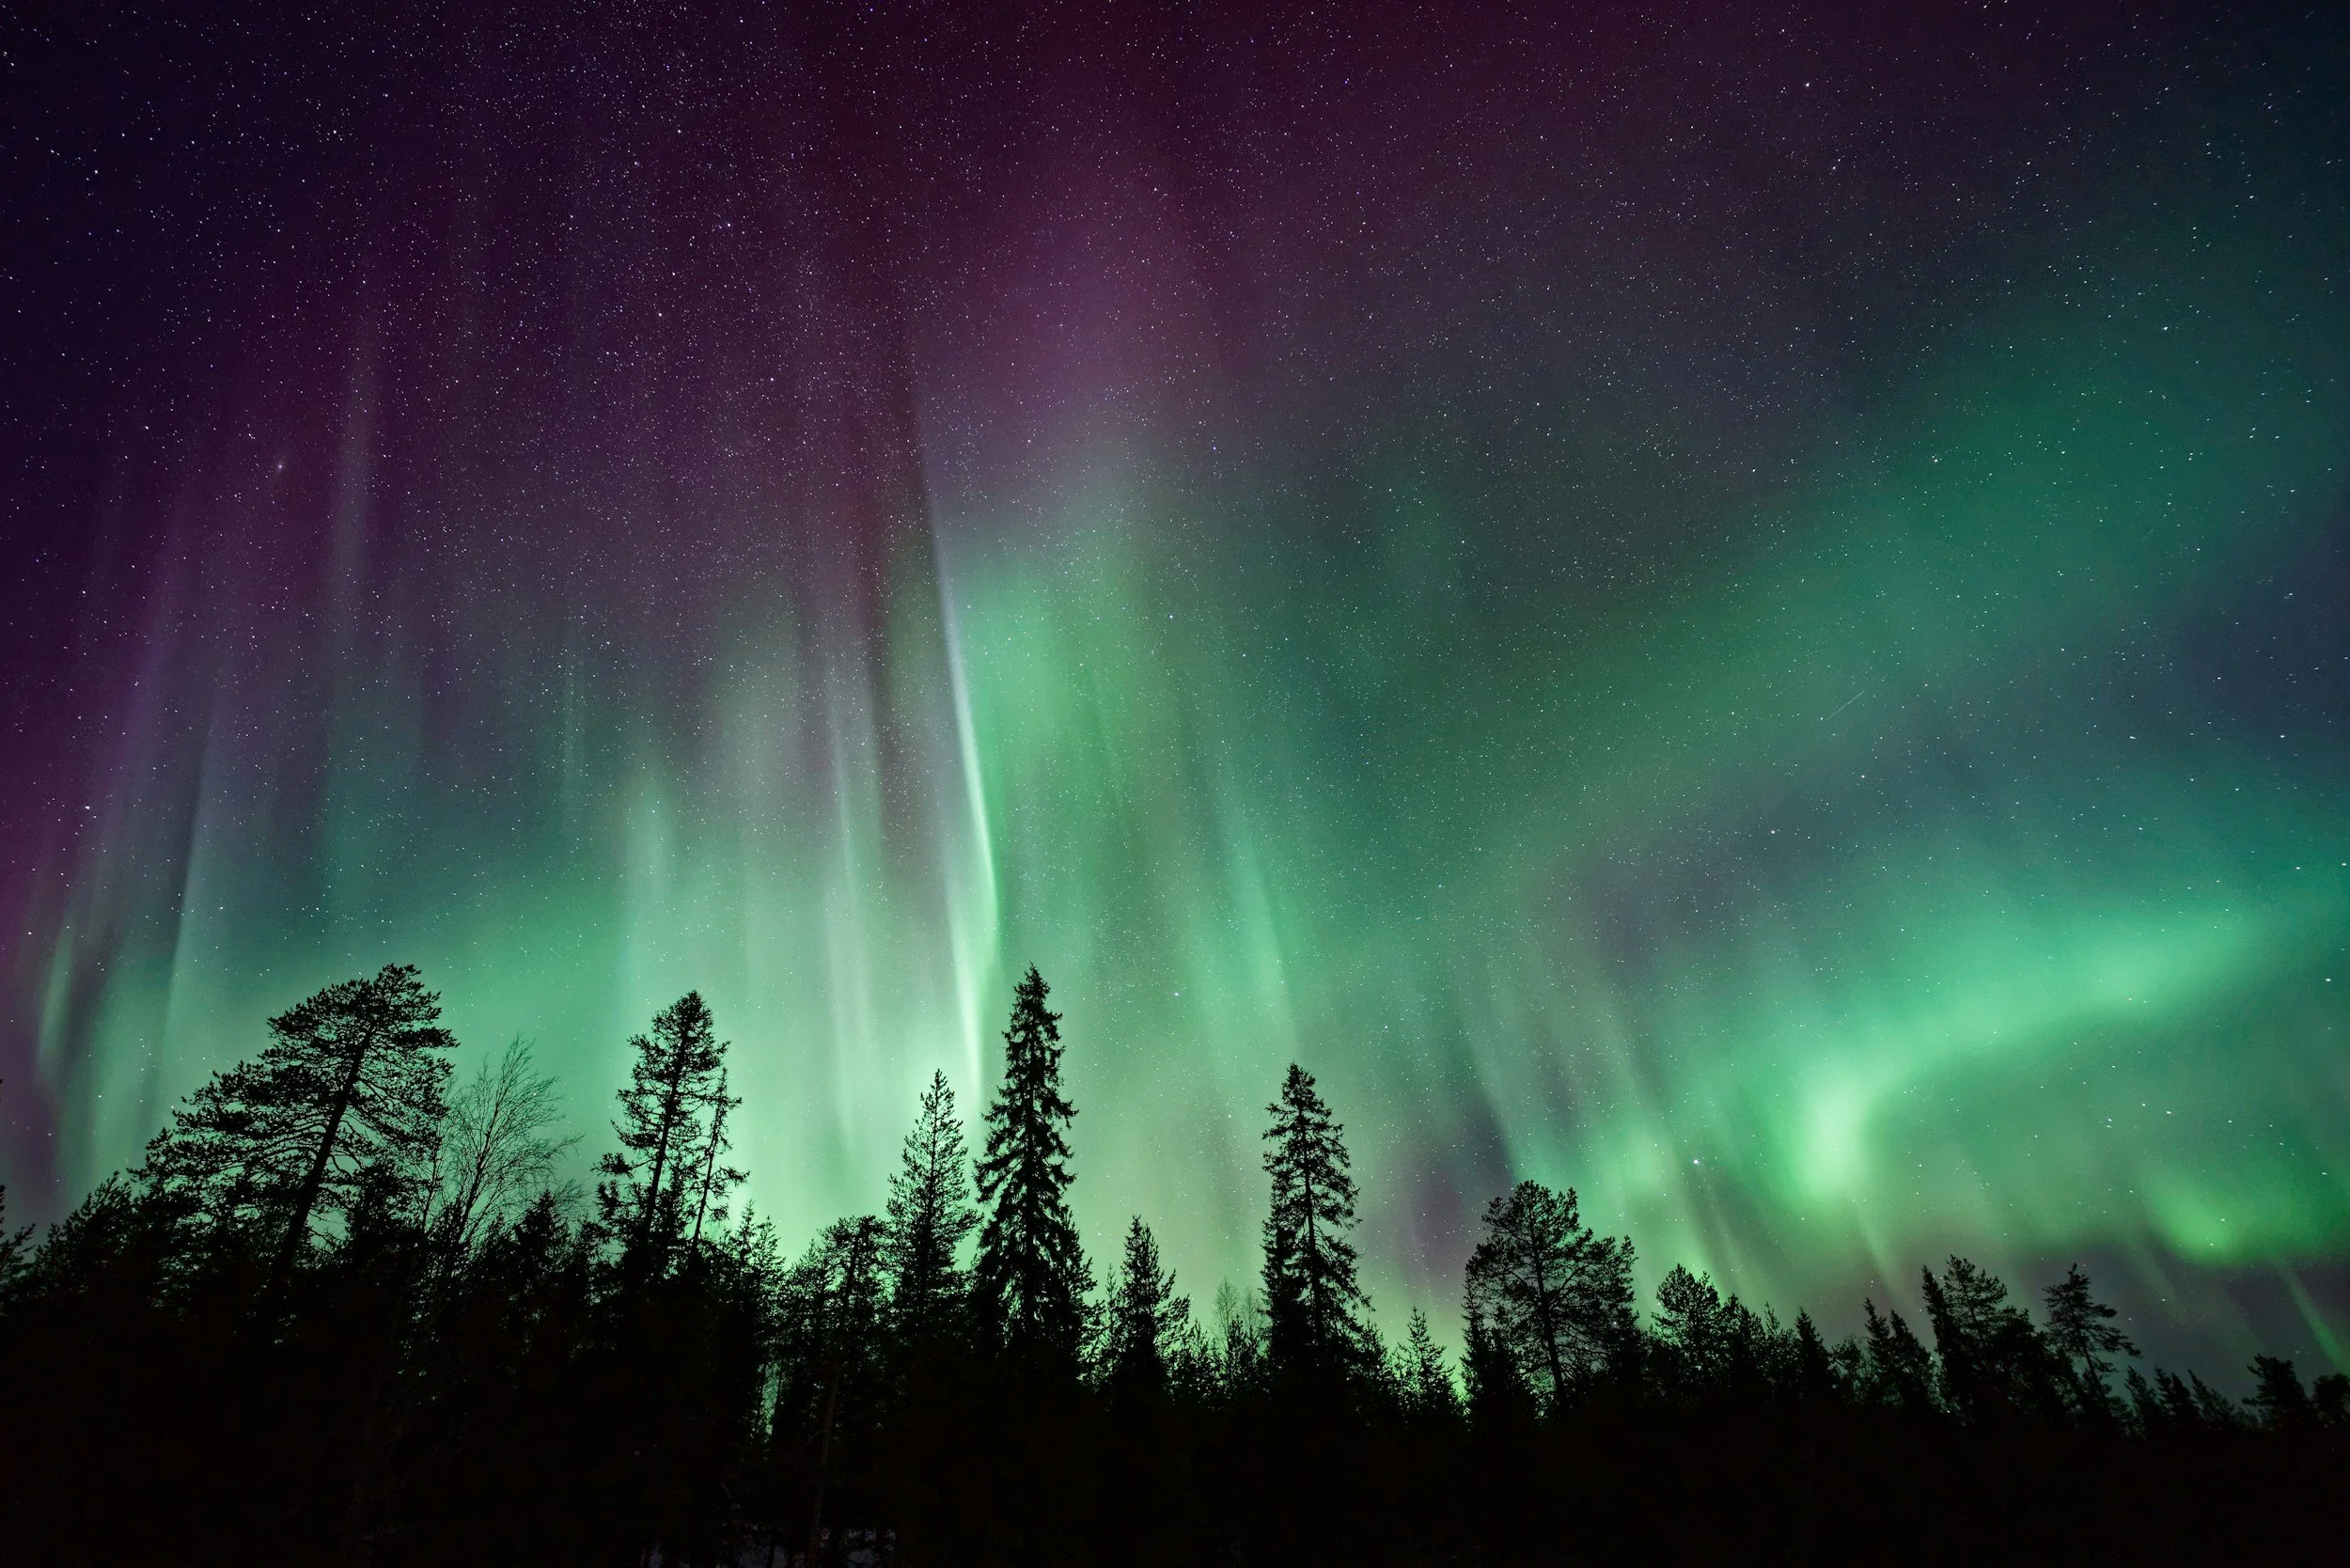
The Northern Lights: Aurora photography happens at night in temperatures that drop significantly after sunset. You will stand still for long periods. This is when your insulation matters most. Moving generates warmth. Standing at a tripod in minus-15°C wind does not.
Snow and Ice: Snow melts the moment it lands on warm camera gear. That moisture gets into seams, ports, and lens barrels. Ice forms on filters, front elements, and focusing rings. Weather-sealed bodies help, but they are not waterproof. Treat them accordingly.
The Most Critical Rule in Winter Photography
Seal your camera in a sealed bag BEFORE you go indoors.
This is the single most important piece of advice in this entire guide. When you move a cold camera into a warm room, warm, moist air hits cold metal and glass surfaces, and condensation forms instantly, including inside the camera on the sensor and electronics. Place your camera into a sealed freezer bag before you go indoors. Once you are indoors, it is too late. The moisture will collect on the outside of the bag instead of on your camera. Let the gear warm up to room temperature inside the sealed bag before opening it, which can take two to three hours.
This is not optional advice. I destroyed a lens in Lapland by ignoring it. Do not repeat my mistake.
A secondary rule: Do not place batteries in pockets with hand warmers. Hand warmers are too hot and contain volatile substances, which can cause a fire or worse when combined with a rechargeable lithium battery. Keep batteries in an inner jacket pocket close to your body heat, separate from any chemical warmers.
Clothing
Winter photography demands a layering system that handles two very different physical states: active hiking that generates heat, and stationary shooting in wind that steals it. Your layers need to transition between both without you stopping to change.
Base Layer
Merino Wool Base Layer: Top and Bottom Merino wool is the right base layer for cold-weather photography. It regulates temperature across a wide range, wicks moisture without holding it, and resists odor for multi-day use. Weight matters: 200 to 260 GSM is the right range, depending on how cold it gets. For Iceland and moderate Scandinavian winter conditions, 200 GSM handles most situations. For Lapland, northern Norway above the Arctic Circle, or any destination where temperatures drop below minus-10°C, go to 260 GSM or add a second base layer underneath.
Recommended brands: Icebreaker, Patagonia, REI. All three make base layers that hold up to hard use. Silk Liner (Optional but Excellent)A silk liner under your merino base adds a surprising amount of warmth for almost no weight. Worth packing for extreme cold destinations.
Mid-Layer
Fleece Top and Pants: Your primary insulation layer. A mid-weight fleece handles most Northern European winter photography conditions. For extreme cold, add a lightweight down sweater between fleece and shell. Recommended brands: Arc'teryx, The North Face, Columbia.Packable Down Jacket. For stationary shooting sessions in the coldest conditions: waiting for the Northern Lights, shooting long exposures at a waterfall, or standing at a frozen landscape location before sunrise. A packable down jacket compresses into a daypack pocket and deploys in seconds when you stop moving. Patagonia Down Sweater and Arc'teryx Cerium are both excellent. Choose a version without a high collar that interferes with your viewfinder.
Outer Layer
Gore-Tex Shell Jacket: Fully Waterproof, not water-resistant. Fully waterproof with sealed seams. In Iceland specifically, it will rain, possibly horizontally. Your shell is your last line of defense against wet that soaks through to your insulation and eliminates its warmth. Arc'teryx Beta AR and Patagonia Torrentshell 3L are both excellent. I have used both in Iceland and Norway, and neither has failed me. Waterproof Rain and Wind Pants. One layer I wore almost every day in Iceland: a base layer bottom, fleece pants, and a waterproof shell pant as the outer layer. Not jeans. Never jeans. Jeans absorb moisture, add no warmth, and take days to dry. The Arc'teryx Zeta SL Rain Pants are lightweight, packable, and genuinely windproof. Heavyweight Down or Synthetic Insulated Pants (extreme cold only)For Lapland, Finnish Arctic, and any destination where temperatures fall below minus-15°C. Wear these over your base layer and fleece for stationary aurora shoots. Remove them for hiking, or you will overheat immediately.
Accessories
Photography Gloves: Vallerret or Freehands. This is the most important clothing item for photographers, specifically. Standard ski gloves make operating a camera nearly impossible. Vallerret Photography Gloves have flip-back fingertips on the index finger and thumb, letting you operate dials and touch screens without removing the gloves entirely. I have used them in Iceland and Finland, and they are the right tool. For extreme cold below -15 °C, layer thin liner gloves underneath your photography gloves and keep a pair of heavy overmitts in your pack for non-shooting periods.
Hand Warmers: Chemical and Rechargeable Chemical hand warmers (HeatMax or HotHands) go inside your gloves when temperatures drop seriously. A pair of gloves inside your photography gloves when you are standing still at a Northern Lights location is the difference between keeping your hands functional and calling it a night early. Rechargeable electric hand warmers (Zippo and Ocoopa both make reliable ones) are reusable, heat up in seconds, and last several hours on a charge. Carry both types. Chemical warmers are a backup for when the rechargeable ones run out.
Wool or Fleece Hat. Snug fit to retain heat. Cover your ears completely. You lose significant body heat through your head; in a 20-knot Arctic wind, an uncovered head drops your core temperature fast.
Balaclava. For extreme cold, wind, and any situation where a hat and buff are not enough. A lightweight merino balaclava covers your neck, face, and head and fits under your hat. On a Northern Lights shoot in minus-20°C in Lapland, this is not optional.
Buff or Neck Gaiter for moderate cold and wind. Pulls up over your nose and mouth in a horizontal snowstorm and drops down around your neck when you warm up. I wear one on almost every winter shooting day
.Ski Goggles For blizzard conditions, strong horizontal wind and snow, and any situation where your eyes are unprotected. Optional for Iceland, essential for deep winter in Lapland and northern Norway. Look for goggles with good anti-fog ventilation.
Thermal Socks: Wool (x5 to 7 pairs). Darn Tough and Smartwool are the standard. Pack enough pairs to have a dry pair every day. Cold, wet feet are not just uncomfortable; they are a safety issue in extreme cold.
Clothing
Winter photography demands a layering system that handles two very different physical states: active hiking that generates heat, and stationary shooting in wind that steals it. Your layers need to transition between both without you stopping to change.
Base Layer
Merino Wool Base Layer: Top and Bottom
Merino wool is the right base layer for cold-weather photography. It regulates temperature across a wide range, wicks moisture without holding it, and resists odor for multi-day use. Weight matters: 200 to 260 GSM is the right range, depending on how cold it gets.
For Iceland and moderate Scandinavian winter conditions, 200 GSM handles most situations. For Lapland, northern Norway above the Arctic Circle, or any destination where temperatures drop below minus-10°C, go to 260 GSM or add a second base layer underneath.
Recommended brands: Icebreaker, Patagonia, REI. All three make base layers that hold up to hard use.
Silk Liner (Optional but Excellent)
A silk liner under your merino base adds a surprising amount of warmth for almost no weight. Worth packing for extreme cold destinations.
Mid-Layer
Fleece Top and Pants
Your primary insulation layer. A mid-weight fleece handles most Northern European winter photography conditions. For extreme cold, add a lightweight down sweater between fleece and shell.
Recommended brands: Arc'teryx, The North Face, Columbia.
Packable Down Jacket
For stationary shooting sessions in the coldest conditions: waiting for the Northern Lights, shooting long exposures at a waterfall, or standing at a frozen landscape location before sunrise. A packable down jacket compresses into a daypack pocket and deploys in seconds when you stop moving.
Patagonia Down Sweater and Arc'teryx Cerium are both excellent. Choose a version without a high collar that interferes with your viewfinder.
Outer Layer
Gore-Tex Shell Jacket: Fully Waterproof
Not water-resistant. Fully waterproof with sealed seams. In Iceland specifically, it will rain, possibly horizontally. Your shell is your last line of defense against wet that soaks through to your insulation and eliminates its warmth.
Arc'teryx Beta AR and Patagonia Torrentshell 3L are both excellent. I have used both in Iceland and Norway, and neither has failed me.
Waterproof Rain and Wind Pants
One layer I wore almost every day in Iceland: a base layer bottom, fleece pants, and a waterproof shell pant as the outer layer. Not jeans. Never jeans. Jeans absorb moisture, add no warmth, and take days to dry. The Arc'teryx Zeta SL Rain Pants are lightweight, packable, and genuinely windproof.
Heavyweight Down or Synthetic Insulated Pants (extreme cold only)
For Lapland, Finnish Arctic, and any destination where temperatures fall below minus-15°C. Wear these over your base layer and fleece for stationary aurora shoots. Remove them for hiking or you will overheat immediately.
Accessories
Photography Gloves: Vallerret or Freehands
This is the most important clothing item for photographers, specifically. Standard ski gloves make operating a camera nearly impossible. Vallerret Photography Gloves have flip-back fingertips on the index finger and thumb, letting you operate dials and touch screens without removing the gloves entirely. I have used them in Iceland and Finland, and they are the right tool.
For extreme cold below -15 °C, layer thin liner gloves underneath your photography gloves and keep a pair of heavy overmitts in your pack for non-shooting periods.
Hand Warmers: Chemical and Rechargeable
Chemical hand warmers (HeatMax or HotHands) go inside your gloves when temperatures drop seriously. A pair of gloves inside your photography gloves when you are standing still at a Northern Lights location is the difference between keeping your hands functional and calling it a night early.
Rechargeable electric hand warmers (Zippo and Ocoopa both make reliable ones) are reusable, heat up in seconds, and last several hours on a charge. Carry both types. Chemical warmers are backup for when the rechargeable ones run out.
Wool or Fleece Hat
Snug fit to retain heat. Cover your ears completely. You lose significant body heat through your head; in a 20-knot Arctic wind, an uncovered head drops your core temperature fast.
Balaclava
For extreme cold, wind, and any situation where a hat and buff are not enough. A lightweight merino balaclava covers your neck, face, and head and fits under your hat. On a Northern Lights shoot in minus-20°C in Lapland, this is not optional.
Buff or Neck Gaiter
For moderate cold and wind. Pulls up over your nose and mouth in a horizontal snowstorm and drops down around your neck when you warm up. I wear one on almost every winter shooting day.
Ski Goggles
For blizzard conditions, strong horizontal wind and snow, and any situation where your eyes are unprotected. Optional for Iceland, essential for deep winter in Lapland and northern Norway. Look for goggles with good anti-fog ventilation.
Thermal Socks: Wool (x5 to 7 pairs)
Darn Tough and Smartwool are the standard. Pack enough pairs to have a dry pair every day. Cold, wet feet are not just uncomfortable; they are a safety issue in extreme cold.
Footwear
Insulated Waterproof Hiking Boots For Iceland, Norway, and moderate Scandinavian winter conditions: an insulated, fully waterproof hiking boot rated to at least minus-20°C. La Sportiva, Salomon, and ON all make excellent winter hiking boots. Break them in before your trip.
Knee-High Wellington Boots: LBC Explorer Unisex. One of the most useful footwear purchases I have made for winter photography. The LBC Explorer Unisex Wellington Boots are extraordinarily light. When I received them, I thought the box was empty. They are waterproof to the knee, lightweight enough to hike in comfortably, and handle reflection shots at the edge of rivers, waterfalls, and flooded fields without soaking your boots. Wear the liner when it gets colder. I wear them in Iceland whenever I am near water.
Crampons or Microspikes Non-negotiable for icy surfaces. Iceland's roads, trails, and waterfalls become ice fields in winter. Microspikes strap over your hiking boots in seconds and provide grip that eliminates the risk of a fall on ice-covered rock. Kahtoola Microspikes are the standard recommendation and are worth every cent.
Gaiters for deep snow conditions in Lapland and extreme northern Norway. Gaiters seal the gap between your boot and pant leg and prevent snow from packing in around your ankles on off-trail shoots.
Photography Gear
Cameras
I shoot with two Canon EOS R5 Mark II on all winter trips. The weather sealing handles rain, snow, and moisture well, but weather sealing is not waterproof. Treat it as rain protection, not submersion protection. Use a rain cover whenever precipitation is active.
In extreme cold below -15 °C, camera bodies slow down. Autofocus response decreases. The shutter mechanism requires more power. Battery drain accelerates significantly. Know this going in and plan your battery rotation accordingly.
The Condensation Protocol
Already covered above, but worth repeating as a gear section:
Seal your camera in a sealed freezer bag or Ziploc before entering any warm space. Leave it sealed for at least two hours. This applies every single time, not just when you remember. It takes ten seconds and protects thousands of dollars of equipment.
Batteries: The Most Critical Consumable in Winter
Cold kills lithium batteries fast. A battery that gives you 400 shots at room temperature may give you 150 in minus-10°C conditions. In extreme cold below -15 °C, the drop is even more dramatic.
Pack at least 4 to 6 batteries per body. Keep them in rotation: one in the camera, two in an inner jacket pocket against your body heat, one charging back at the accommodation. Never leave batteries in a cold camera bag overnight; bring them inside and let them warm up.
Buy genuine Canon batteries. Third-party batteries fail faster in the cold.
Lens Recommendations
Wide Angle: 15-35mm or 16-35mm
The primary lens for Northern Lights photography, winter landscapes, waterfalls, and the vast scale of Arctic destinations. You will use this lens more than any other on winter trips. A fast aperture (f/2.8 or wider) is essential for Northern Lights work in low light.
Mid-Range Zoom: 24-105mm or 24-70mm
For village scenes, architecture in Reykjavík and Tromsø, and flexible everyday shooting. Useful when the landscape does not require the full width of your wide-angle lens.
Telephoto: 70-200mm or 100-500mm
For isolating distant mountains, compressing fjord scenes, and any wildlife photography. Winter in Lapland and northern Norway offers reindeer, Arctic foxes, and seabirds. The telephoto earns its weight.
Lens Hood: Always On in Winter
A lens hood provides protection against snowflakes and sleet landing on your front element and can shield the lens from wind-driven snow. In winter conditions, keep the lens hood on at all times, not just when managing flare. It is your first line of defense against precipitation hitting the glass.
Filters
UV or Protective Filter: On Every Lens
Use UV or clear protective filters to shield your lens from snow, ice, and accidental scratches in winter conditions. The filter takes the damage. Your front element does not. In winter specifically, where wind-blown ice crystals and splashing waterfall spray hit the front of your lens constantly, a protective filter earns its place on every focal length.
ND Filters: 6-stop and 10-stop
For waterfall long exposures in winter daylight. Iceland's waterfalls, including Seljalandsfoss and Skógafoss, are accessible in winter and more dramatic with ice formations. A 10-stop ND gives you the shutter speeds you need. Kase Wolverine magnetic ND system makes filter swaps fast even with gloves on.
Circular Polarizing Filter
For cutting glare off snow, deepening blue skies on clear winter days, and managing reflections on partially frozen water.
Tripod
Essential for Northern Lights photography, long exposures at waterfalls, and any low-light winter shooting.
My Gitzo Traveler goes on every winter trip. Carbon fiber performs better than aluminum in the cold; aluminum contracts and leg locks can seize in extreme temperatures. Choose carbon fiber if you are shooting in serious cold.
Spiked Feet: Many tripods accept spike feet attachments for icy and snowy terrain. Rubber feet slide on ice. Spikes grip it. If your tripod legs accept spike attachments, pack them for winter.
L-Bracket and Ball Head: An L-bracket lets you switch between landscape and portrait orientation at the head level without repositioning the tripod. With cold hands and gloves on, this matters more than it does in warm weather.
Camera Rain Cover
Think Tank Photo Hydrophobia is the standard recommendation for serious weather protection. Covers the camera and lens completely while keeping all controls accessible. In an Iceland waterfall shoot or a blizzard in Lofoten, this is more useful than weather sealing alone.
Silica Gel Packets
Pack six to eight in your camera bag. They absorb moisture continuously and protect optics and electronics from internal condensation during temperature transitions. Regenerate them in a warm, dry environment between trips.
Remote Shutter Release
For Northern Lights, long exposures, and any situation where touching the shutter introduces camera shake. A wired remote or wireless trigger is cleaner than using the two-second timer when you are working with exposures of 10 to 25 seconds on a moving aurora.
Lens Cloths and Cleaning Kit
Pack eight to ten lens cloths for winter trips. Snow, waterfall mist, breath condensation, and rain hit your front element constantly. Keep two cloths in your jacket pockets at all times, not just in your camera bag.
A lens blower brush clears snow particles without scratching. Use it before wiping with a cloth.
Comfort and Safety Essentials
Long days outdoors require added attention to comfort and safety.
Thermos: A sturdy thermos like Hydro Flask for hot beverages. Carry a smaller one for tea/coffee and a larger one for water.
Headlamp with Red Light: A must for Northern Lights photography. Brands like Black Diamond are reliable.
Moisturizer: Lip balm, hand cream, and face moisturizer to prevent dryness from cold winds.
Snacks: High-energy bars or trail mix for quick energy boosts.
Travel and Regional Tips
Travel Adapters: European-style plugs are needed. Bring a power strip to charge multiple devices simultaneously.
Power bank: I always carry a power bank to charge my cell phone and camera. Remember that batteries drain much faster in cold weather.
First Aid Kit: Pack essentials like Band-Aids, Advil, and antiseptic wipes.
Sunglasses: Polarized sunglasses protect your eyes from snow glare.
Reusable Shopping Bags: Many Nordic countries charge for bags, and reusable ones align with their eco-friendly ethos.
Pro Tips for Winter Photography
Condensation Control: After shooting in the cold, seal your camera in a Ziploc bag before moving indoors to prevent condensation.
Best Times to Shoot: Take advantage of the golden hours during sunrise and sunset for soft light. In winter, daylight hours are limited, so plan your schedule accordingly.
Layer Smartly: Remove layers when hiking to avoid sweating, then layer up when stationary for shooting.
Scout Ahead: Use Google Earth or local guides to pre-scout photography locations.
With this detailed packing list and expert tips, you’ll be ready to tackle the elements while capturing the beauty of winter landscapes. Share your travel photos and tag me on social media—I’d love to see your work!
Comfort and Safety Essentials
Thermos: Hot Beverages
A Hydro Flask or Stanley thermos filled with hot coffee or tea is not a luxury on a winter photography trip. It is fuel. Standing still in minus-10°C at 4 am waiting for the aurora, a hot drink raises your core temperature and extends your shooting time by an hour. I carry a smaller thermos for coffee and a larger one for hot water.
Headlamp with Red Light Mode
For Northern Lights photography specifically. A headlamp with red light mode lets you check settings, change batteries, and navigate in the dark without destroying your night vision. White light kills your night adaptation in seconds. Black Diamond and Petzl both make reliable options.
High-Energy Snacks
Your body burns significantly more calories maintaining core temperature in the cold than in temperate conditions. High-energy bars, nuts, and chocolate in a jacket pocket keep your energy and body heat up during long outdoor sessions.
Polarized Sunglasses
The combination of snow and low-angle winter sun creates extreme glare. Polarized lenses cut through it, protect your eyes, and help you see your camera screen clearly when shooting on snowy terrain.
Reusable Water Bottle
Keep it inside your jacket or pack to prevent the water from freezing. A frozen water bottle is useless. In extreme cold, use an insulated bottle.
First Aid Kit
Basics: band-aids, pain relievers, antiseptic wipes, blister pads, and any personal prescription medications. For winter specifically, add hand warmer packets as backup, lip balm, and a face moisturizer. Cold wind and dry Arctic air crack skin fast.
Lip Balm with SPF
Wind and cold crack lips quickly, and the low-angle winter sun at Arctic latitudes still delivers meaningful UV. Apply multiple times daily.
Face Moisturizer
Cold, dry air strips skin fast. A rich moisturizer applied morning and evening makes a real difference in comfort over a seven to ten day winter trip. Dr. Barbara Sturm Face Cream for Men is my go-to.
Reusable Shopping Bags
Nordic countries charge for single-use bags and align strongly with environmental values. Pack a couple of foldable reusable bags for markets and shops.
Travel and Practical Essentials
European Type C Power Adapter
Iceland, Norway, Sweden, and Finland all use Type C/F two-pin plugs at 230V. US devices are typically dual voltage; check yours before plugging in directly. A universal adapter with USB-C ports handles everything in one unit.
Power Strip
One power strip with a universal adapter means you charge your camera batteries, phone, power bank, and laptop from a single wall outlet in the hotel room. Hotel rooms in Iceland and Norway often have fewer outlets than you expect.
Portable Power Bank: Anker Prime
For keeping your phone, GPS, and backup batteries charged in the field. Cold drains phone batteries in under an hour at minus-10°C. Keep your phone and power bank inside your jacket when not in use.
Ziploc Bags: Gallon Size (x10)
Already covered as the condensation protection tool. Pack more than you think you need. They also protect memory cards, documents, and small electronics from moisture.
Offline Maps
Download offline maps for your full route before departure. Cell coverage in remote Iceland, Lapland, and northern Norway disappears in the highlands and wilderness areas where the best photography happens.
Weather Apps
Veður for Iceland. YR.no for Norway, Sweden, and Finland. Both give you the most accurate local forecasting for Nordic winter conditions, including wind chill and precipitation type. Check them every morning before heading out.
Travel Insurance with Medical Evacuation
Remote winter locations in Iceland and Lapland can be long distances from medical care. Slips on ice are the most common winter photography injury. Make sure your policy covers outdoor activities and emergency evacuation.
Northern Lights Photography: What You Actually Need
The Northern Lights demand a specific kit beyond the standard list. Here is what makes the difference between an image and a memory.
Wide-Angle Lens at f/2.8 or wider
The Northern Lights move fast and appear at low light levels. A fast wide-angle lens at f/2.8 gives you the light-gathering you need for exposures of 5 to 15 seconds that capture the aurora without blurring it into a smear. The Canon RF 15-35mm f/2.8 is my lens of choice for aurora work.
Solid Tripod, Fully Extended
No camera shake at any point during a 10 to 25 second exposure. The Gitzo Traveler with spiked feet on a frozen surface gives you the stability you need. Check that all leg locks are fully tightened; cold metal contracts and locks loosen.
Remote Shutter Release
Touch the shutter and you introduce vibration. A wired or wireless remote trigger fires the shutter without contact.
Extra Batteries Warmed in Jacket
Northern Lights photography runs at night, when temperatures are lowest. Have two warm batteries cycling from your jacket to the camera continuously.
Northern Lights Forecast Apps
Space Weather Live and the My Aurora Forecast app both give you real-time Kp index readings. A Kp of 3 or higher is visible at most Northern Lights latitudes. A Kp of 5 or higher is visible significantly further south. Check these apps every evening.
Red Light Headlamp
The only light you should use during an aurora shoot. White light destroys your night adaptation.
Patience
The Northern Lights are a natural phenomenon on their own schedule. I spent eight nights in the Lofoten Islands on one trip and saw the aurora clearly on only the first night. This is the nature of aurora photography. The conditions either cooperate or they do not. Your job is to be outside, ready, with the right gear, every clear night.
Pro Tips from the Field
Condensation Protocol: Seal your camera in a sealed bag before going indoors every time. Not most times. Every time.
Layer Strategically: Remove layers before hiking uphill. You will sweat, and wet insulation loses its warmth rapidly. Add layers back the moment you stop moving. The temperature drop when you stop is faster than you expect.
Scout Before You Shoot: Use Google Earth, the PhotoPills app, and local guides to identify your compositions before you arrive in the dark. In winter, you often set up in darkness and wait for the light. Knowing exactly where you are going saves crucial minutes.
Protect Your Screen: LCD screens slow down and dim in extreme cold. Use the viewfinder as your primary composition tool. Check the screen briefly for exposure review and return to the viewfinder.
Keep Your Phone Warm: A phone at minus-10°C shuts down without warning. Keep it in an inner jacket pocket and take it out only when you need it.
Mark Your Footprints: In snowfields and on glaciers, it is easy to walk past your tripod location or lose your path back to the car in low visibility. Use your phone's location pin or leave a visual marker at your shooting position.
Shoot in RAW: Winter light is subtle. The difference between a blown highlight on snow and a correctly exposed image often comes down to half a stop. RAW gives you the latitude to recover both ends.
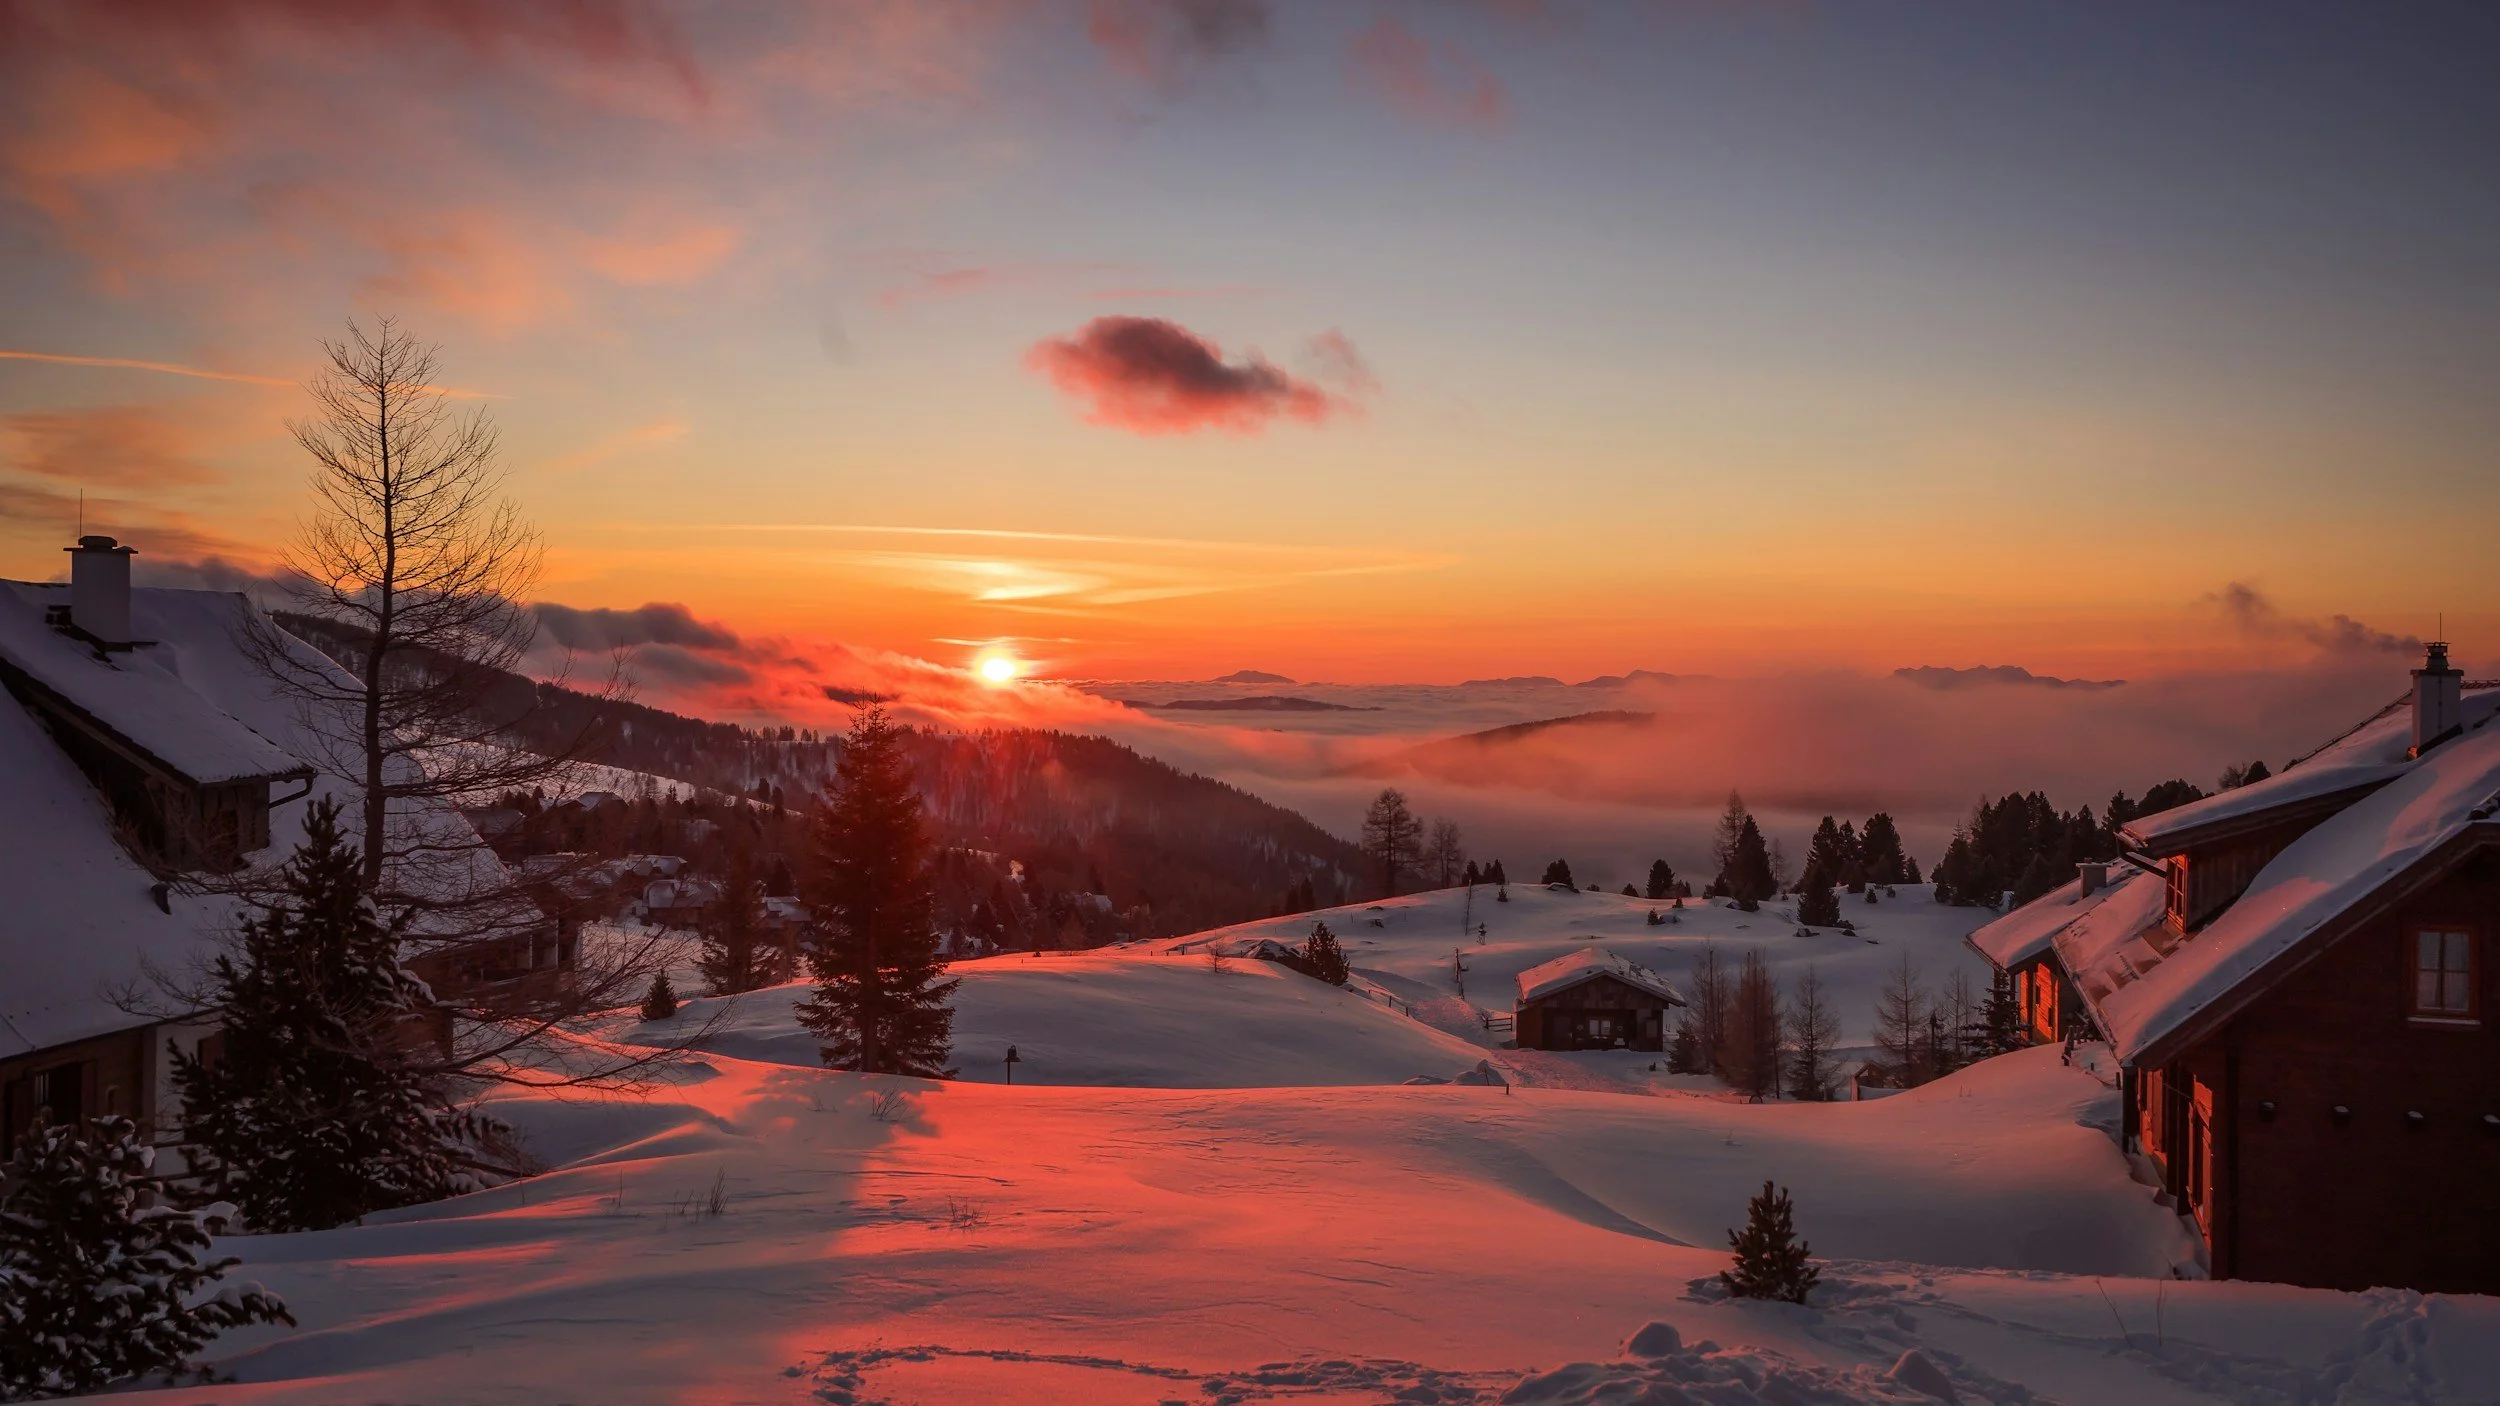
My Photography and Travel Guides for Winter Destinations
This packing list is the foundation. These guides are where the actual photography planning happens.
Iceland
Photography and Travel Guide to Reykjavík, Iceland: Your base for any Iceland winter trip. Hallgrímskirkja at blue hour, the harbor at golden hour, and the Northern Lights visible from the city on clear nights. Reykjavík in winter is a serious photography destination on its own, and it is the gateway to everything else on the island.
Photography and Travel Guide to the Westfjords and Snæfellsnes Peninsula, Iceland's most dramatic winter landscapes. The Westfjords are raw and remote; the Snæfellsnes glacier and black church at Búðir are some of the most photographed subjects in Iceland in winter. If you want Iceland without the tour buses, go here.
Norway
Photography and Travel Guide to the Lofoten Islands, Norway Winter in Lofoten is one of the great photography experiences on earth. Dramatic peaks, frozen fjords, red and yellow rorbuer fishing huts in snow, and Northern Lights that fill the sky. I spent eight nights here in March. This guide covers everything.
Photography and Travel Guide to Bergen, Norway Bergen in winter is moody, atmospheric, and completely different from its summer version. The rain that Bergen is famous for becomes snow at elevation. Bryggen in the mist and snow is one of the most photogenic scenes in Scandinavia.
Photography and Travel Guide to Oslo, Norway Oslo in winter has the Holmenkollen ski jump, the frozen Oslofjord, and blue-hour light on the Opera House that is difficult to find anywhere else in Europe. A strong two-day photography stop.
Finland
Photography and Travel Guide to Lapland, Finland Lapland in January is where this packing list was born. Minus-20°C temperatures, polar night, snowmobile excursions to Northern Lights viewing spots, and a silence in the Arctic forest that you have to experience to understand. Rovaniemi as a base, then north into the wilderness. This guide covers all of it.
Sweden
Photography and Travel Guide to Stockholm, Sweden Stockholm in winter has Gamla Stan under snow, frozen canal scenes, and long blue-hour evenings that give you extraordinary light on medieval architecture.
Photography and Travel Guide to Malmö, Sweden The Turning Torso and the Western Harbor in winter light, with Copenhagen a quick train ride across the Öresund Bridge.
Denmark
Photography and Travel Guide to Copenhagen, Denmark Copenhagen in winter has Nyhavn under Christmas lights, Tivoli Gardens illuminated for the season, and a cycling culture that does not stop for snow. One of the most photogenic winter city destinations in Europe.
The Full Winter Packing Guide Companion
Summer Packing List for the Nordic Countries Planning a return trip in summer? This companion guide covers everything you need for the Nordic countries from May through September, including the midnight sun, wildflower season, and puffin photography.
Final Thoughts
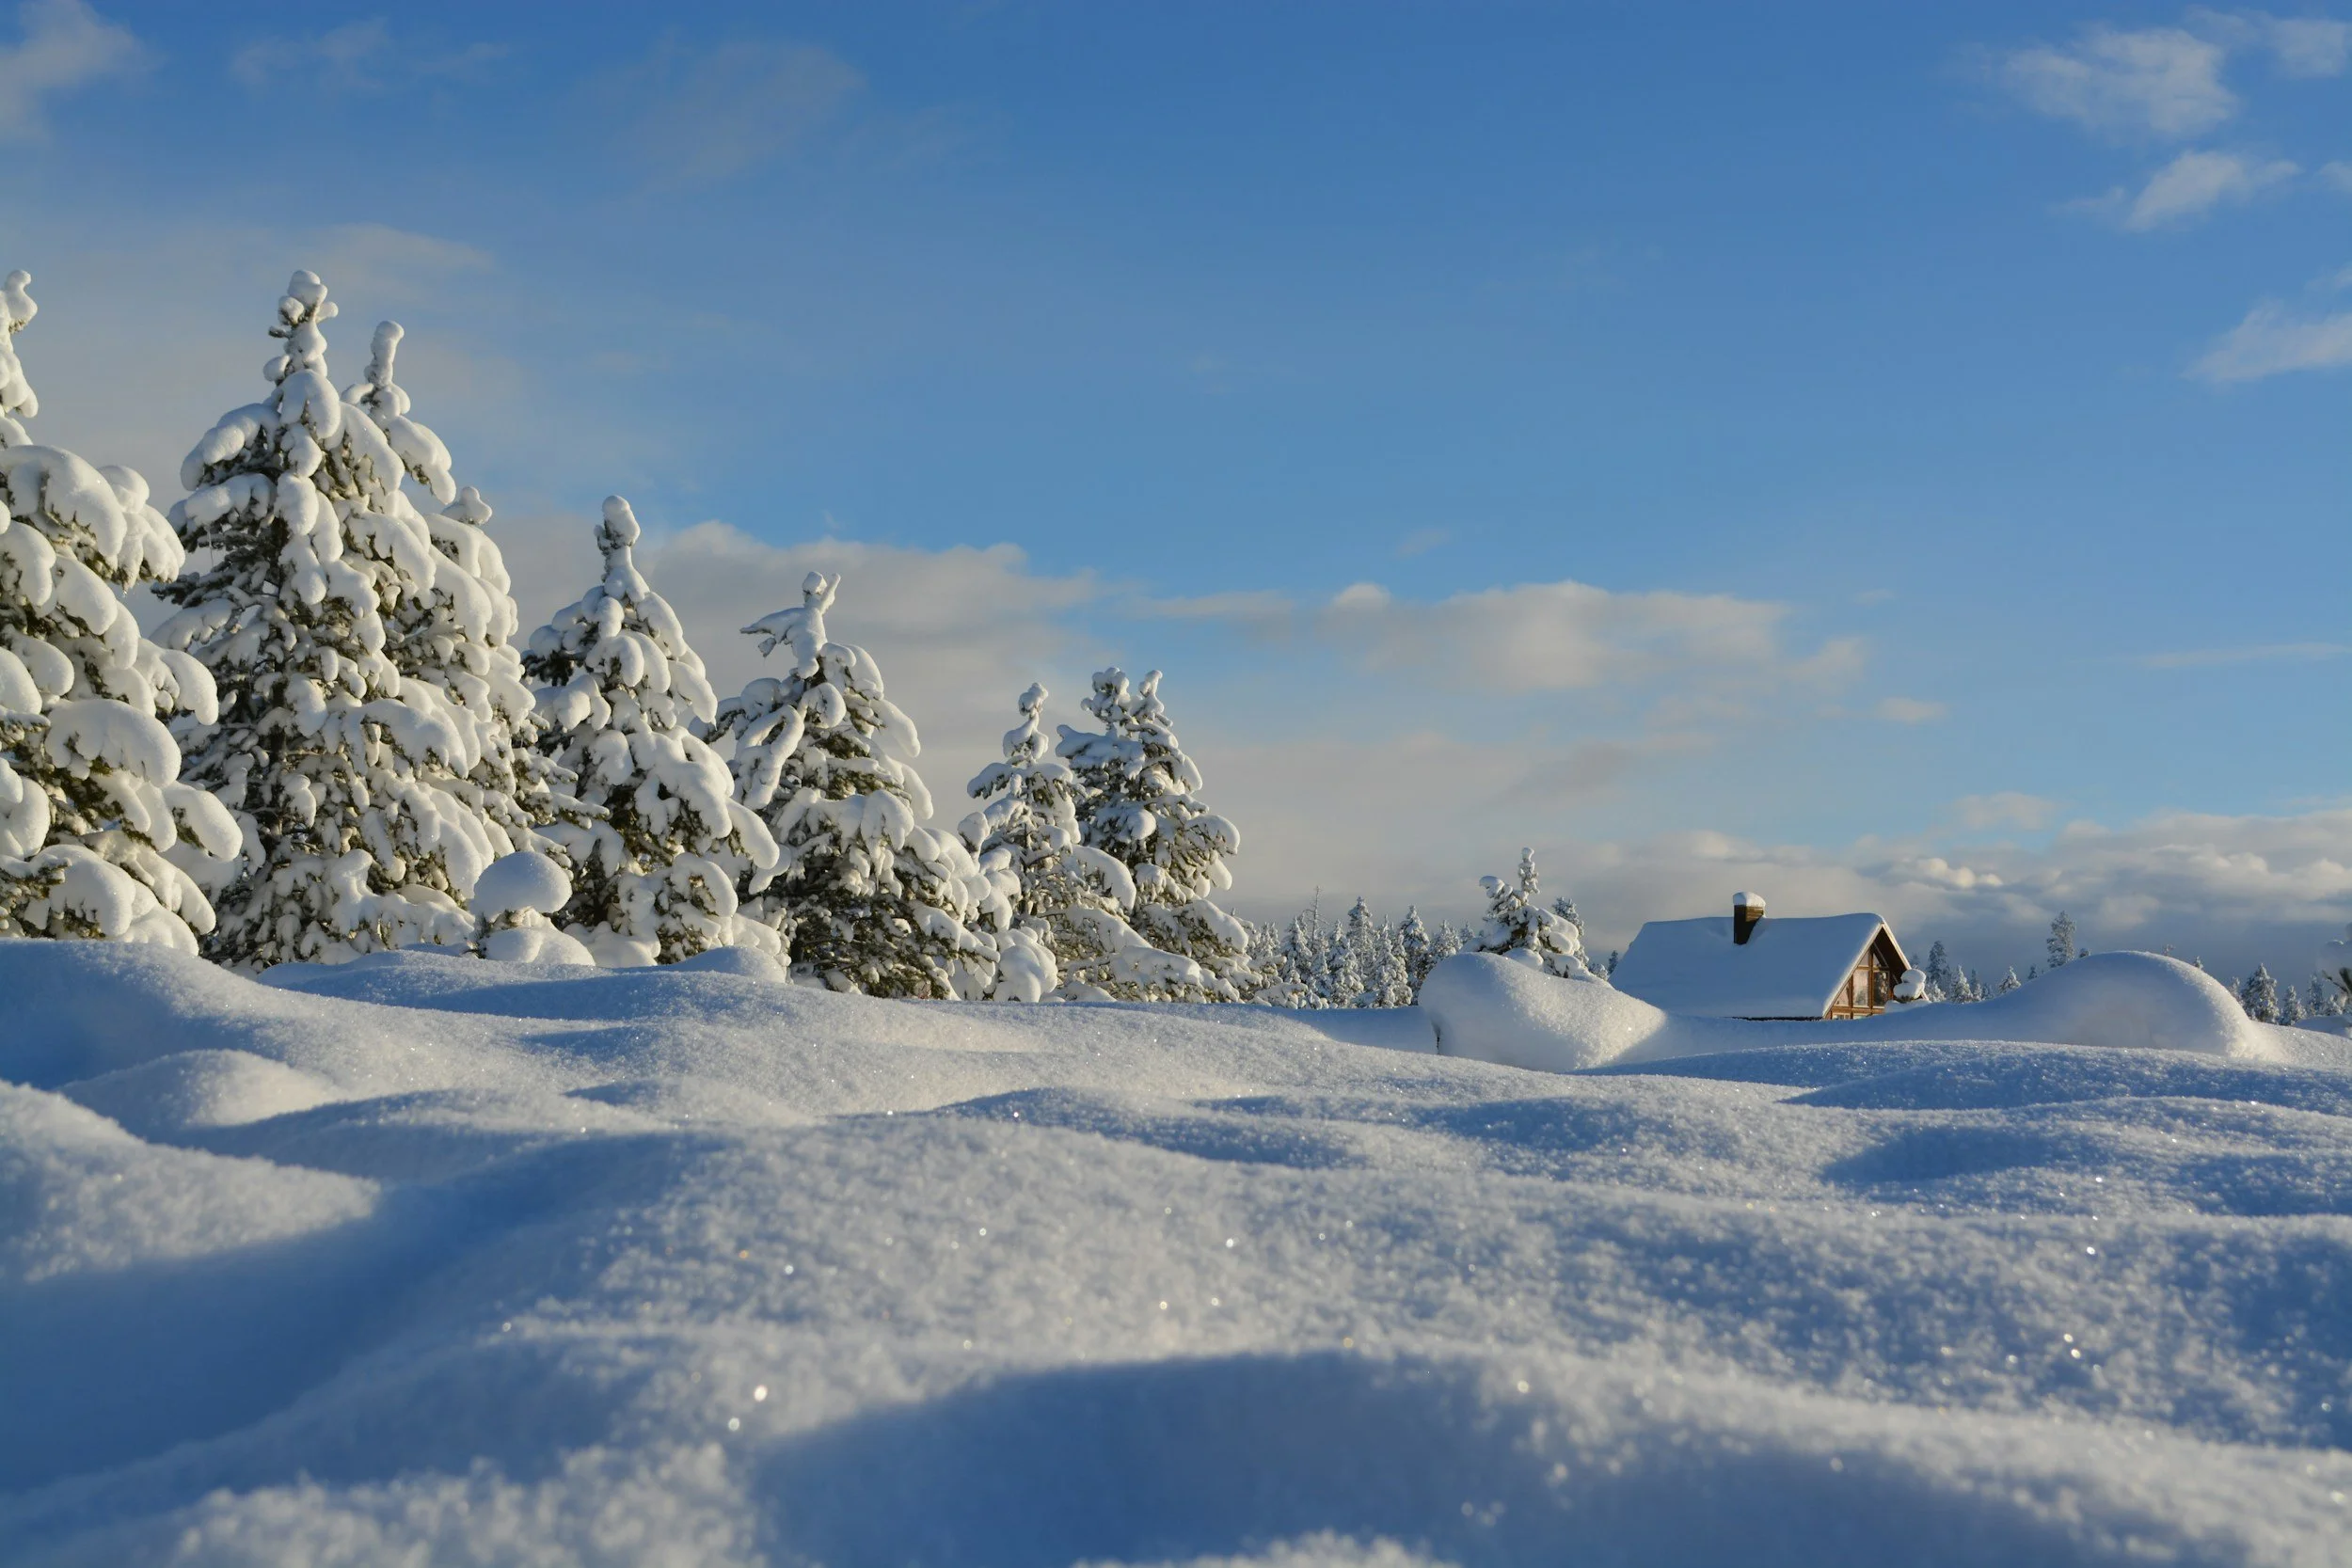
Winter photography is the most demanding and the most rewarding photography I do. The moments you get in exchange for the cold, the discomfort, and the early mornings are unlike anything available in the warm months. The Northern Lights dancing over a frozen Lofoten fjord at 2 am. The blue twilight of polar night in Lapland at noon. A waterfall in Iceland half-encased in ice, spray freezing as it falls.
None of those images happen if your batteries are dead, your fingers have stopped working, or your lens is fogged from walking it into a warm room without sealing it first. The cold rewards preparation in a way that forgiving climates never force you to learn.
Get the right gloves. Pack twice as many batteries as you think you need. Seal your camera every time you go indoors. Everything else follows from there.
If you would like to join a future photography workshop, visit my Workshops page for current offerings and upcoming dates. You can also connect with me on Instagram (@chasinghippoz) and Facebook, or subscribe to the newsletter for travel photography tips, destination guides, and behind-the-scenes stories from more than 75 countries. I look forward to sharing the journey with you.