Seattle, Washington Travel & Photography Guide: Best Photo Spots, Things to Do & Hidden Gems
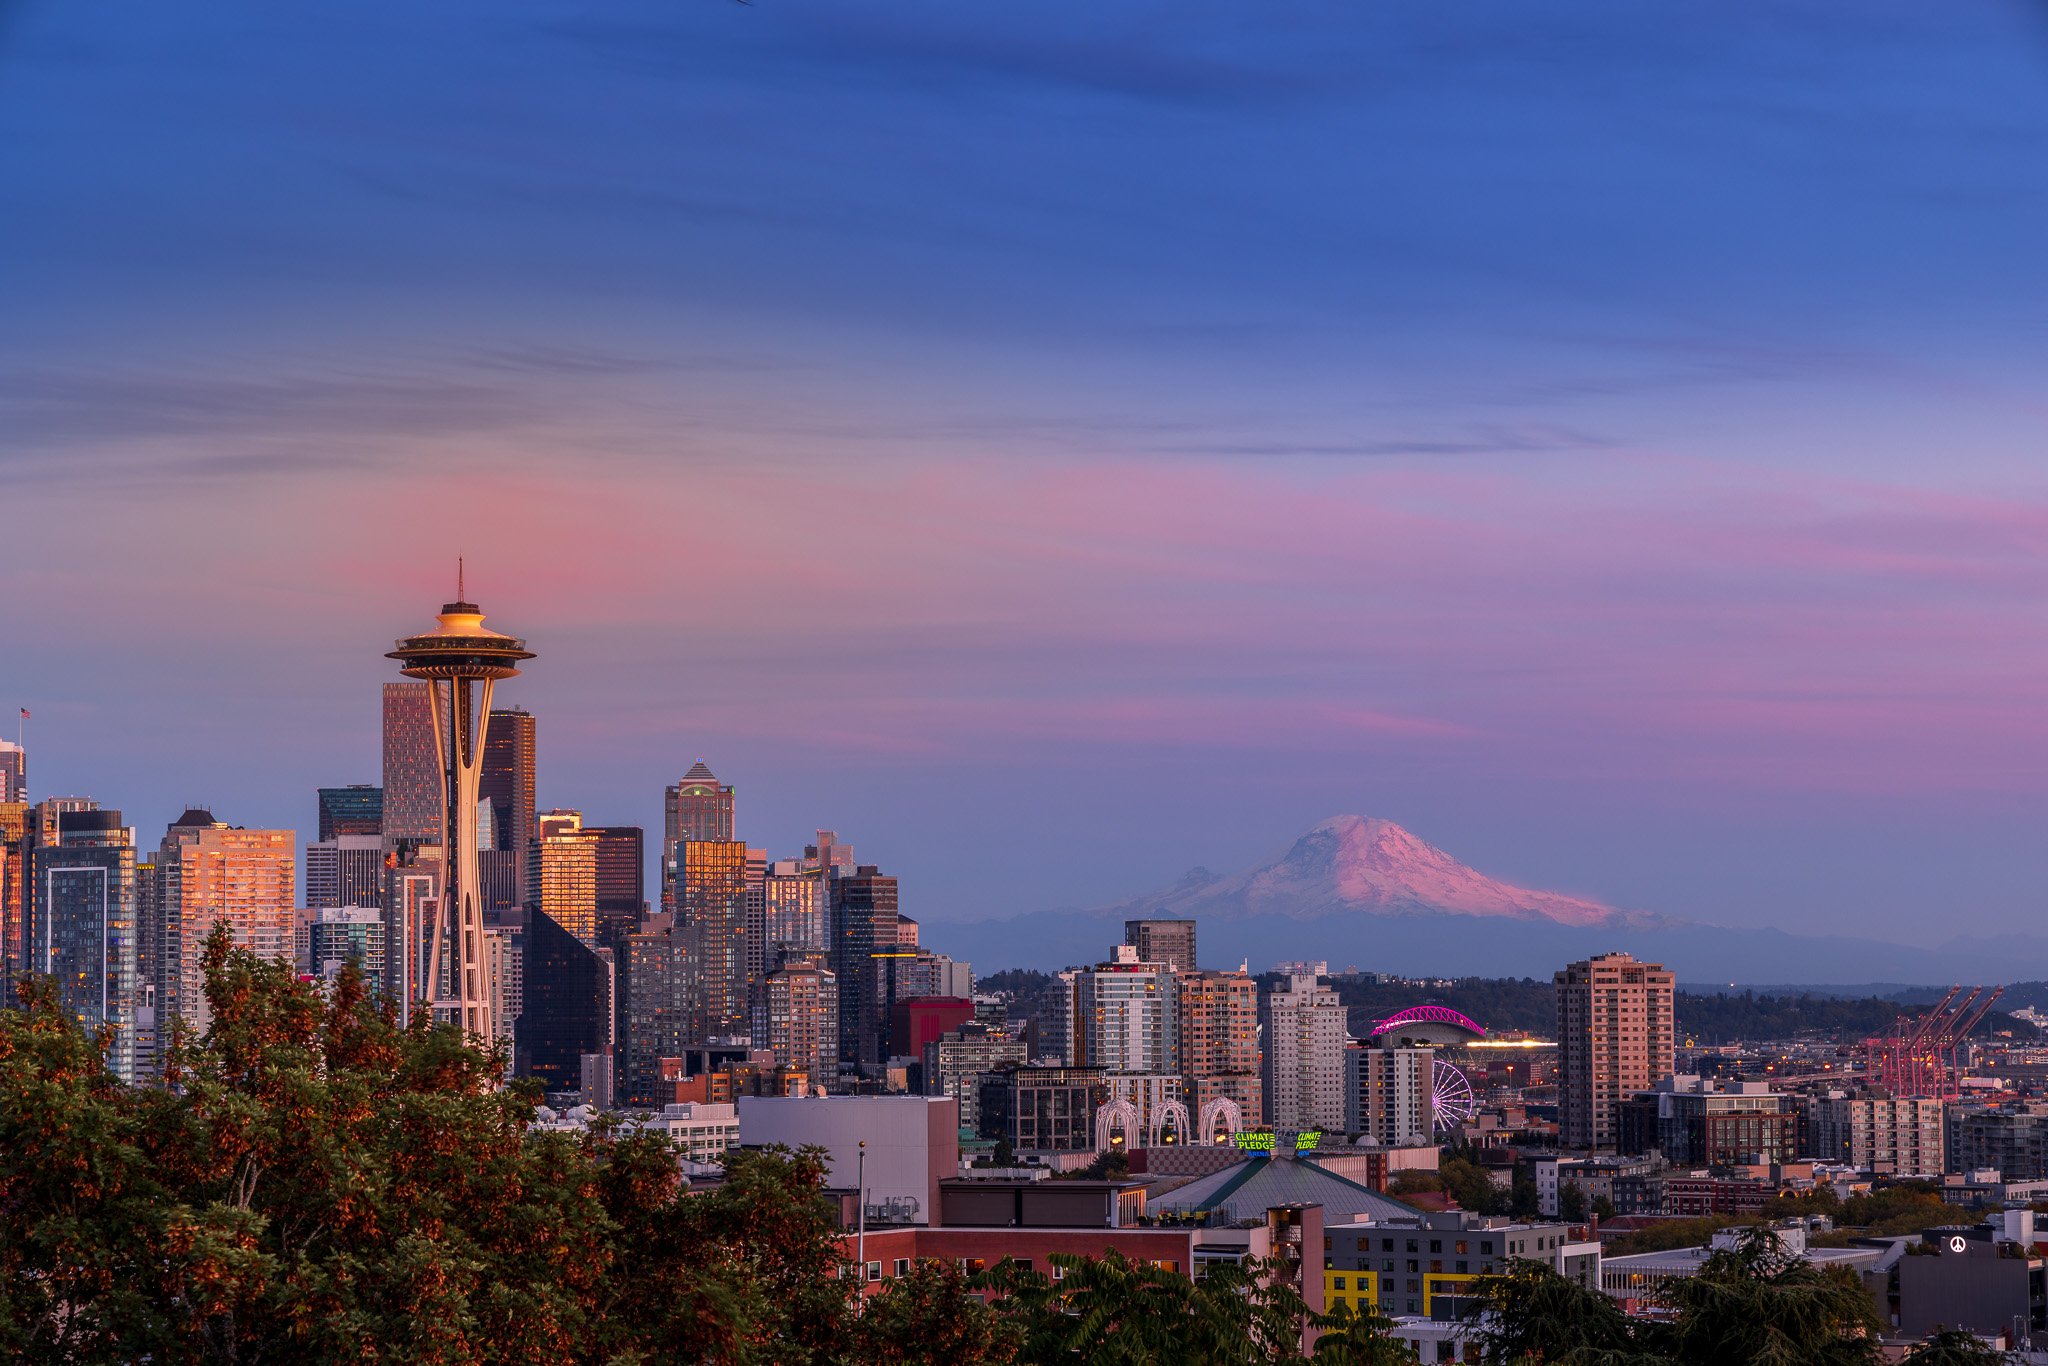
The day we drove into Seattle, Mount Rainier was out. As we came up I-5, the mountain rose behind the city, white and enormous, and for a moment neither of us said a word. Locals have a phrase for days like that: "the mountain is out." By the time we left, I understood why they say it like good news.
Seattle was the end of our Pacific Northwest road trip. We flew into Portland, spent about two weeks working our way along the Oregon Coast, then crossed into Washington at Astoria, detoured to Cape Disappointment, and finished here.
Seattle reminds me a little of San Francisco. Tech people and creative people live side by side, and that mix gives the city its energy. You see it in the architecture, the street art, and the food. The coffee scene is great, the restaurants are excellent, and the sushi is some of the best I've eaten outside Japan. Seattle even has its own style of teriyaki.
For photographers, the appeal is contrast. You get a modern skyline with water on almost every side, and on clear days, snowcapped volcanoes and the Olympic Mountains fill the background. In a single day, you can move from the noise and color of Pike Place Market to the bold angles of the Central Library and the blown-glass forms at Chihuly Garden and Glass, then down to a waterfront that feels open and walkable now that the old elevated highway is gone.
In this Photography Guide to Seattle, I share the places and experiences that made Seattle the perfect end to our trip. You will find my favorite photography locations, guidance on when and where to shoot, practical travel tips, and gear recommendations, along with cultural insights to help you explore and photograph Seattle with confidence, respect, and ease.
Where to Stay in Seattle
For photography, the easiest bases are downtown near the waterfront, or Pioneer Square, Seattle's oldest neighborhood. From downtown, you can walk to Pike Place Market before the crowds, reach the waterfront and Olympic Sculpture Park on foot, and catch the Monorail to Seattle Center in minutes. Pioneer Square gives you historic brick streets for street photography, quick access to the ferry terminal, and a 15 to 20 minute walk to the market. That's where we stayed, and I'd choose it again. Just know that it gets busy and loud at night when there's a game, since T-Mobile Park and Lumen Field are right next door. Check the schedules before you book, and if you're a light sleeper, ask for a room away from the street.
Staying right at Pike Place Market sounds perfect on paper, and for sunrise at the market, the location is hard to beat. But after spending time there, I was glad we didn't stay at Inn at the Market. The area is loud from morning to night, and the rooms and bathrooms we saw felt dated. If you're a light sleeper, stay a few blocks away and walk in early.
If sunrise and sunset at Kerry Park are your priority, Lower Queen Anne puts you a short, steep walk away.
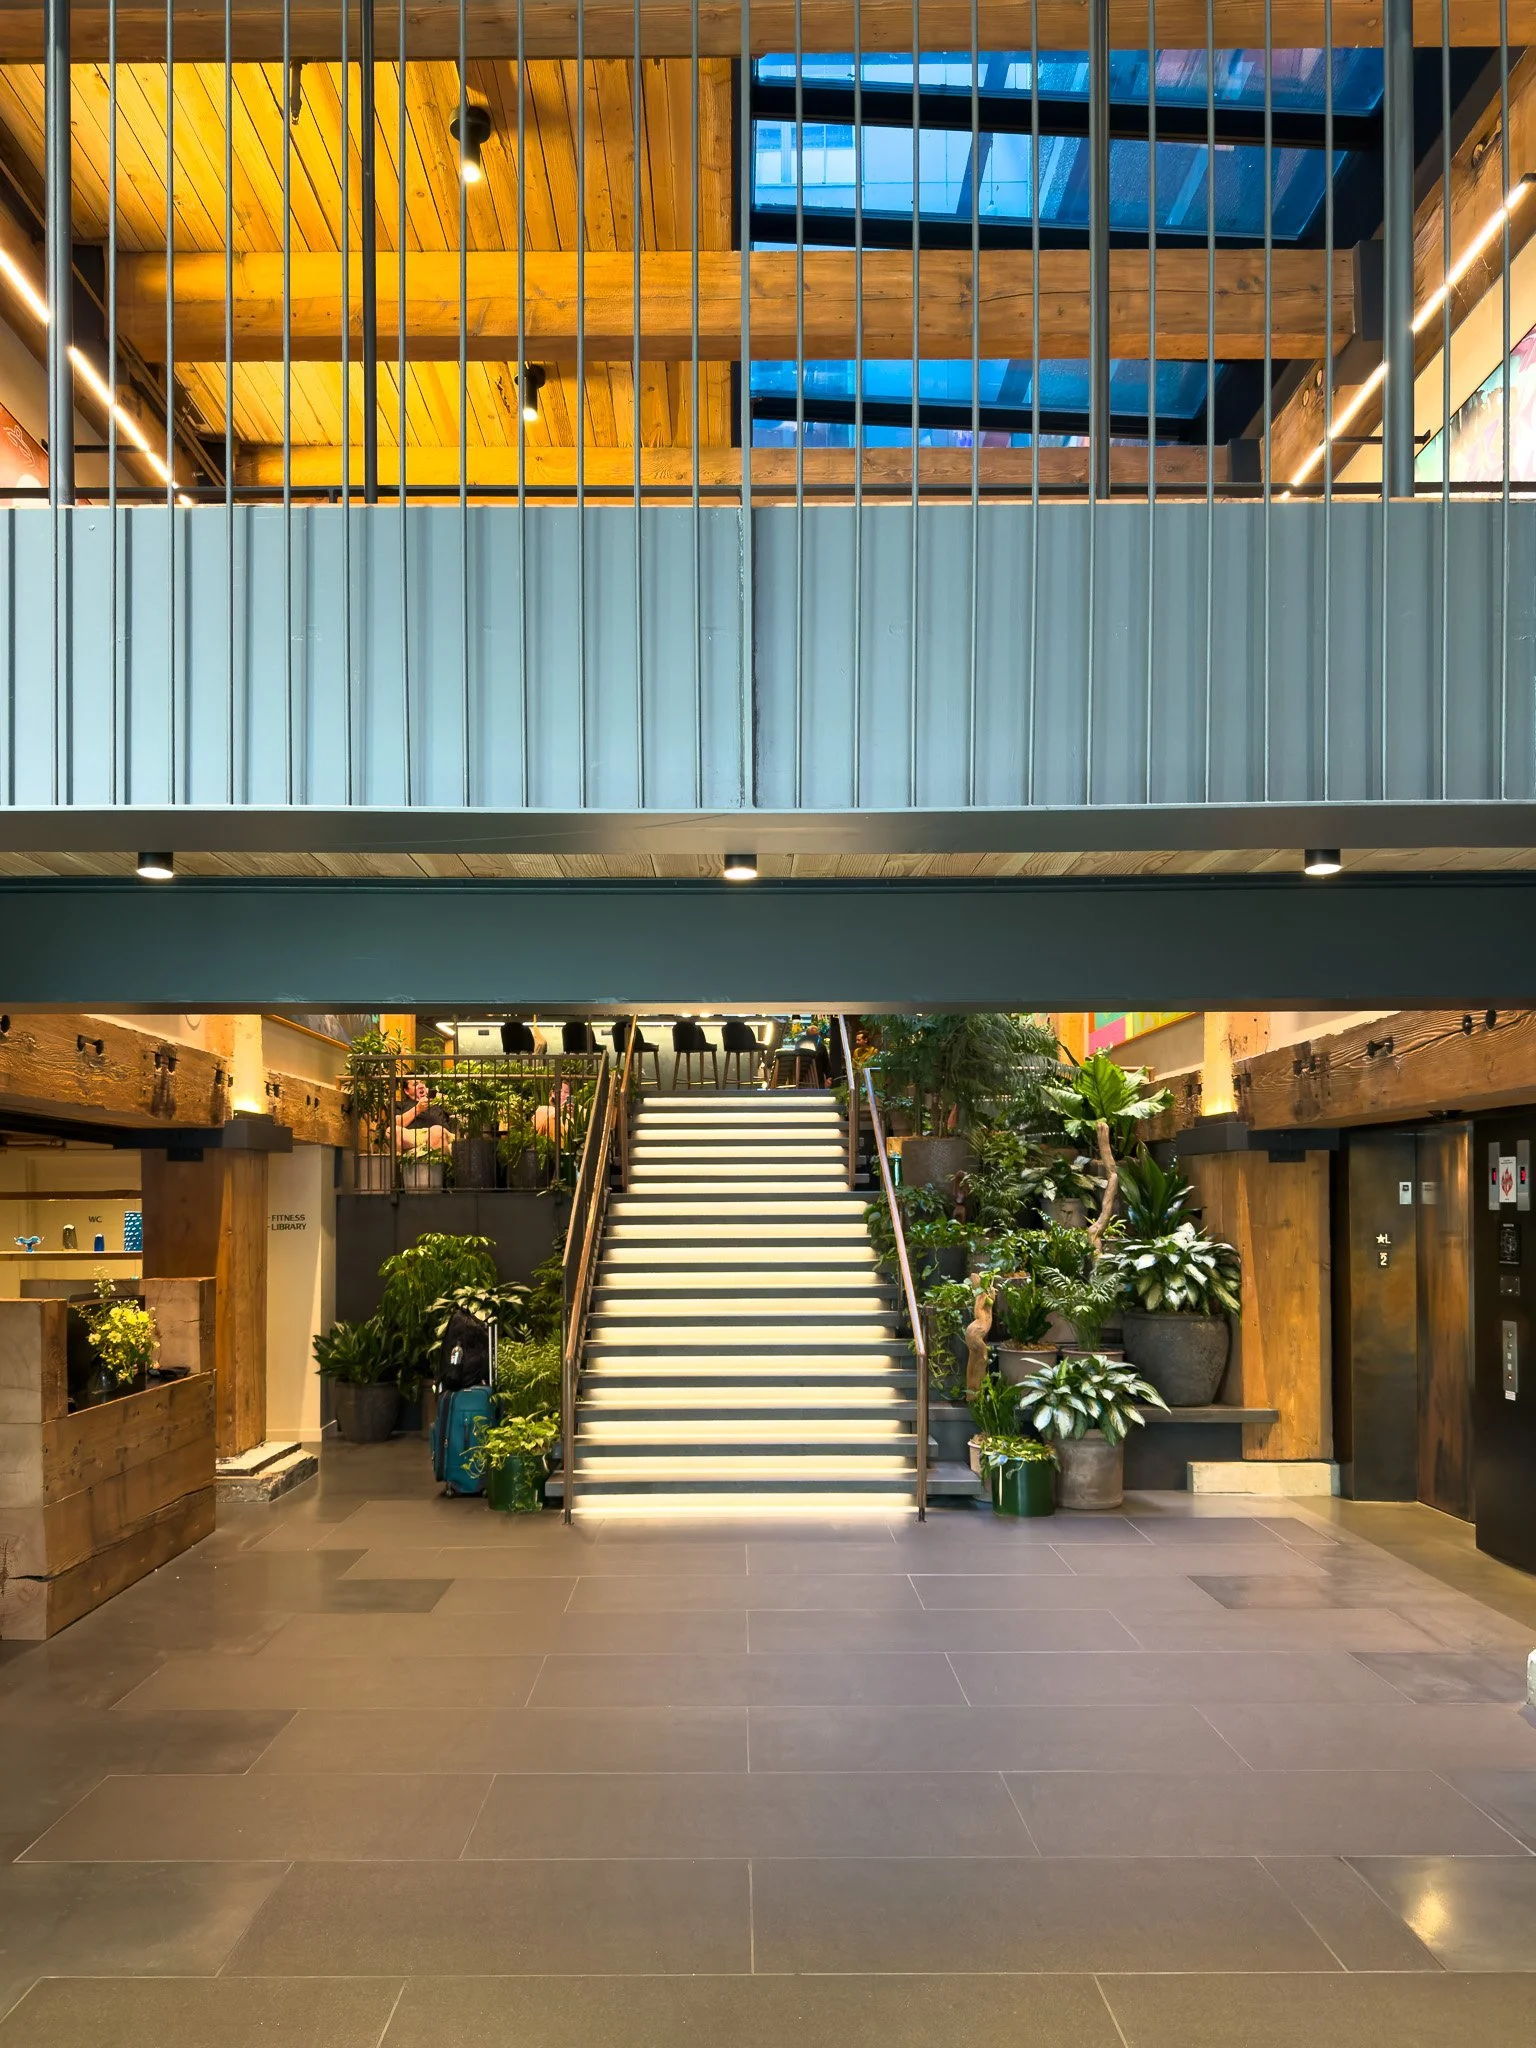
The Populus Hotel in Seattle
Luxury Hotels
Lotte Hotel Seattle. I walked in while exploring the city, just to see what it looked like inside, and it stood out as one of the best hotels in Seattle. The staff was friendly, and the interiors are beautiful, designed by Philippe Starck, with a reception desk carved from a 3,000-year-old sequoia. Charlotte, the restaurant on the 16th floor, looks out over Elliott Bay. For photographers, the real prize is at street level. The hotel's glass tower rises straight out of The Sanctuary, a 1908 church now used as the hotel's ballroom, and the contrast between the old stone and the new glass makes a great architectural frame from Fifth Avenue.
Fairmont Olympic Hotel. The grande dame of Seattle opened in 1924, and its Italian Renaissance lobby still makes people stop and look up. If you love interiors, bring a wide lens and photograph the lobby staircase and chandeliers early in the morning, before the space fills. It sits in the middle of downtown, so you can walk almost everywhere.
The Edgewater Hotel. On Pier 67, and Seattle's only hotel built over the water. Book a waterfront room and you wake up to ferries, container ships, and sunsets over the Olympics from your window. It's also a short walk to Olympic Sculpture Park, one of the best sunset spots in the city.
Mid-Range and Boutique Hotels
Populus Seattle. Finding the right hotel in Seattle took us longer than expected, and this is where we landed. Populus opened in 2025 in Pioneer Square, inside the restored 1907 Westland Building. The original Douglas fir beams and exposed brick are still there, paired with clean, modern Pacific Northwest design. You walk in through a vestibule of old-growth logs and living plants, and a moss wall climbs up through the skylit lobby. For every night you stay, the hotel plants a tree through a partnership with the National Forest Foundation. Don't skip Firn, the rooftop bar. It's the first rooftop bar in Pioneer Square, the views over the waterfront are great, and it's worth going up at golden hour with a 24–70mm.
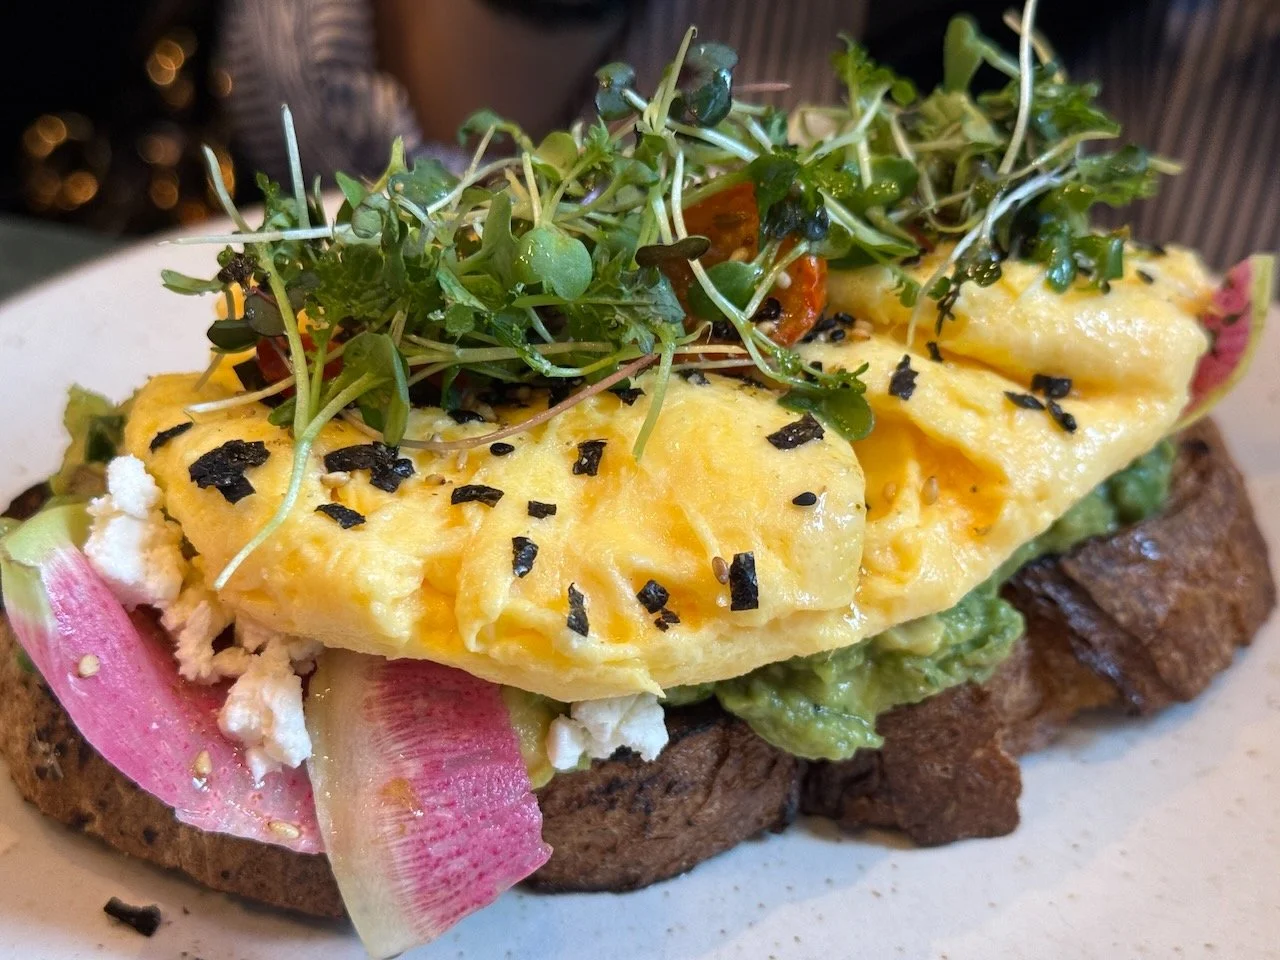
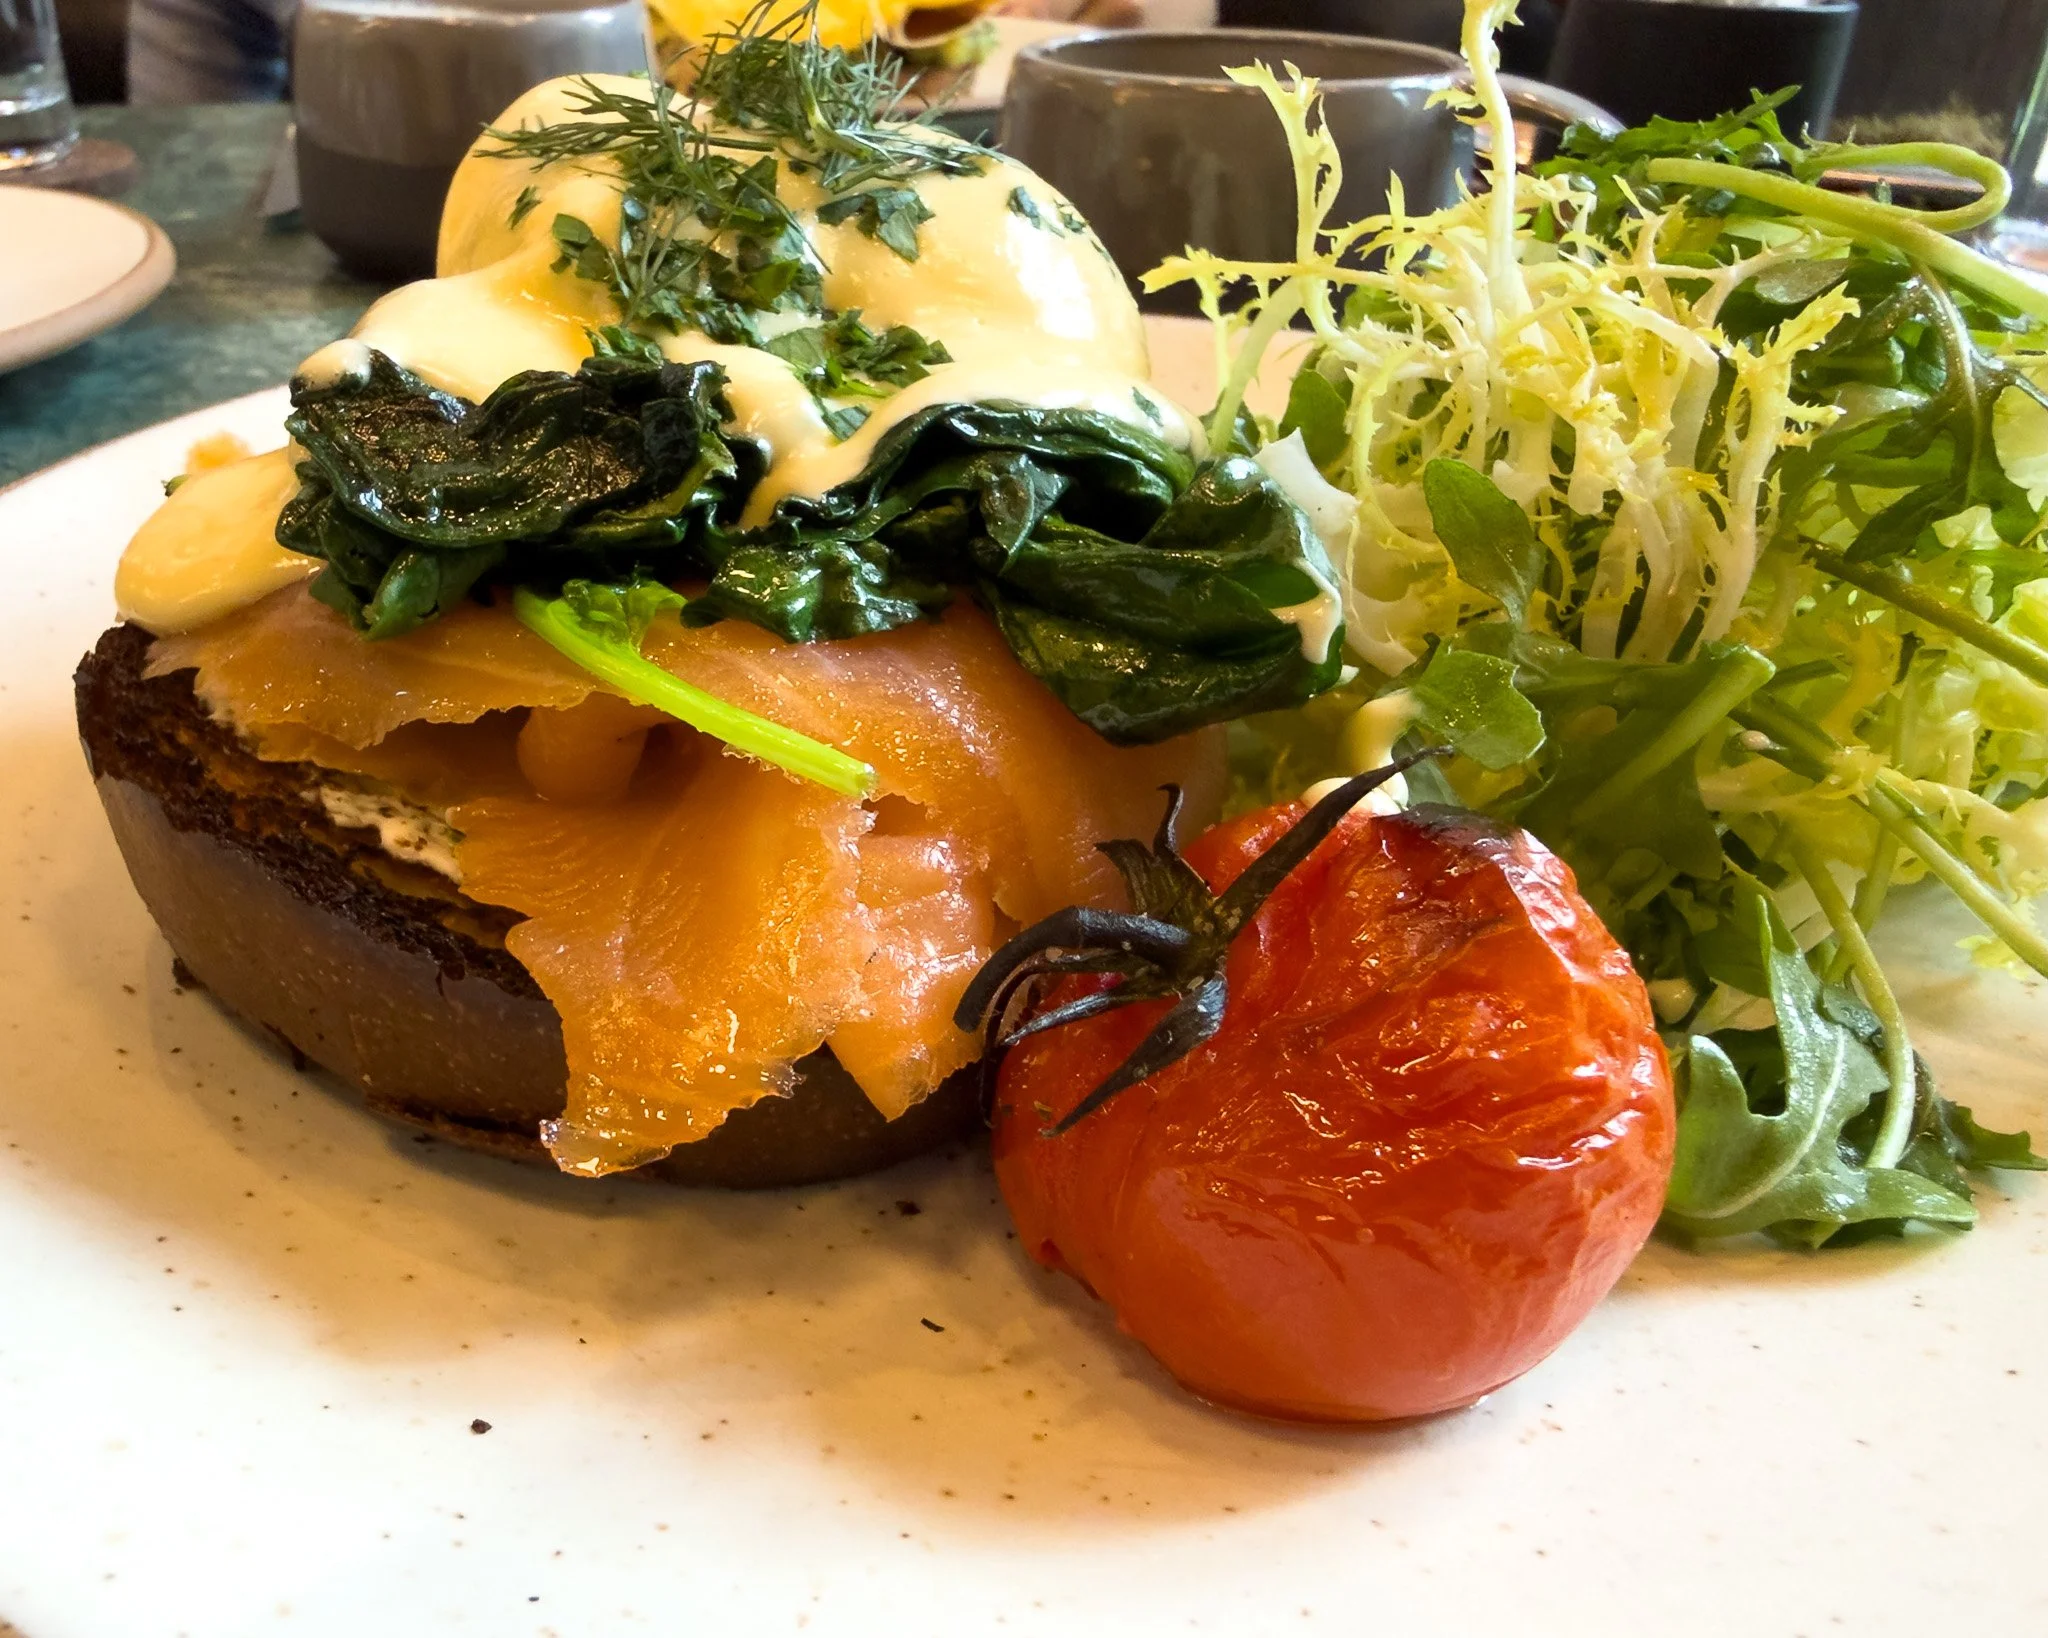
The brick facades, cast iron, and street life of Pioneer Square are right outside your door, and the waterfront ferries are a short walk away. The staff were friendly from the moment we checked in, and the rooms are so cozy that after a long day of shooting, you'll want to skip your evening plans and just relax. Ours had exposed brick set against deep blue walls, with Aesop products in the bathroom. Breakfast is worth staying in for. The menu covers avocado toast, a salmon tartine, eggs Benedict, pancakes, and waffles, with fresh muffins and croissants and good coffee. It's an easy, relaxed start before a day of shooting.
Thompson Seattle. Modern and design-focused, steps from Pike Place Market. Its rooftop bar, The Nest, gives you one of the best elevated views over Elliott Bay and the waterfront. Go up at golden hour with a 24–70mm.
Mayflower Park Hotel. A historic, independent hotel from 1927, with classic character and deep old soaking tubs, which you'll appreciate after a day of walking Seattle's hills. It connects to Westlake Center, where you catch the Monorail to Seattle Center. It's a solid value pick in the center of everything.
Ideal Duration of Stay
We stayed three nights in Seattle, and I'd give it at least one more. We drove around the city quite a bit to make the most of our time, and three to four days is what I'd plan for next time to photograph Seattle at a relaxed pace. Add a fifth day if you want to drive to Mount Rainier National Park. The weather here decides a lot, so extra days also give you a second chance at the clear-sky shots.
Day 1: Pike Place Market and the waterfront. Start at the market around 7 a.m., when vendors are setting up. Walk down the Overlook Walk to the waterfront, then head north to Olympic Sculpture Park for sunset.
Day 2: Seattle Center and Queen Anne. Spend the morning at Chihuly Garden and Glass and the Space Needle. Rest in the afternoon, then walk up to Kerry Park for sunset and blue hour.
Day 3: Neighborhoods and lakes. Start in Pioneer Square for brick, cast iron, and street life, then make a quick stop at the Central Library for its windows and yellow escalators. Spend the afternoon in Ballard and at the Ballard Locks. From July through September, you can watch salmon climbing the fish ladder through the underwater viewing windows. Finish at Gas Works Park for the skyline across Lake Union at blue hour.
Day 4: The ferry and street art. Take the Bainbridge Island ferry in the morning and photograph the skyline on the return trip. In the afternoon, head south to walk the SODO Track murals, then explore the graffiti and record shops of Georgetown.
Day 5, optional: Mount Rainier. We didn't make it to Rainier this trip, but it's the first thing I'd add with more time. Leave early. The drive takes two to three hours, depending on traffic and which entrance you use. Paradise in late July and August means wildflower meadows with the mountain behind them. Check whether the park requires a timed-entry reservation for your dates.
Best Time to Visit Seattle
July through September is the best window for photography. We visited in September, and Mount Rainier was out the day we drove in. That's the reward of this season: the driest weather, the clearest views of the mountain, and long evenings. Around the summer solstice, the sun sets after 9 p.m. and blue hour lingers past 9:30, so you can eat dinner and still make the evening shoot. The catch is crowds. Cruise season runs from spring into fall, and Pike Place gets packed on cruise days. Late summer can also bring wildfire smoke that hides the mountain for days, so check the forecast and air quality before you plan around Rainier.
Late March and April is the best shoulder season. The cherry trees bloom on the University of Washington Quad, the Skagit Valley tulip fields are an easy day trip north, and spring showers give you dramatic skies and wet streets full of reflections.
May and June bring longer days but often stay overcast. Locals call it "June gloom." Don't count on clear views of Rainier until July.
October brings fall color to the Washington Park Arboretum and Kubota Garden, and the crowds thin out. You trade some reliability in the weather for moody skies and warm, low light.
November through February is gray, wet, and dark early. The sun sets around 4:20 p.m. in December. That said, the city looks great in the rain, the holiday lights downtown photograph well, and you'll have the market almost to yourself. If you like moody street photography, don't rule out winter.
Getting Around Seattle
On foot. Walking is how I reached most of the places in this guide. It's the best way to photograph downtown, Pike Place, the waterfront, Belltown, Pioneer Square, and the Central Library. Just be ready for hills. Some streets between the waterfront and downtown are seriously steep, so pack light and wear good shoes. The Overlook Walk and the market elevators help you move between the market and the waterfront without climbing stairs.
Light rail. Link light rail runs from Seattle-Tacoma International Airport straight into downtown, and it's the easiest way in from the airport. The 1 Line also reaches Capitol Hill and the University of Washington. As of March 2026, the 2 Line crosses Lake Washington on the I-90 floating bridge to Bellevue and Redmond. It's the first light rail line in the world to run on a floating bridge, and on a clear day you get views of Mount Rainier. Sit on the south side of the train.
The Monorail. The Seattle Center Monorail connects Westlake Center downtown to the Space Needle in about two minutes. It's quick, fun, and saves your legs.
Ferries. Washington State Ferries leave from Colman Dock on the waterfront. The Bainbridge Island route is one of the best-value photography experiences in the city, and you can walk on with your gear.
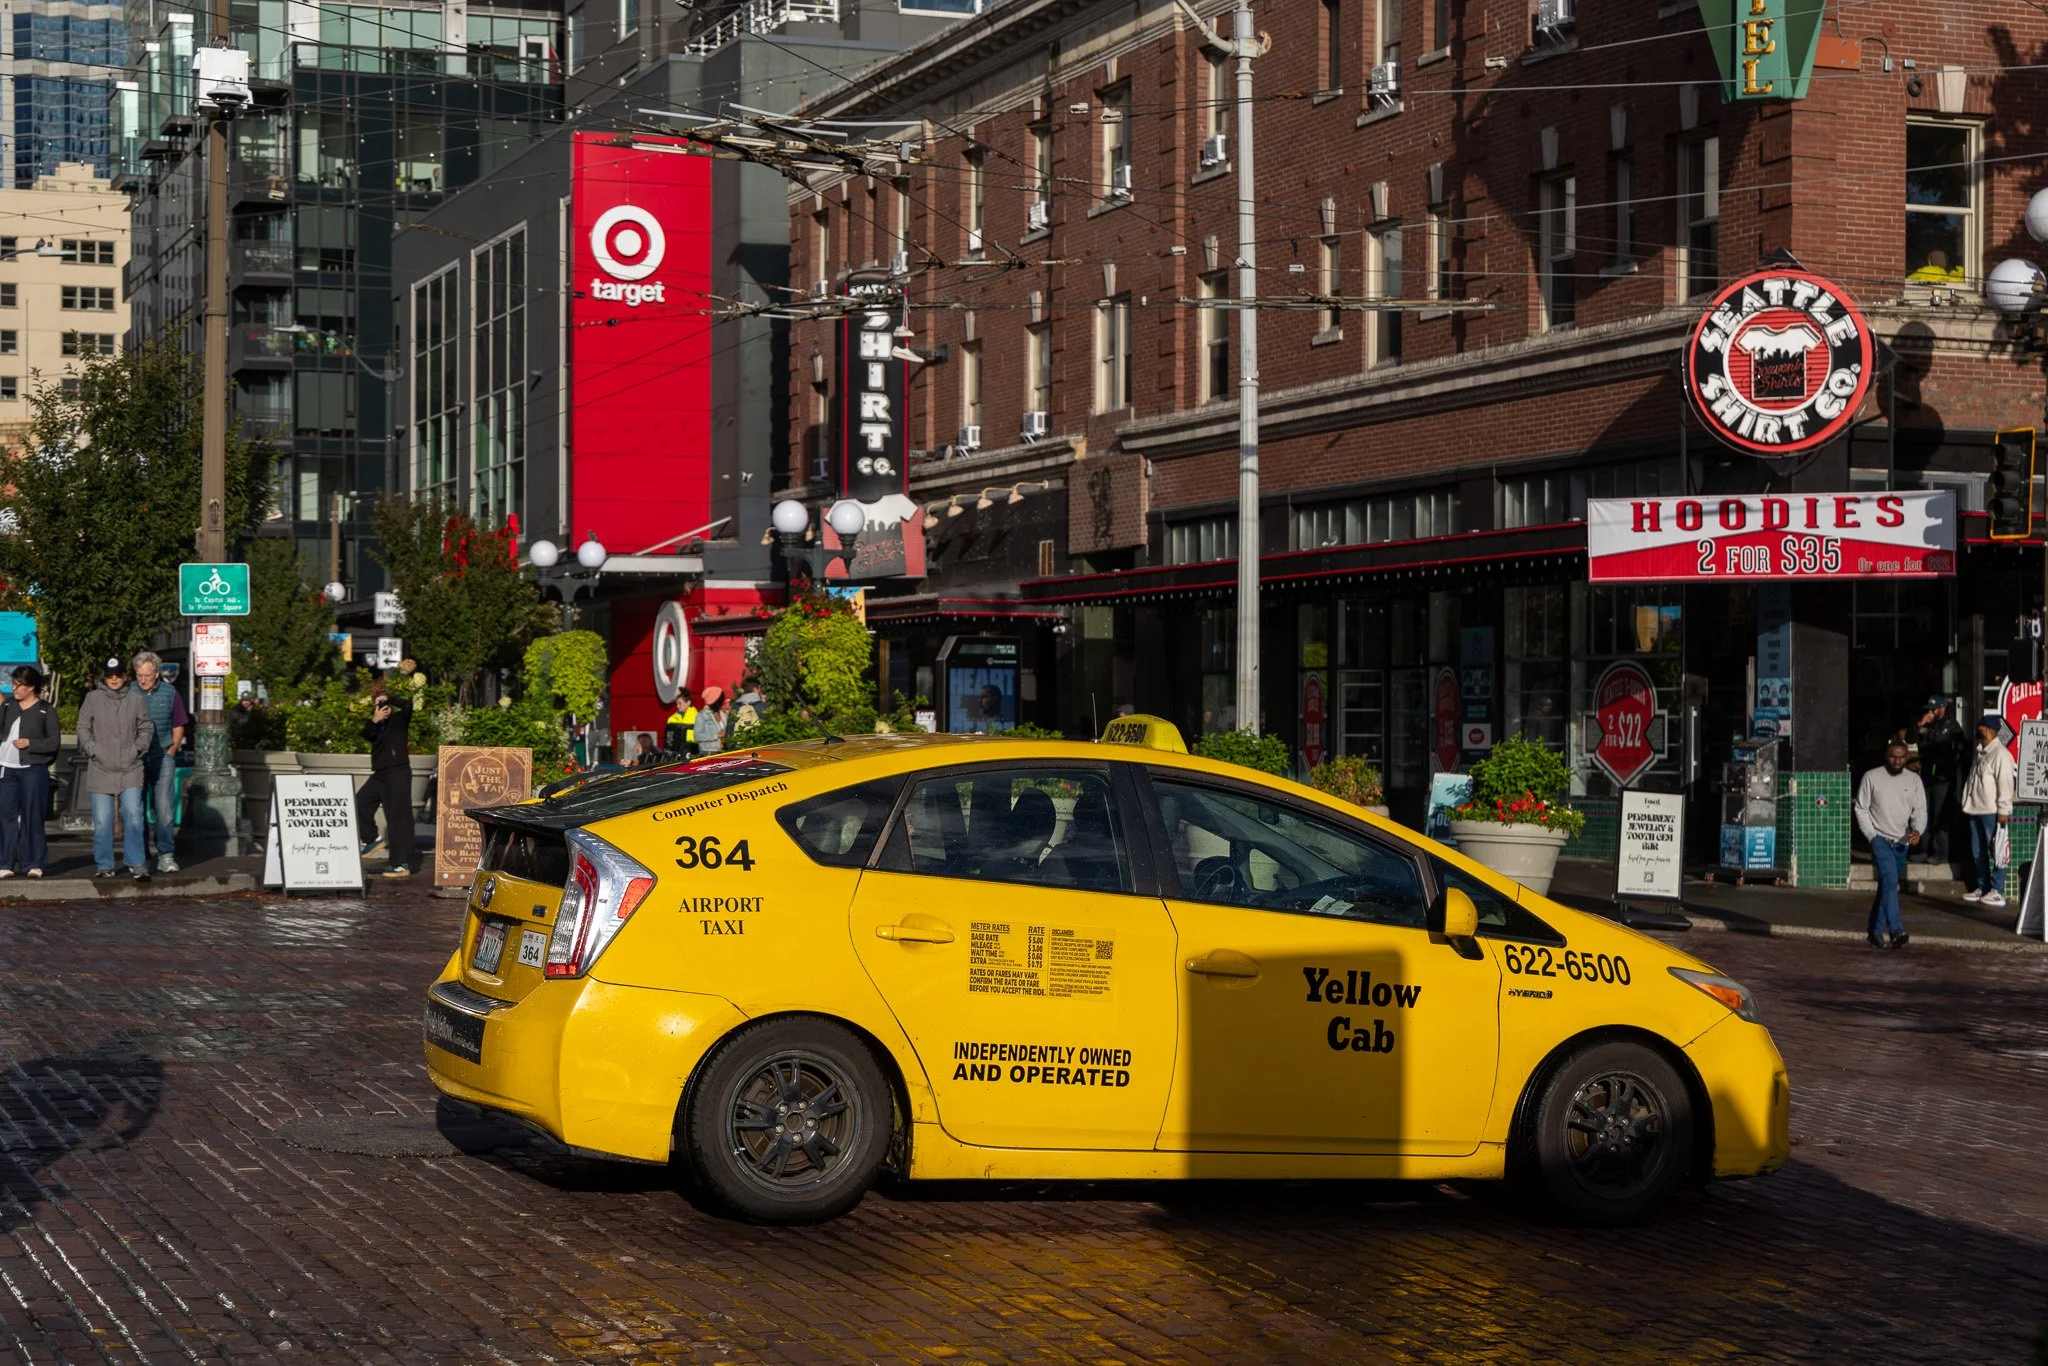
Uber and Lyft. Both operate throughout Seattle. I used Uber, and it was easy, with plenty of cars available. Rideshare is the simplest way to reach Kerry Park and Gas Works Park, especially for sunrise and after dark.
Bikes and scooters. Share apps are available across the city and work well on flat stretches like the waterfront and the Burke-Gilman Trail. Save your legs on the hills.
Rental car. You don't need one for downtown, and parking there adds up quickly. But I found a car helpful for neighborhoods outside the center, like Georgetown, SODO, and Ballard, where the good spots are spread out and you want to stop and start. You'll also want one for day trips to Mount Rainier, the Skagit Valley, or Olympic National Park. If your hotel offers parking, ask about it when you book.
A note on homelessness. Seattle has a large number of people living on the streets, and you'll see it downtown, in Pioneer Square, and in the industrial areas south of the stadiums. It's sad to see in a country this wealthy. That said, the city felt very safe to us, and everyone we met was kind. Use the same common sense you would in any big city, especially after dark. As a photographer, treat people with dignity. Don't photograph someone's tent, belongings, or face without asking first, and if you do ask, respect the answer.
Where to Eat in Seattle
Seattle is a seafood city first. Oysters from Puget Sound and Hood Canal, Dungeness crab, and salmon show up on almost every good menu. The city also has a strong Asian and Pacific Rim influence, and you'll find excellent cooking well beyond downtown.
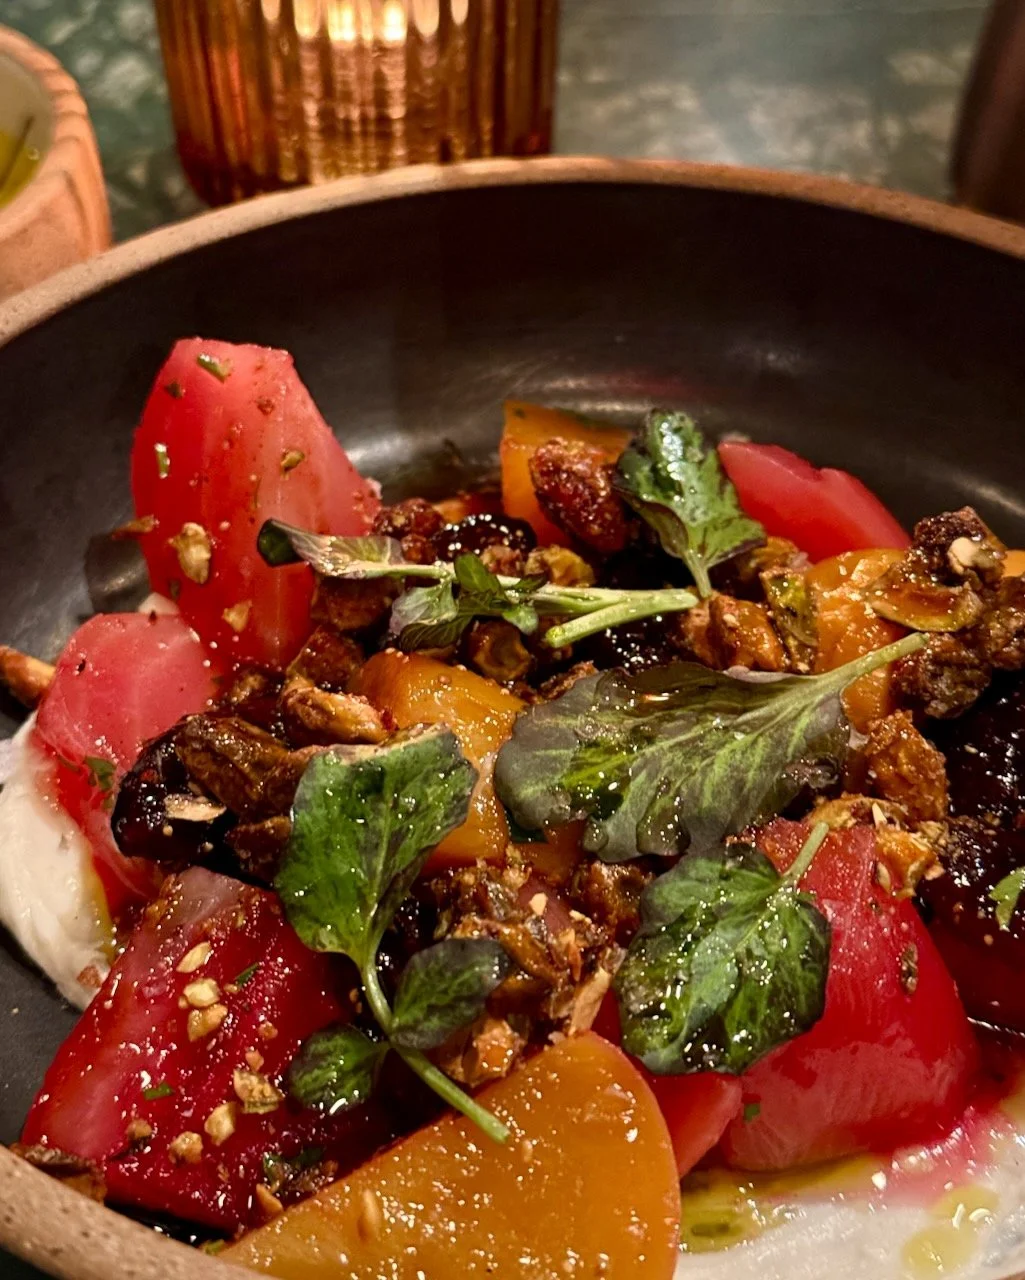
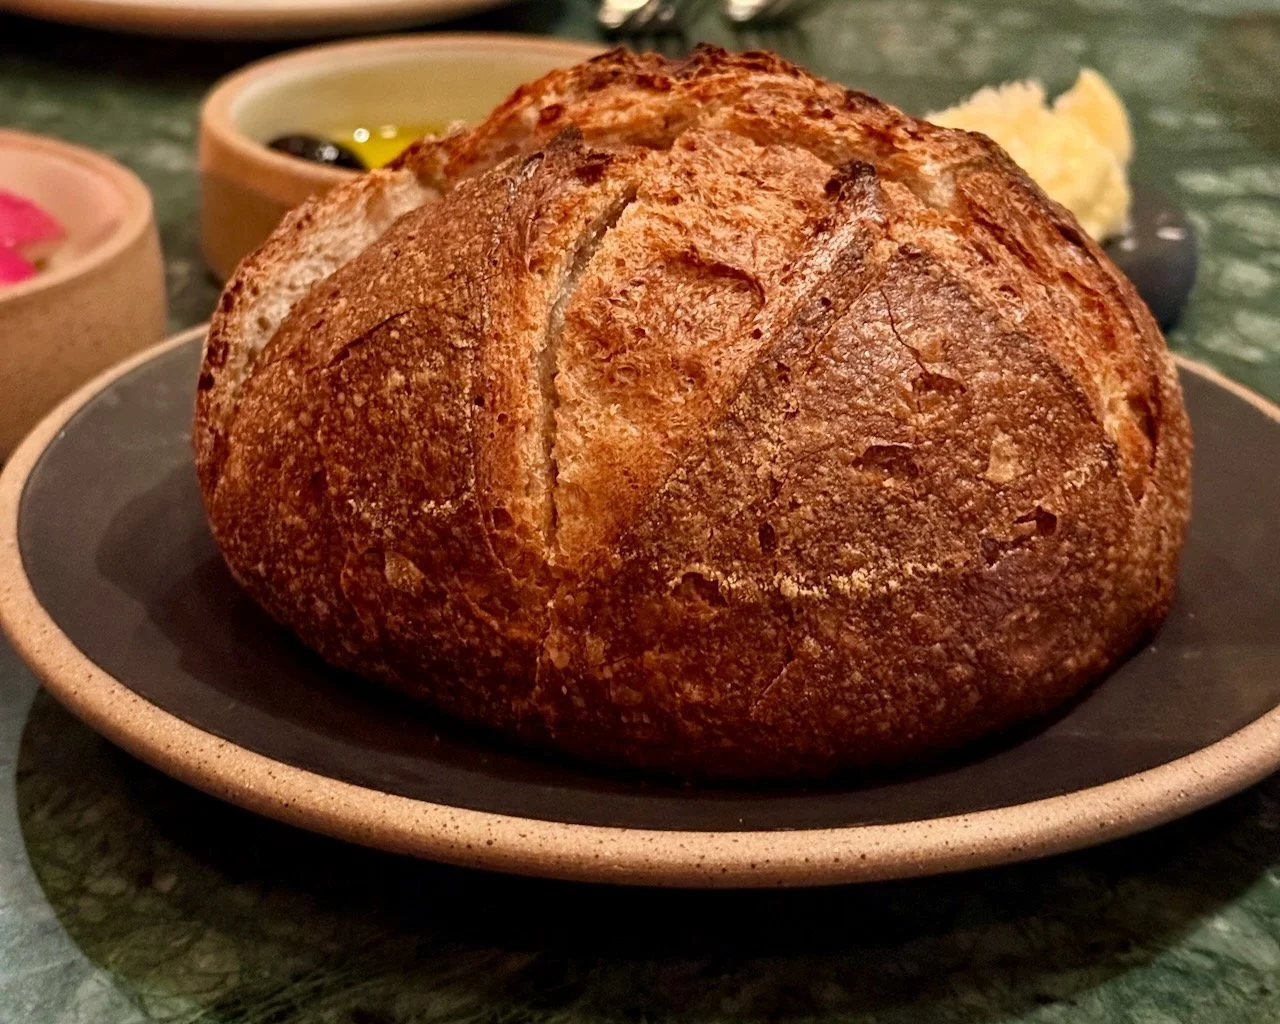
Salt Harvest. This was our first dinner in Seattle, and it set the bar for the whole trip. Salt Harvest is the restaurant inside the Populus hotel in Pioneer Square, and it cooks over wood fire with Pacific Northwest ingredients. We started with oysters from southern Washington, and I'll say it plainly: they were the best oysters I've ever eaten. The roasted beet salad with toasted nuts was bright and earthy, and we followed it with spätzle and trout. Every dish was delicious, and the service was outstanding from start to finish. Even if you stay elsewhere, it's worth the trip to Pioneer Square for dinner.
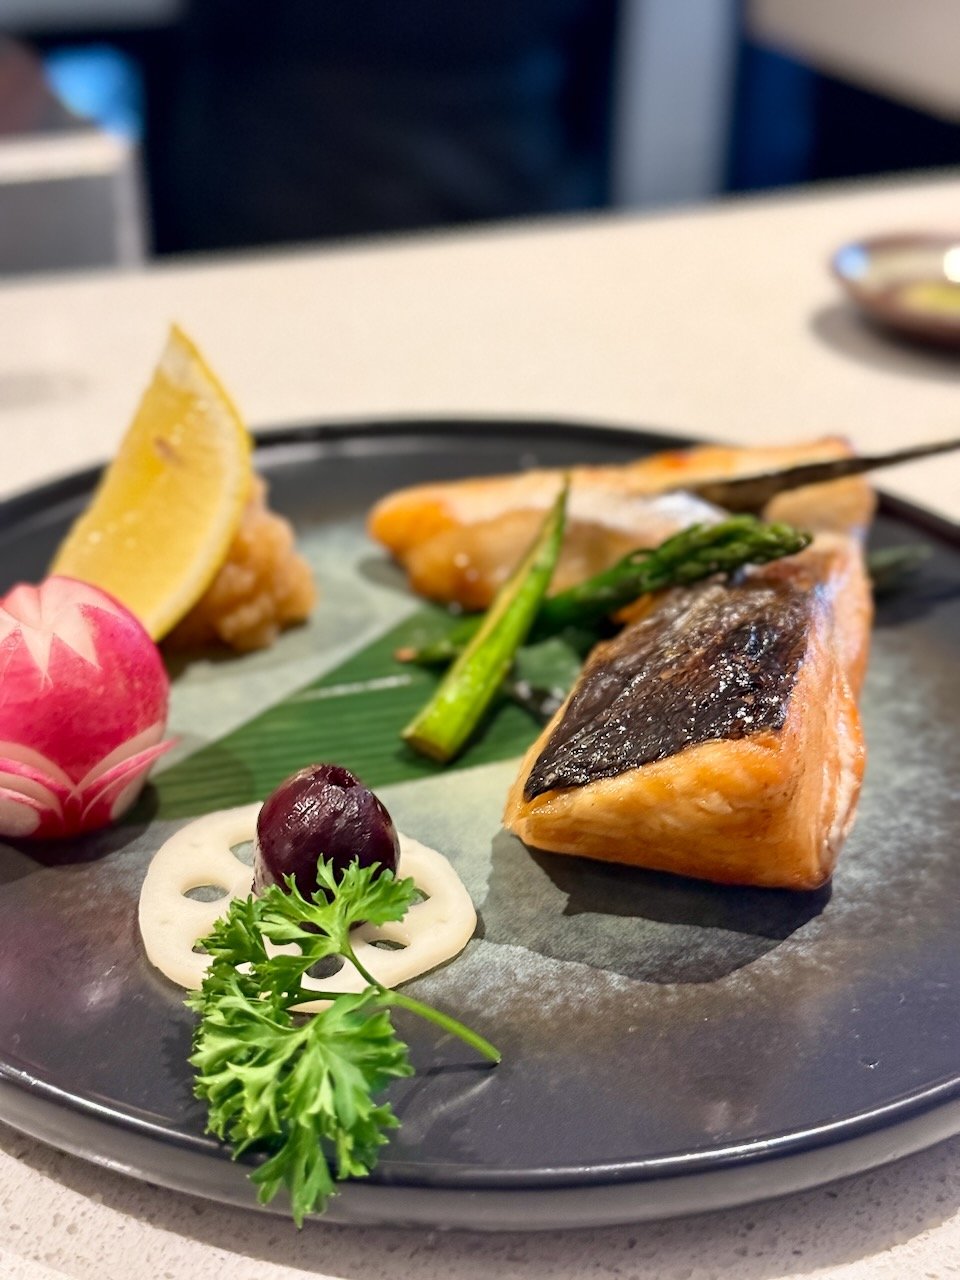
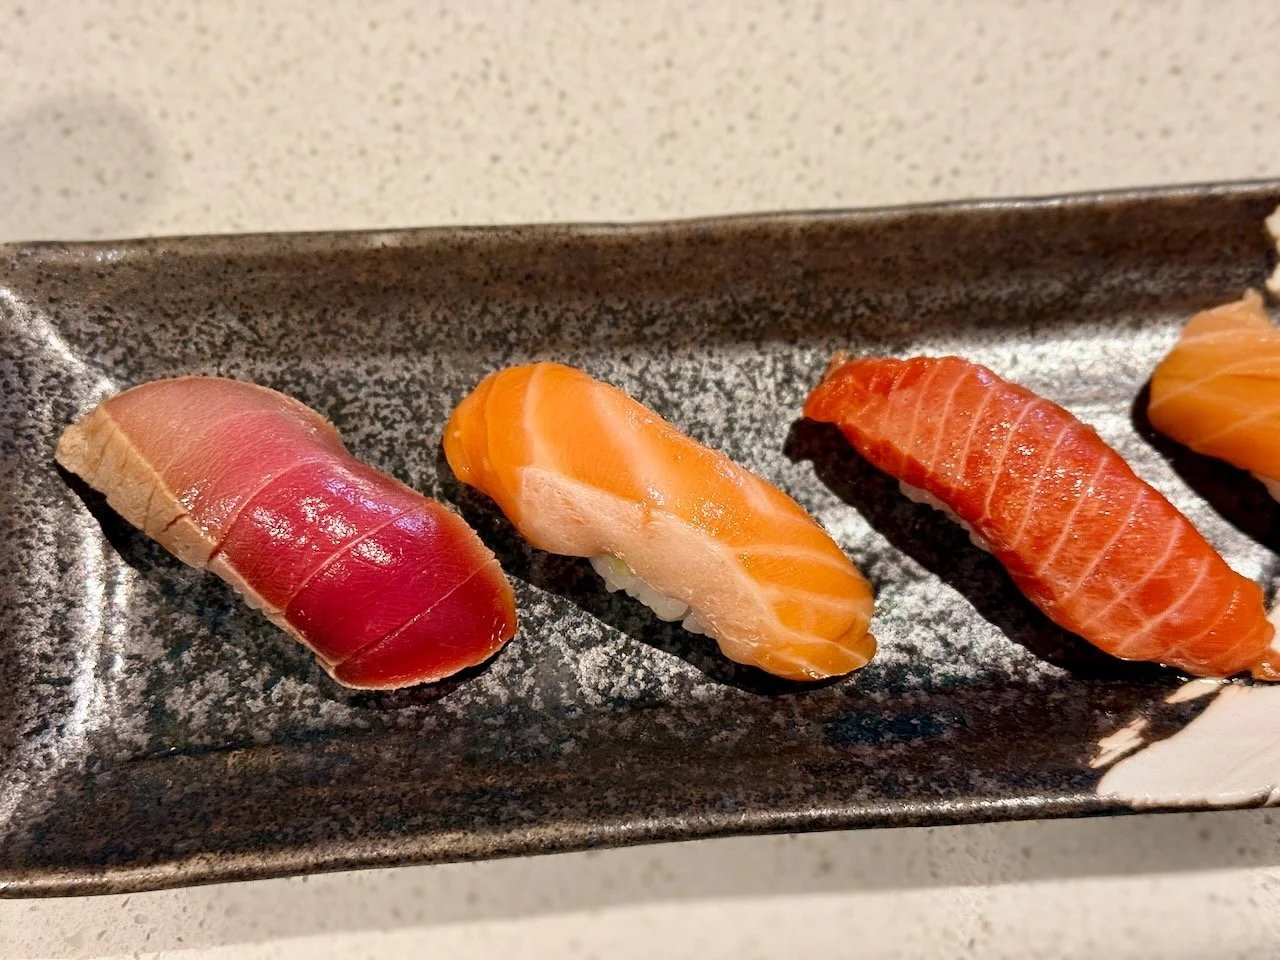
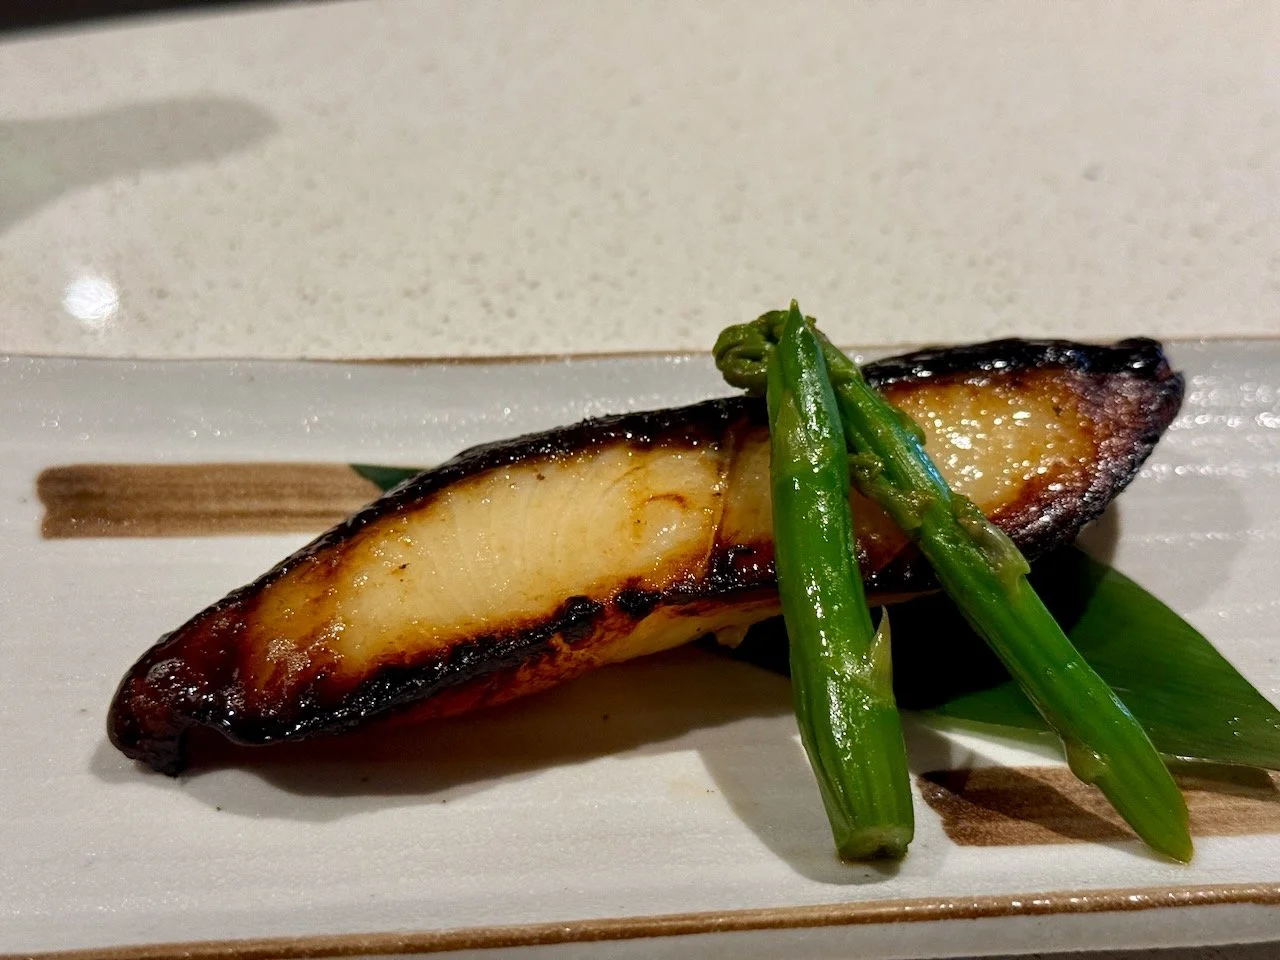
Sushi Kashiba. One of the best meals of our trip. Chef Shiro Kashiba grew up in Kyoto and trained in Tokyo's Ginza district in the early 1960s, where his first mentor was Jiro Ono, the sushi master from the film Jiro Dreams of Sushi. Kashiba arrived in Seattle in 1966, opened the city's first sushi bar, and has spent decades teaching Seattle how to eat sushi. Sushi Kashiba, which he opened in 2015 just above Pike Place Market, is his most personal restaurant. The tuna and salmon nigiri were as good as anything I've eaten in Tokyo. The miso soup and the black cod were excellent, and every dish was prepared with real precision. The service was fantastic. Book well ahead, and ask for a seat at the sushi counter if you can. Watching the chefs work is half the experience.
On My List for Next Time
Canlis. Seattle's classic fine-dining room has been open since 1950. The midcentury building sits on a hillside above Lake Union, with views toward the Cascades. Chef James Huffman, the first Seattle-born chef to lead its kitchen, cooks with Pacific Northwest ingredients. Book well in advance and request a window table at sunset. It's the special-occasion dinner in town.
The Walrus and the Carpenter. Renee Erickson's oyster bar in Ballard is the restaurant that shaped modern Seattle seafood. The space is small, bright, and always busy. Order a mix of local oysters and whatever the kitchen is doing with the fish that day. Check the current reservation policy before you go.
Musang. Chef Melissa Miranda's Filipino restaurant on Beacon Hill feels like a dinner party at a friend's house. The flavors are bold and personal, and the room is warm and lively. It's worth the ride out of downtown.
Eating Your Way Through Pike Place Market
You'll spend a lot of time photographing the market, so you might as well eat there too. These are the stops worth your time between shots.
Three Girls Bakery. We found this one while wandering the market, and it quickly became a favorite. The display cases are packed with scones, croissants, cookies, and bars, and the food is simple and good. The bakery opened in 1912 and was the first business in Seattle licensed to women, so you're eating a piece of market history. Grab pastries from the window, or take a seat at the lunch counter next door for soup and a sandwich. The meatloaf sandwich is the house specialty.
Beecher's Handmade Cheese. If you want a grilled cheese sandwich, this is the place. Beecher's makes its cheese right in the shop, and big windows let you watch the cheesemakers work the curds in the vats. It makes a great photo. Bring a 35mm and press your lens hood flat against the glass to cut the reflections. Then order the grilled cheese and eat it standing up in the market like everyone else.
Bacco Cafe. A reliable choice for breakfast or lunch on Pine Street, at the north end of the market. The menu covers the classics, like eggs Benedict, French toast, and biscuits. Order anything with Dungeness crab, the local specialty. The crab Benedict is the dish people come back for, and it's an easy sit-down meal before or after a morning shoot.
Matt's in the Market. Upstairs in the Corner Market Building, with arched windows looking straight at the Public Market sign and Elliott Bay. The food is seasonal Pacific Northwest, and the view makes it an easy lunch between photo sessions. Reserve ahead for a window seat.
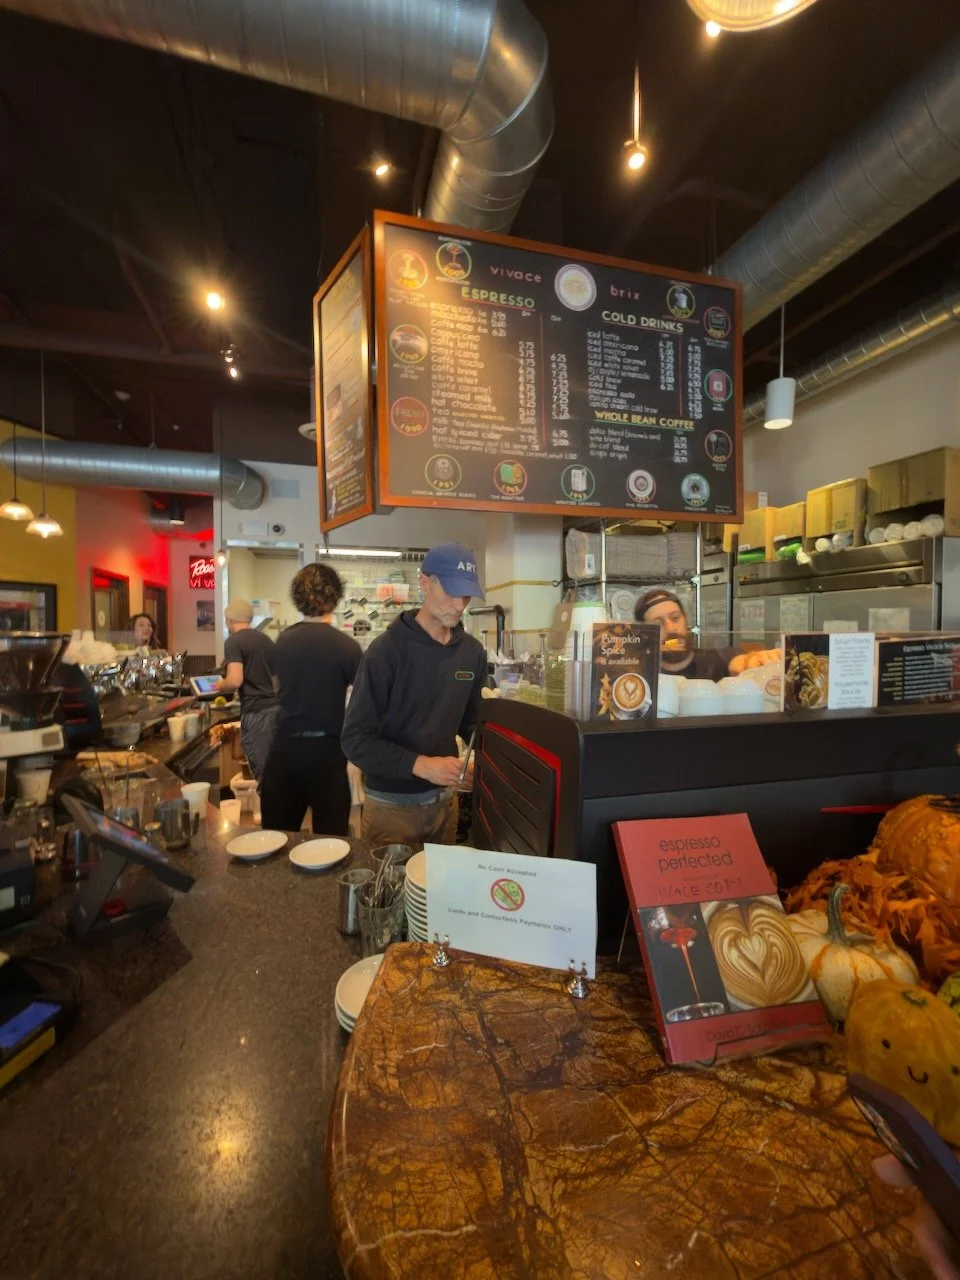
Espresso Vivace in Capital Hill
Coffee Shops
Espresso Vivace. On Broadway in Capitol Hill. We ordered a macchiato, a cappuccino, and a plate of biscotti, then grabbed a seat by the big windows over the street. The espresso runs a little acidic, which usually isn't my thing, but it's strong, serious coffee, and the macchiato won me over completely. The room is large and a little grungy, in the best way, and you can tell it's been here a long time. Locals come in, say hi to the baristas, and settle in with a laptop or a friend. This is Capitol Hill's living room. Order something with milk so you can watch the pour, then give yourself half an hour to watch the neighborhood walk by.
Freya Bakery and Cafe. A Scandinavian bakery on Western Avenue, just below Pike Place Market. I didn't plan to stop. The smell of fresh croissants pulled me in from the sidewalk. The coffee and the pastries are both delicious, so it makes a great breakfast stop between shoots in the market.
Ghost Alley Espresso. A tiny walk-up window on Post Alley, right beside the Gum Wall and below the Public Market sign. Legend says the space is haunted. Grab your first coffee of the day here, then start photographing the market while the alley is still quiet.
Elm Coffee Roasters. In Pioneer Square, clean, bright, and calm, with light roasts and a steady flow of neighborhood regulars. It's a great base between street photography sessions in Pioneer Square.
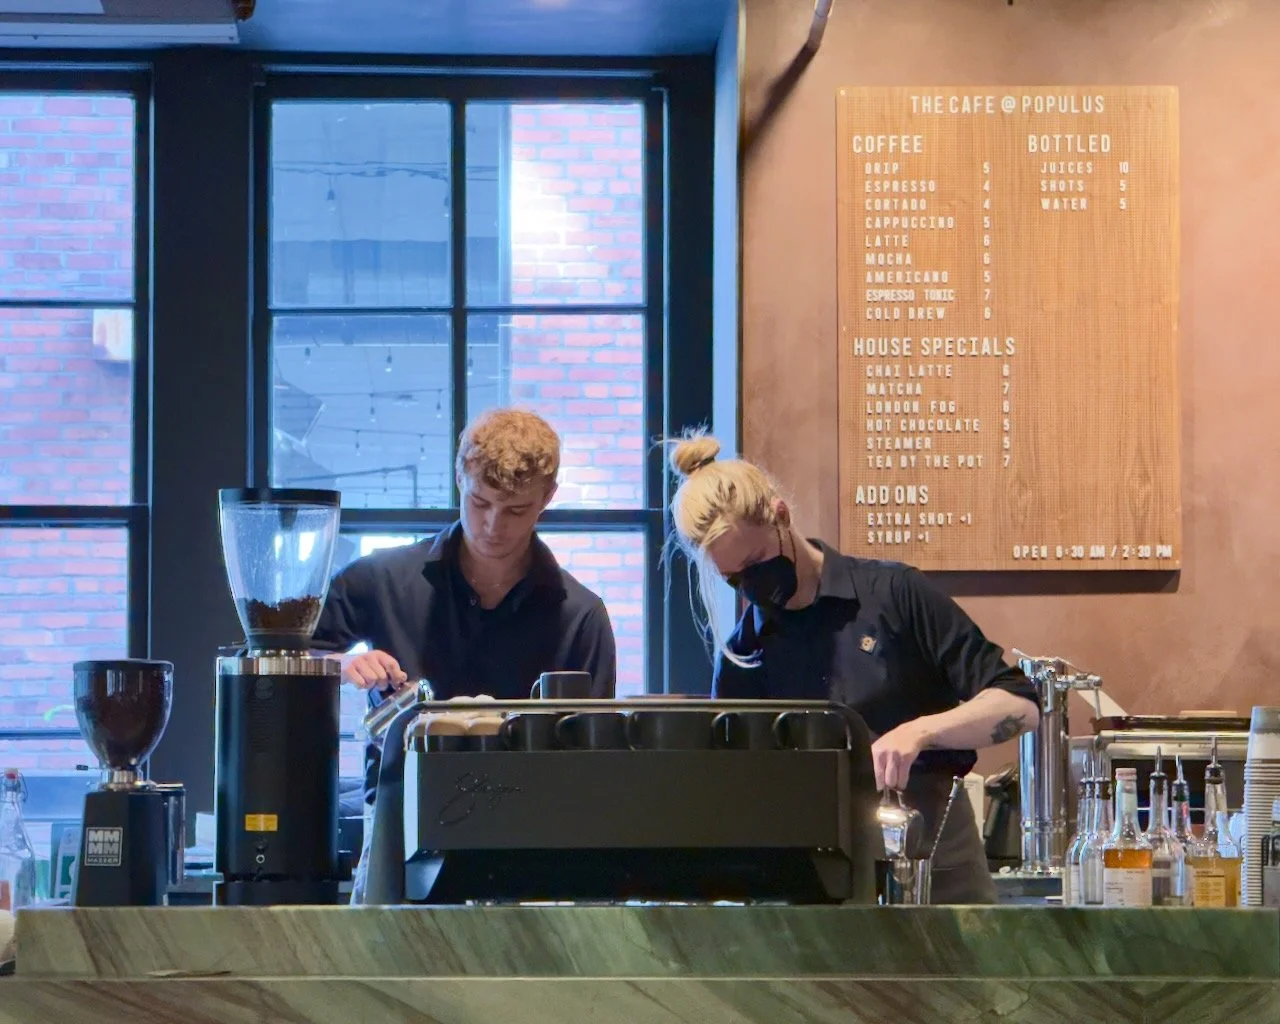
The Coffee Shop in the Populus Hotel
Photography Gear to Bring
Cameras
Any modern mirrorless body works well here. I shoot with the Canon EOS R5 Mark II, and the Sony A7R V and Nikon Z8 are equally strong choices for Seattle. I always have my Leica Q3 with me, and it's ideal for Pike Place and Pioneer Square, where you want something small and quiet.
Lenses
All-around, 24–105mm or 24–70mm. I shot Seattle with my 24–105mm, and it was perfect. It covered the market, the waterfront, street photography in Pioneer Square, and architecture downtown without a lens change. If you bring only one lens, make it this one.
Wide, 15–35mm or 16–35mm. Useful for Chihuly Garden and Glass, Olympic Sculpture Park, Gas Works Park, and the Fairmont Olympic lobby.
Telephoto, 70–200mm or longer. The lens to add if Kerry Park is on your list. It compresses the Space Needle, downtown, and Mount Rainier into one frame, and it works for ferries, container cranes, and seaplanes on Lake Union. For Rainier to truly loom behind the skyline, go longer, with a 100–400mm or 100–500mm.
Accessories
Tripod or Platypod. You'll need one for blue hour at Kerry Park, Gas Works Park, and the waterfront. A Platypod is the better choice in tight spots where a tripod would block people.
ND filters. Bring a 3-stop, a 6-stop, and a 10-stop for long exposures of a ferry's wake, the waterfront at dusk, and waterfalls on day trips.
Rain cover. Bring one, even in summer. Showers roll in fast.
Microfiber cloths. Mist and drizzle will find your front element.
Extra batteries and cards. Cool, damp weather drains batteries faster.
A backup drive. I carry a Samsung T7 SSD and back up every night.
Drones
Seattle is one of the hardest cities in the US to fly a drone. Seattle Municipal Code bans drones in city parks, including Kerry Park and Gas Works Park. Much of the city also sits in controlled airspace around Sea-Tac Airport and Boeing Field, so you'll need LAANC authorization almost everywhere. Commercial filming on city property requires a permit from the Seattle Office of Film and Music. Mount Rainier and Olympic National Parks prohibit launching and landing drones. If you want aerial work, look for designated flying areas outside the city, like the model aircraft field at Marymoor Park in Redmond, which requires club registration. Check the FAA's B4UFLY app before every flight.
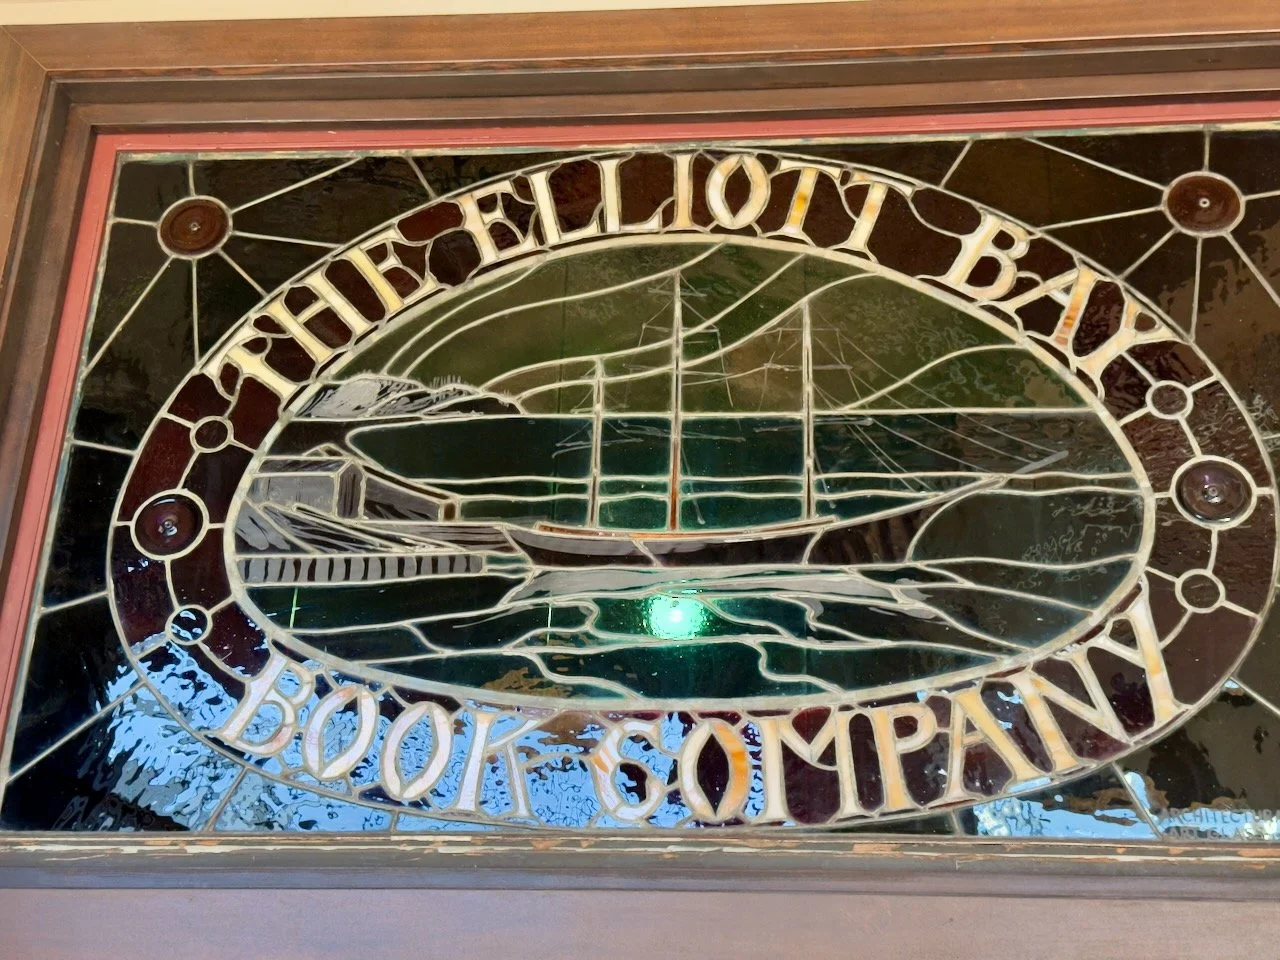
The beautiful Elliott Bay Bookstore in Capital Hill
iPhone Tips
Use your telephoto lens at Kerry Park. Switch to your longest lens, 4x or 5x on Pro models, to stack the Space Needle in front of Mount Rainier. On a standard iPhone, use 2x. The ultrawide pushes the mountain so far back it almost disappears.
Brace for Night mode. At Kerry Park and Gas Works Park after dark, rest your iPhone on the railing or a small tripod. When the phone senses it's stable, Night mode extends the exposure and gives you cleaner skyline lights.
Try Live Photo Long Exposure on the ferry. Shoot the wake behind the Bainbridge ferry as a Live Photo, then choose Long Exposure in your Photos app. The churning water turns into a smooth white trail leading back to the skyline.
Go ultrawide inside the Chihuly Glasshouse. Stand near the center and tilt up to fill the frame with the red, orange, and yellow glass suspended overhead. Turn on the grid so you keep the glass walls straight.
Shoot ProRAW on gray days. At Pike Place and Gas Works Park, overcast light can look flat straight out of the camera. If you have a Pro iPhone, ProRAW gives you room to pull color and contrast back in Lightroom Mobile.
Best Photography Spots in Seattle
Kerry Park
Kerry Park is a narrow strip of lawn and railing on the south slope of Queen Anne Hill, and it holds the most famous view in the city. You stand at the railing and look straight across downtown, with the Space Needle in the foreground, Elliott Bay to the right, and, on a clear day, Mount Rainier rising behind the towers. When the mountain is out, people around you actually cheer.
The frame works because every layer of Seattle lines up in one view: the needle, the skyline, the water, and the volcano. At sunset, the city lights come on while the sky still holds color, and Rainier often turns pink in the last light.
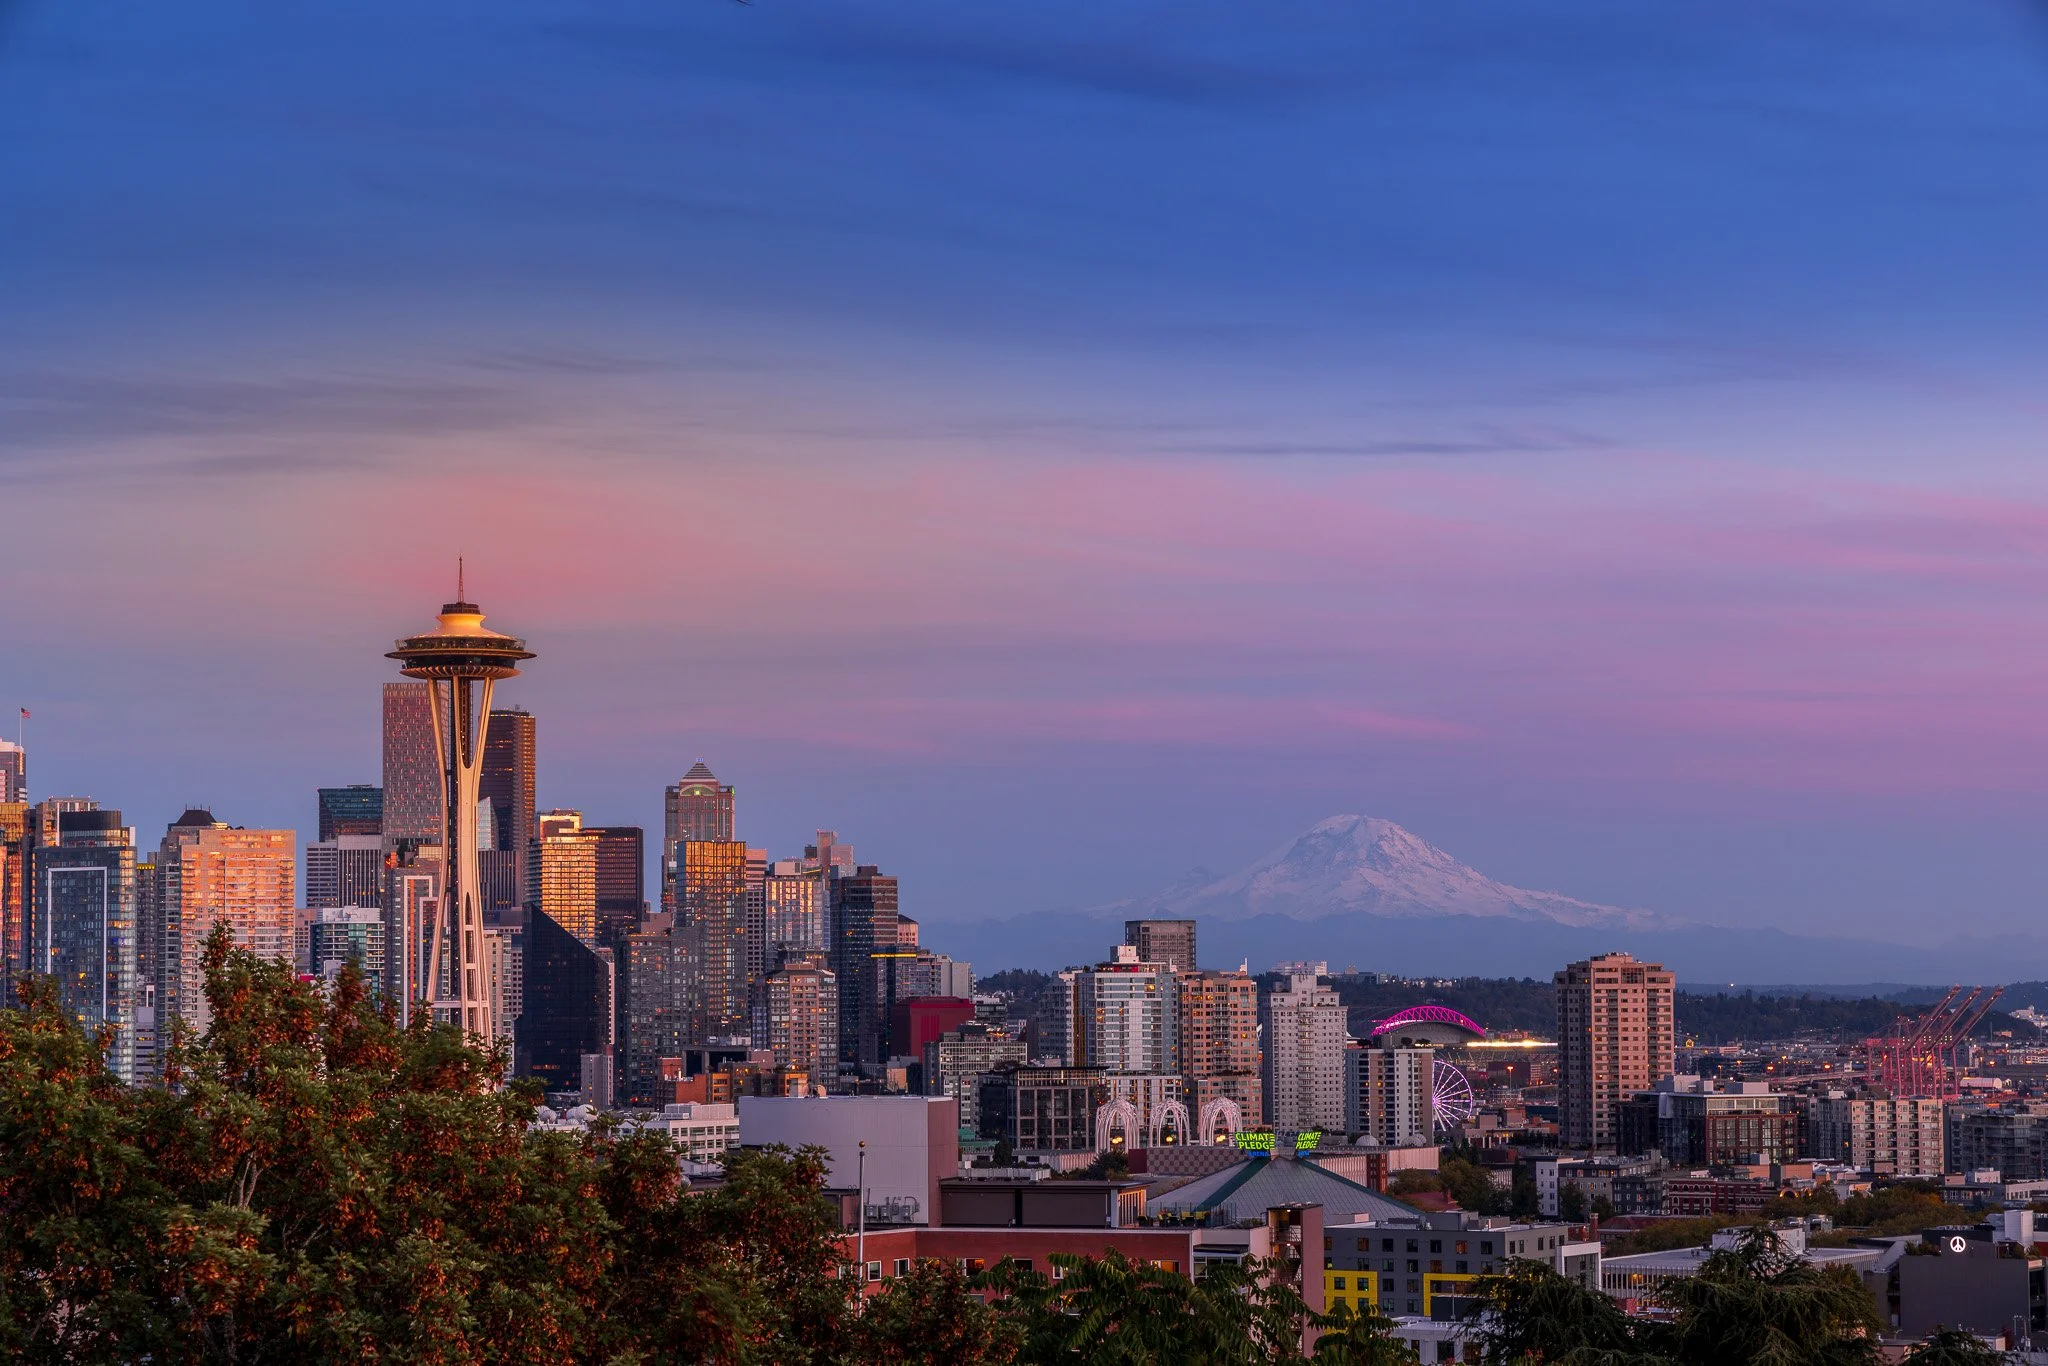
Kerry Park at Sunset with Mount Rainier in the Background
📷 Pro Tip: Arrive at least 45 minutes before sunset in summer, because the railing fills with tripods fast. Use a 70 to 200mm to compress Rainier behind the skyline, and switch to a 24 to 70mm for the wider view with Elliott Bay. Stay through blue hour, roughly 20 to 30 minutes after sunset, when the building lights balance with the sky. Sunrise is quieter and puts soft light on the east side of the towers. Be considerate. The park sits in a residential neighborhood, so keep voices down early and late.
Best time: Sunset and blue hour, July to September for the clearest views of Rainier. Access: Free, open public park. Take a rideshare or walk uphill from Lower Queen Anne.
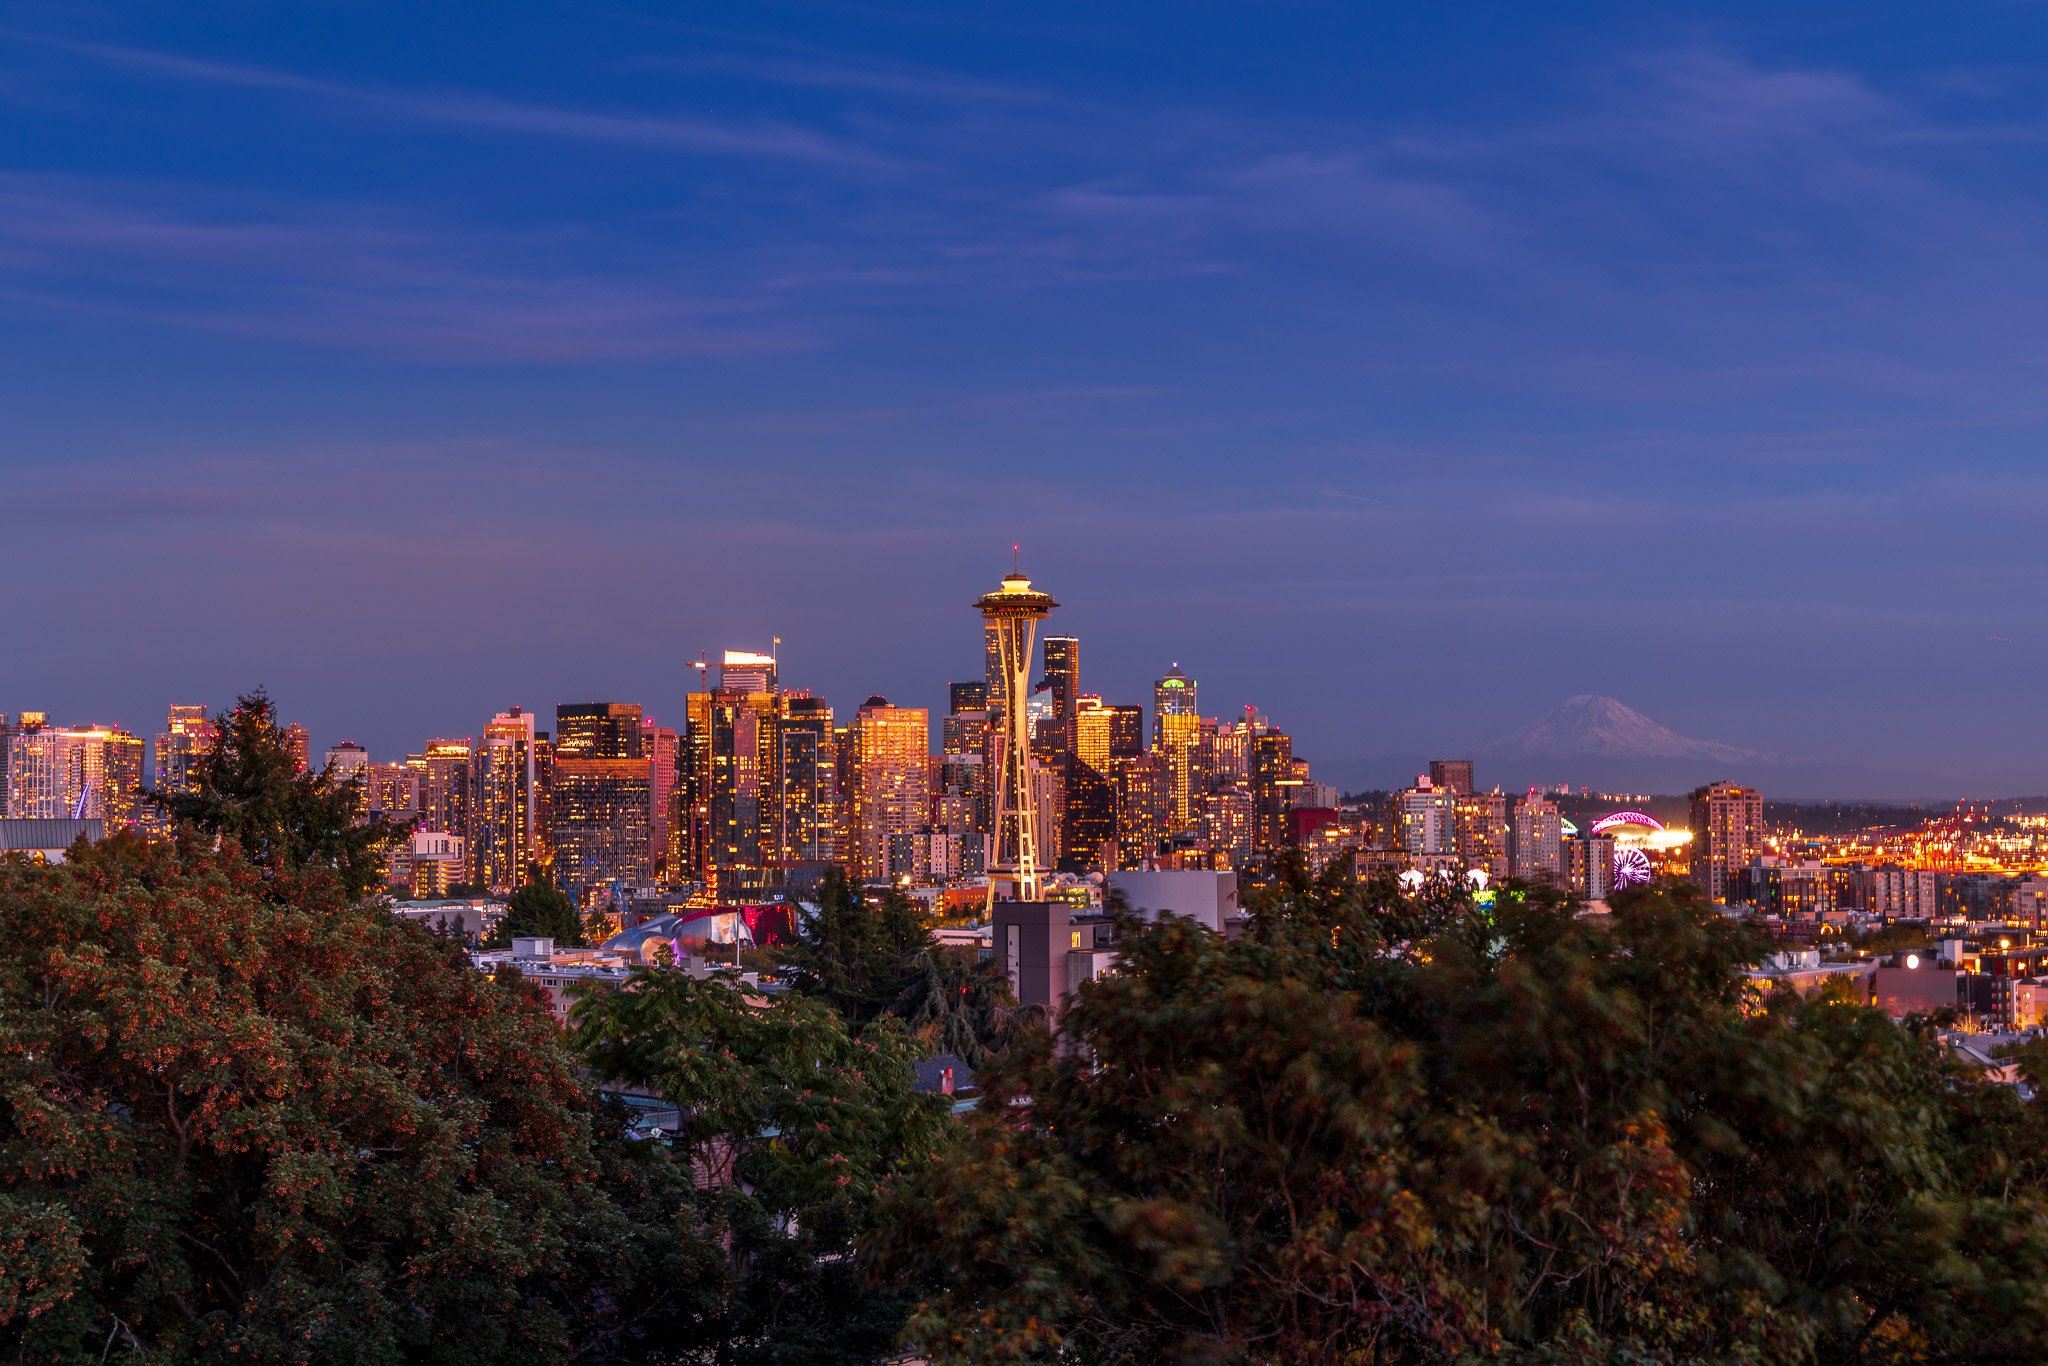
Blue Hour from Kerry Park
Pike Place Market
Walking into Pike Place Market in the early morning is a full sensory experience. Fishmongers call out orders and toss salmon over the counter, flower sellers build bouquets of dahlias and peonies, and the red neon Public Market sign and clock glow over the entrance. The market has operated since 1907, and it still feels like a working market, not a museum.
Photographically, this is color, texture, and people in every direction. The covered arcades give you soft, even light even on bright days, and the neon, the hand-lettered signs, and the stacked produce make strong graphic backdrops.
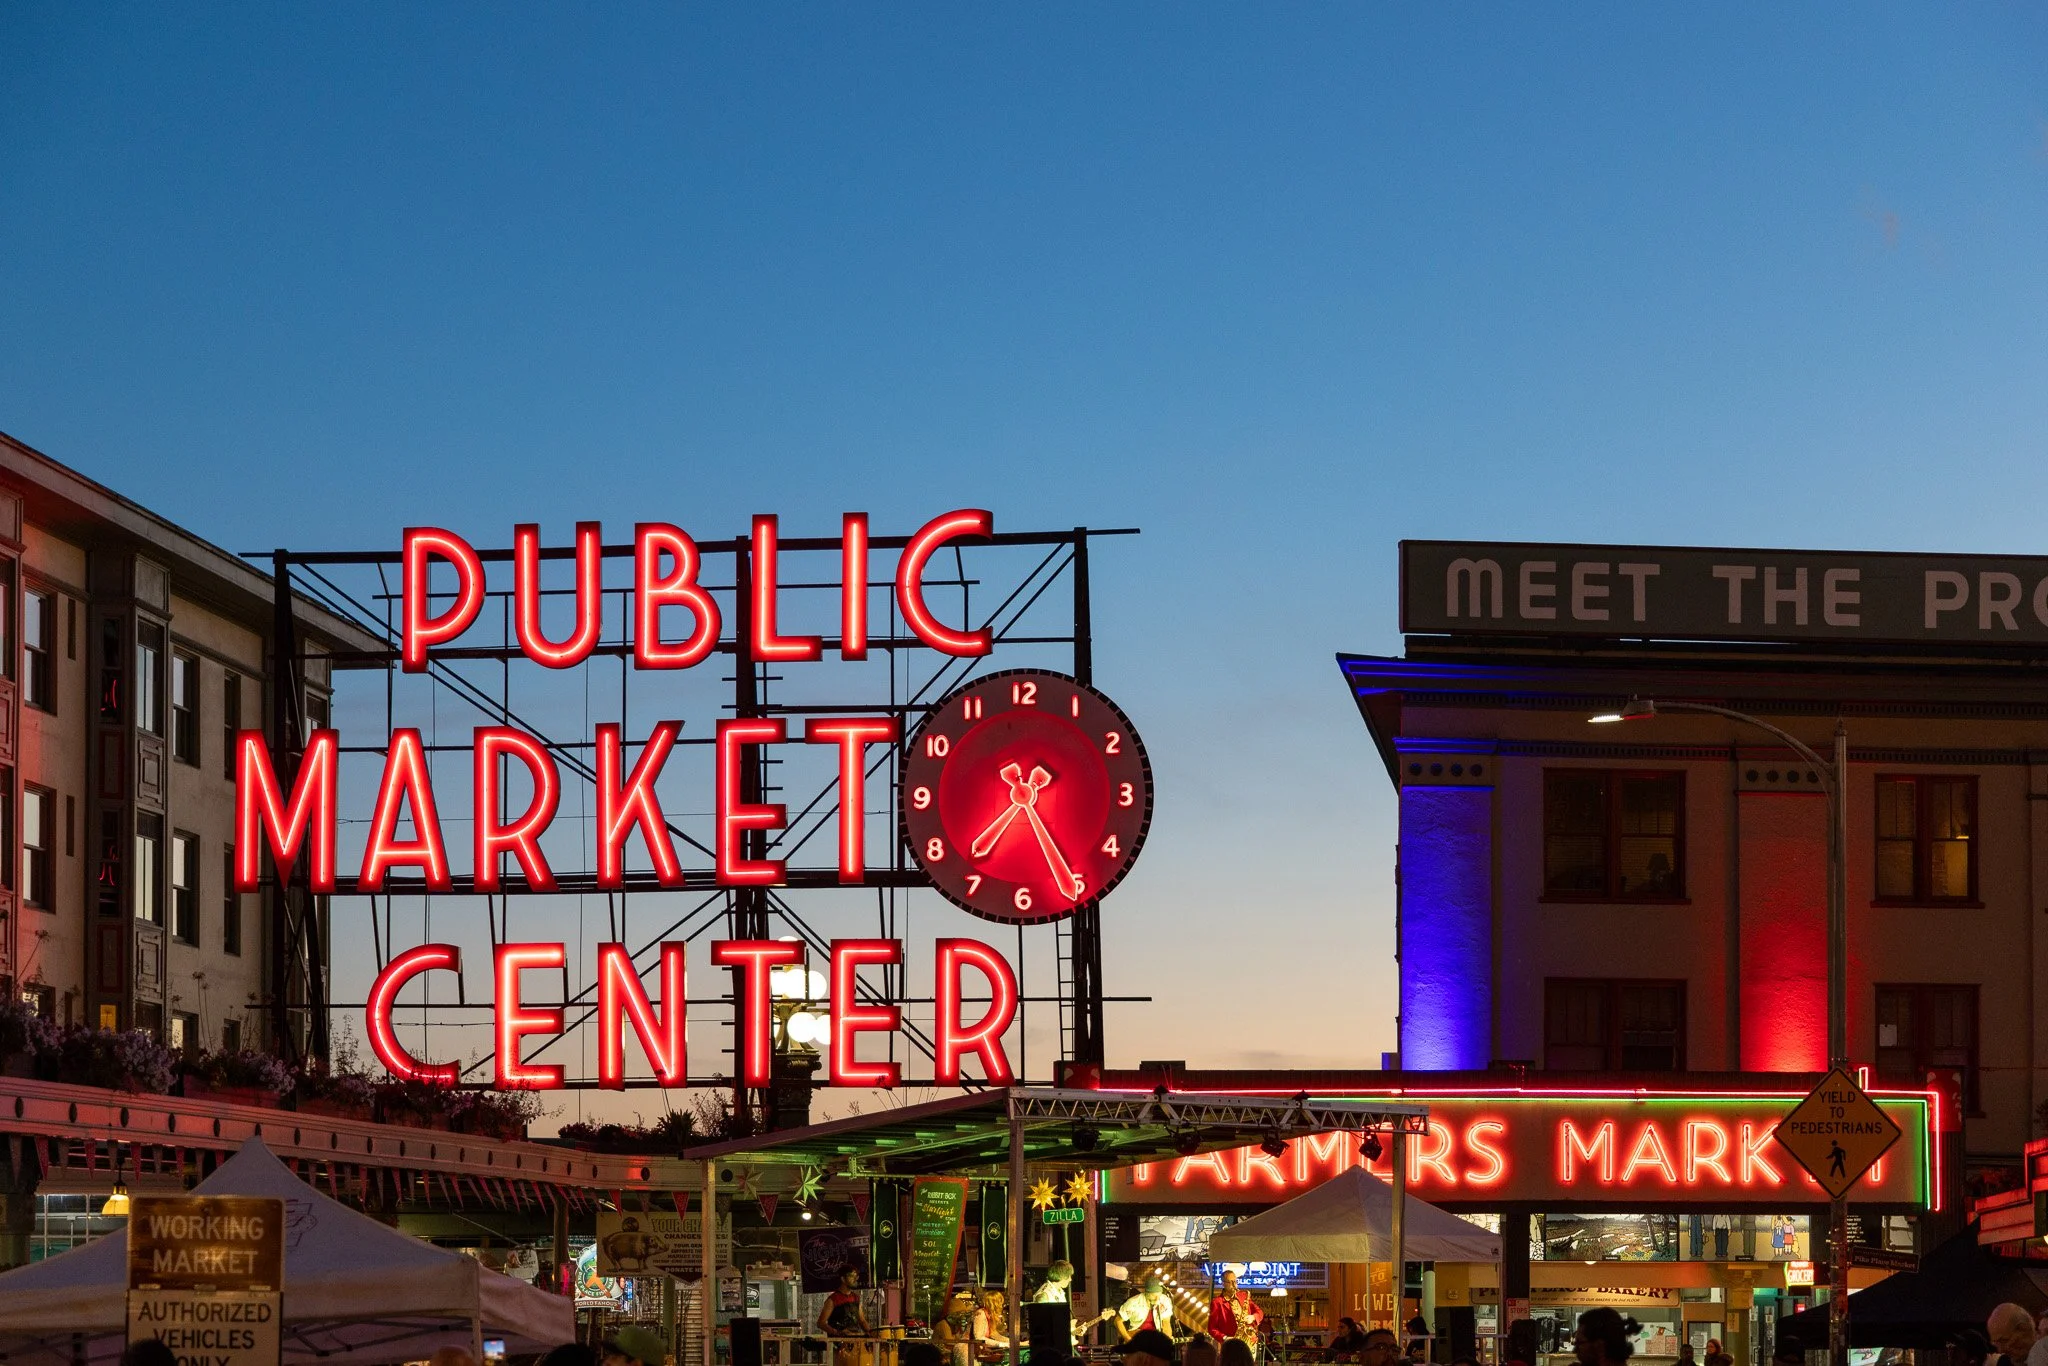
Pike Market at Sunset
📷 Pro Tip: Get there around 7am to watch the vendors set up and photograph the Public Market sign with an empty street. Use a 35mm or 24 to 70mm and keep your kit small, because the aisles get tight. Leave the tripod behind here. Always ask before photographing a vendor up close, and buy something small if they give you their time. For the famous fish throwing, stand to the side of the counter so you catch the fish in the air with the crowd reacting behind it. Walk down Post Alley afterward for the Gum Wall and the brick alleys.
Then come back at sunset. I photographed the market at the end of the day, and it was my favorite session there. The light was beautiful, and with the crowds out on the street, it was a great time for people photos. Switch to an 85mm or a 70 to 200mm to isolate faces in the warm light from a respectful distance. On iPhone, use Portrait mode or your telephoto lens and tap to expose for the faces, not the bright sky.
Best time: Early morning for vendors and an empty street, sunset for light and people. Avoid late morning on cruise ship days. Access: Free to enter. Walk from anywhere downtown.
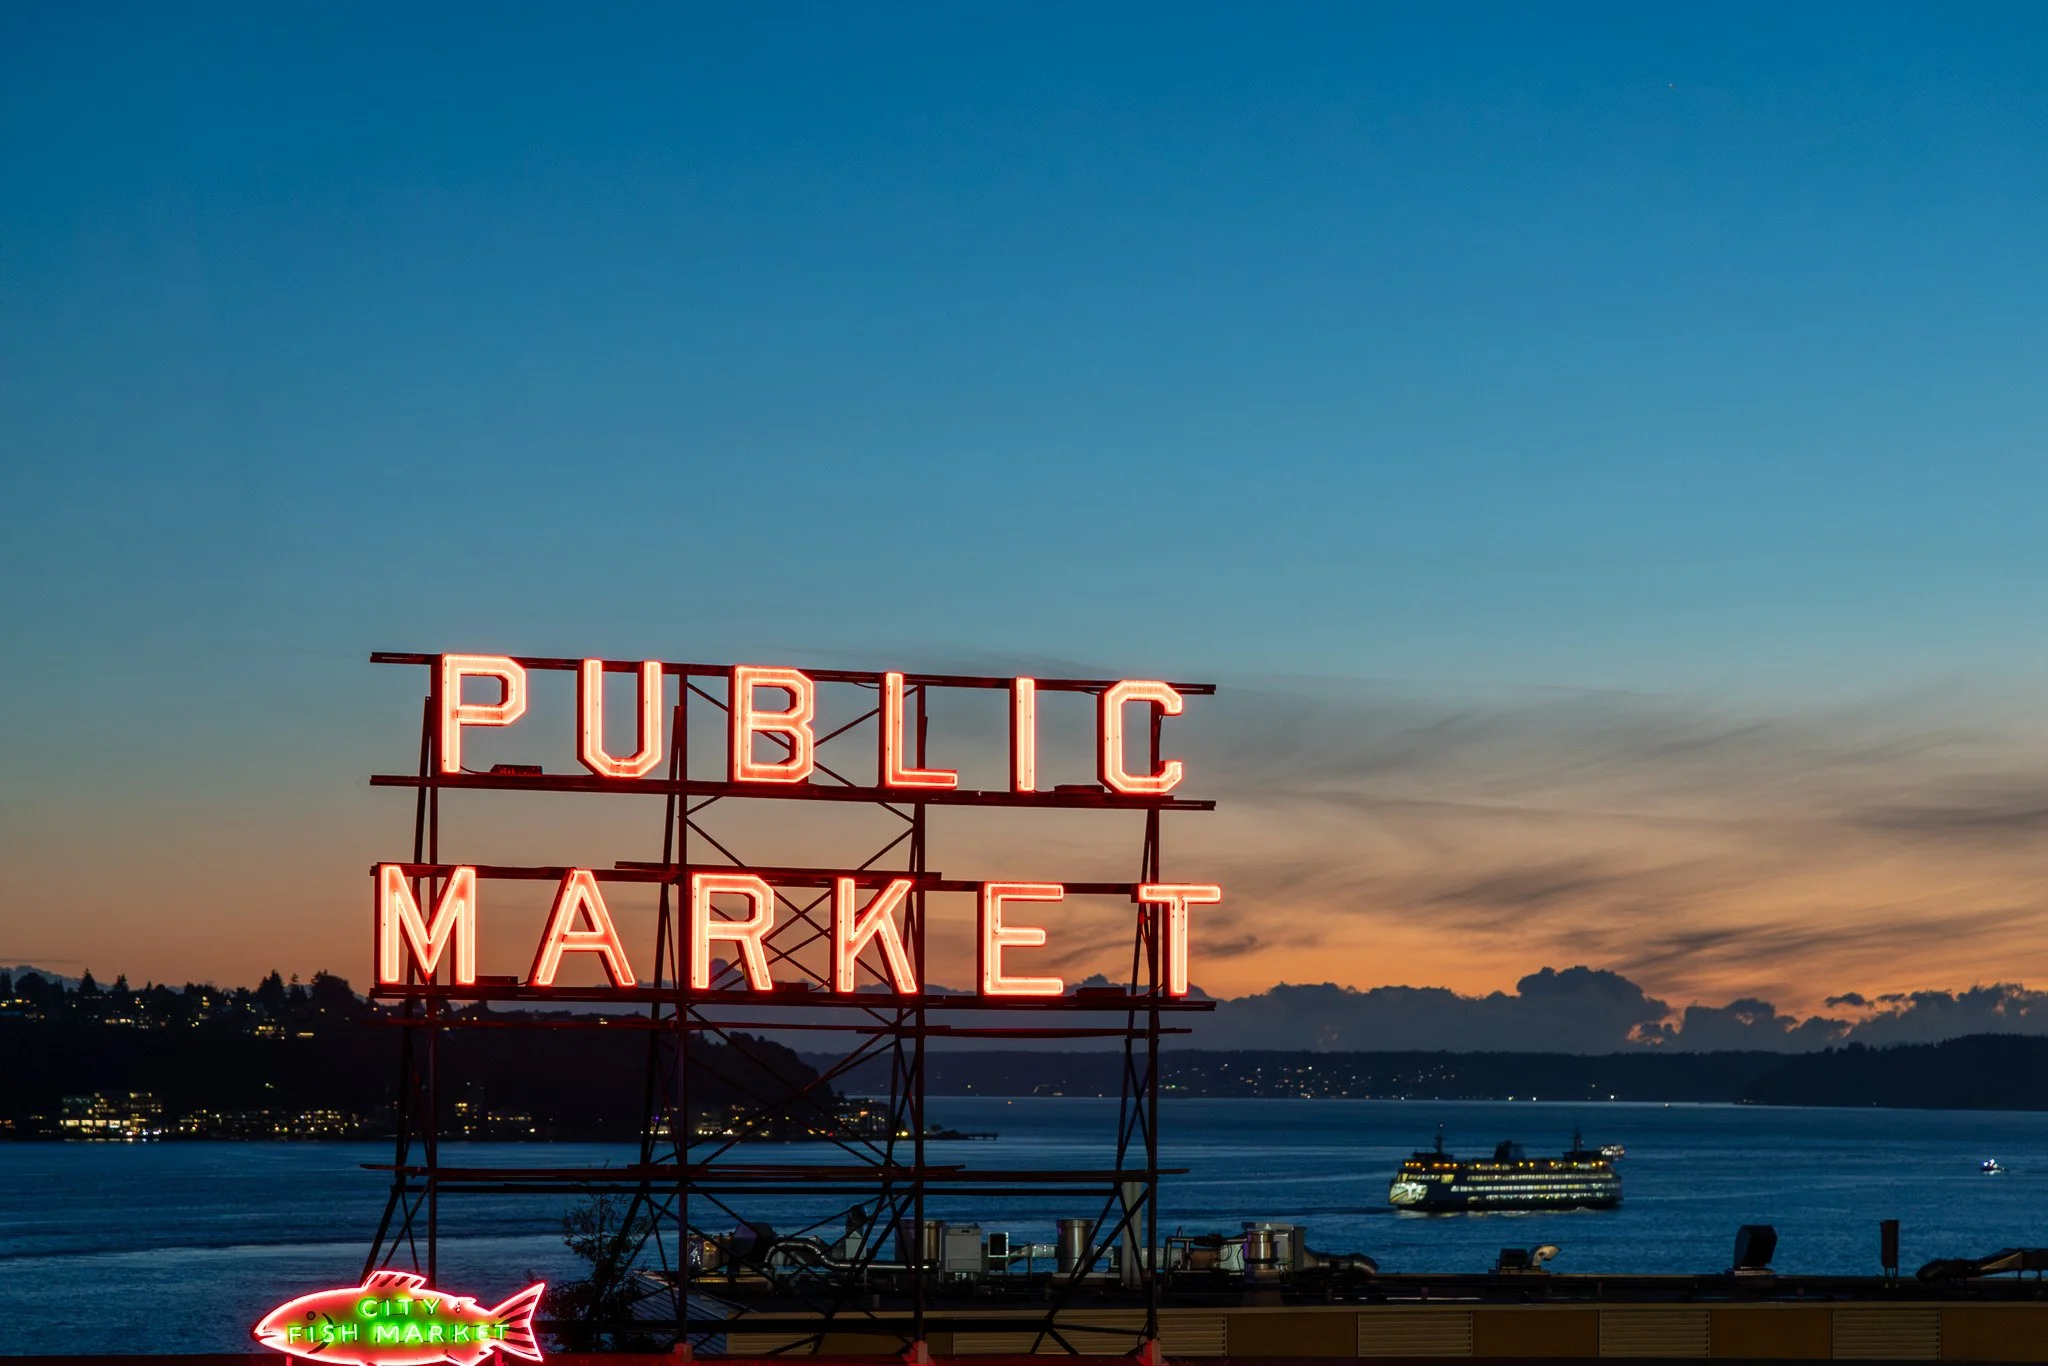
The famous Public Market Sign at Pike Market with a Ship in the Background
Seattle Central Library
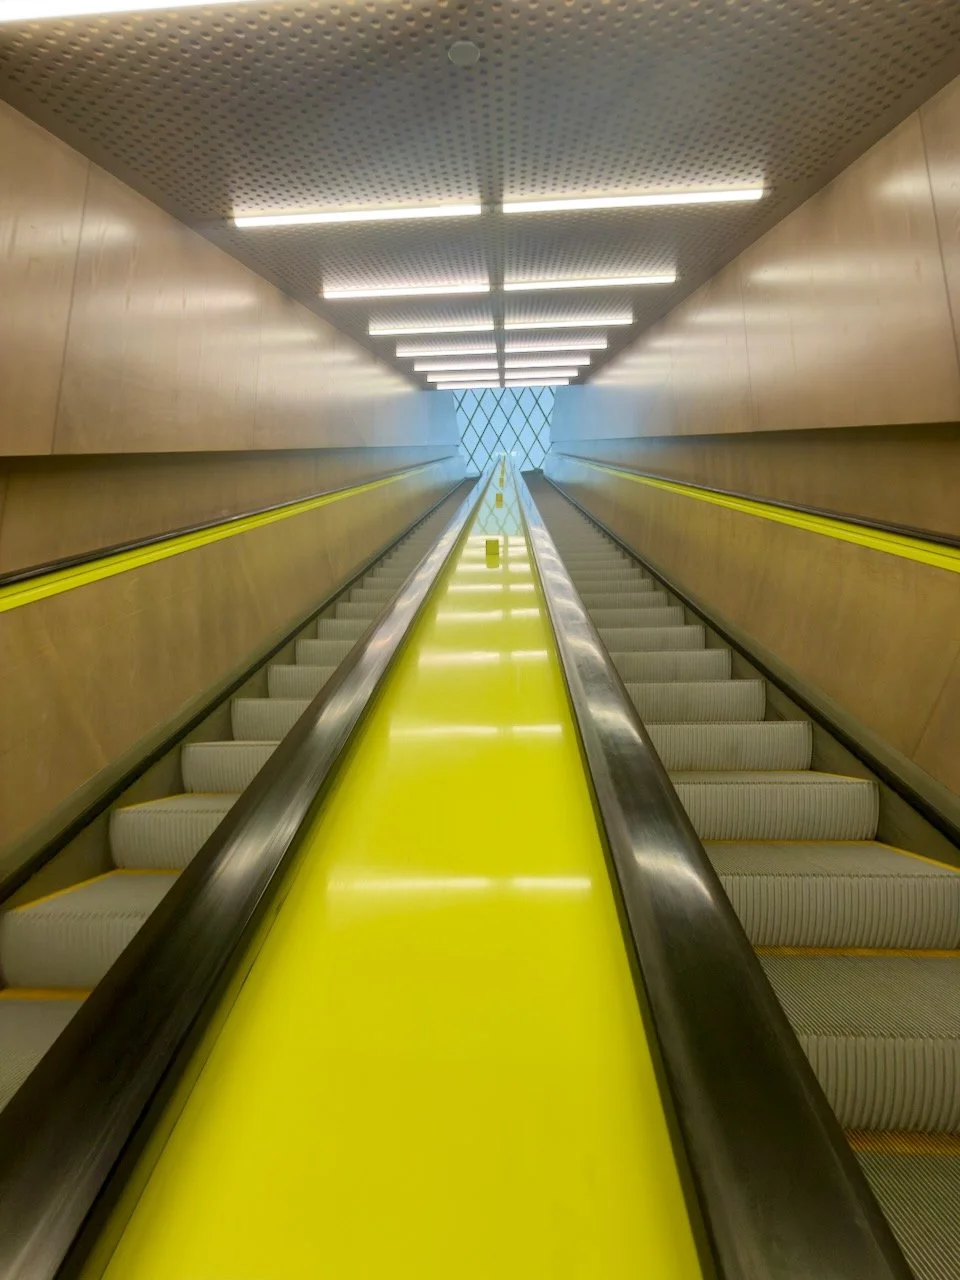
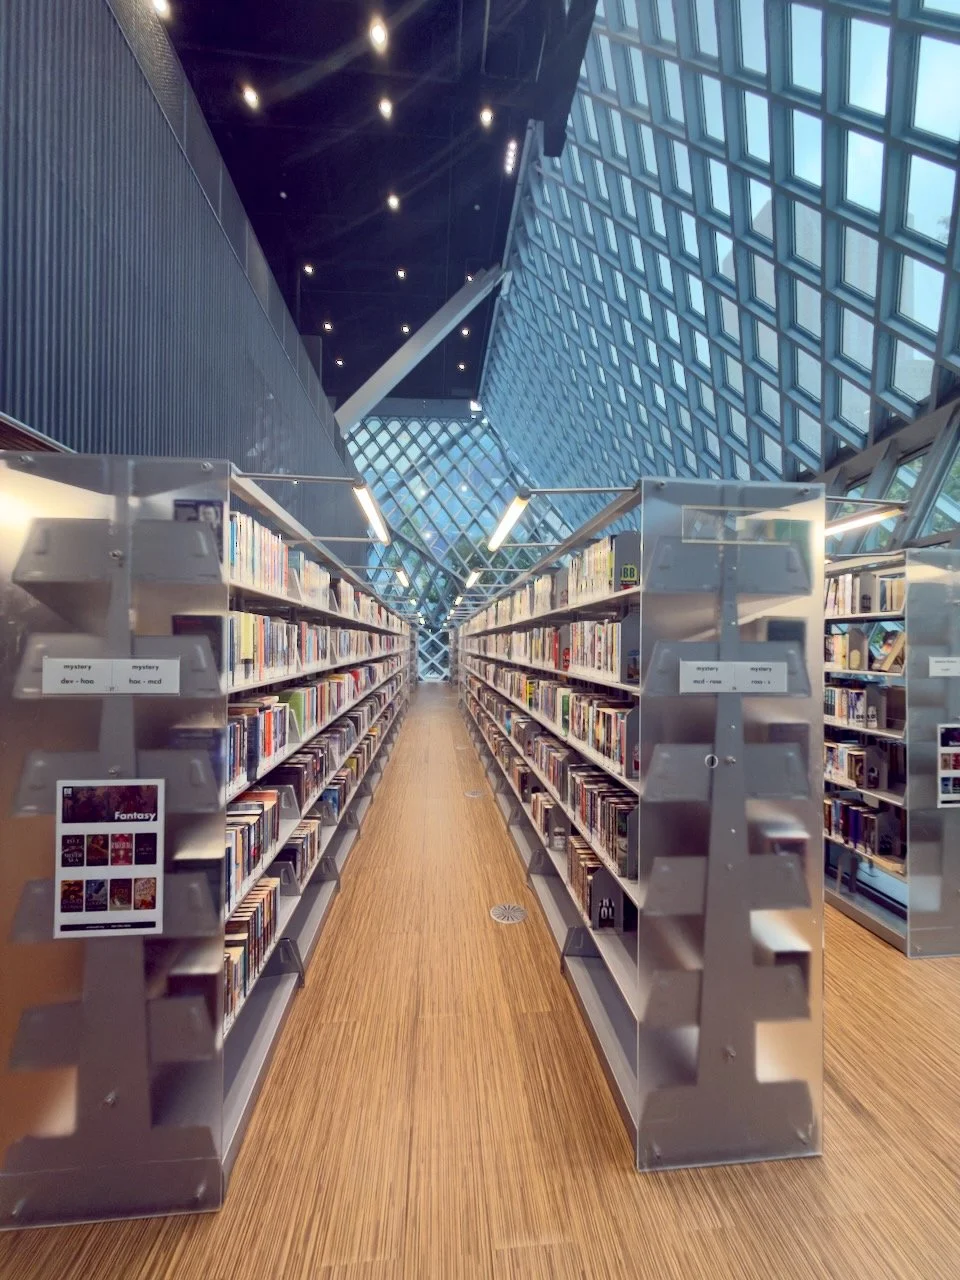
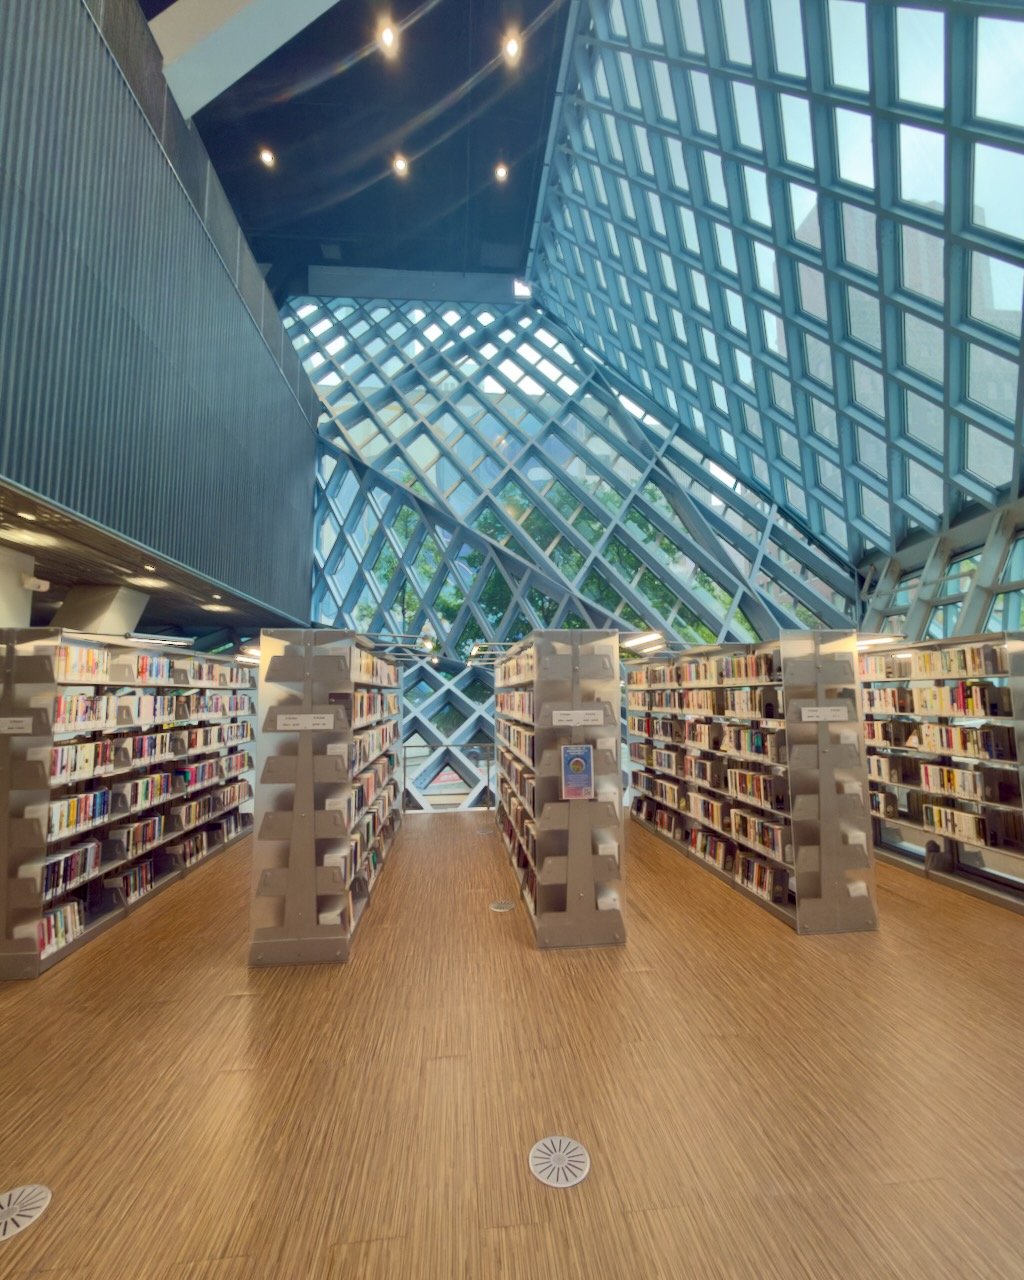
From the street, the Central Library looks like a stack of glass boxes wrapped in a steel net, set at odd angles on the hill between Fourth and Fifth Avenues. Rem Koolhaas designed it, and inside, it gets even better. You walk into a tall open space where the diamond shaped window grid throws patterns of light across the floors. The bright yellow escalators pull your eye up through the building like a highlighter line. What I loved most were the angles of the windows. Every time you move, the lines shift, and you find a new composition.
This is the best stop in Seattle for architecture and graphic abstract frames. Bold color, strong diagonals, and repeating patterns do most of the work for you.
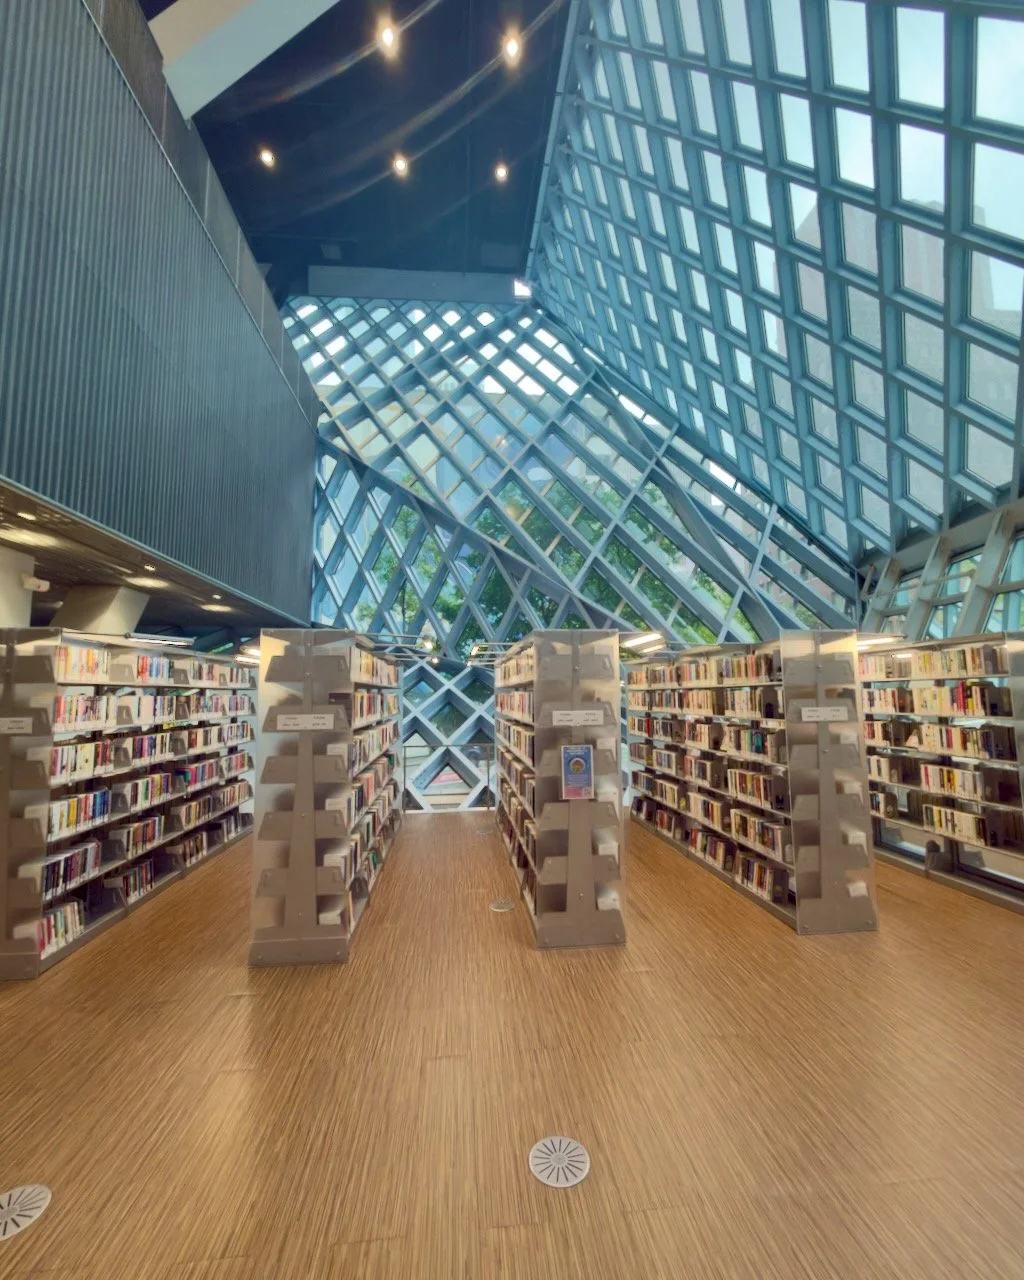
📷 Pro Tip: You do not need long here. I photographed it in about 10 minutes, and it was absolutely worth the stop. Fit it in between Pike Place Market and Pioneer Square, since it sits right between them. Bring a 16 to 35mm for the window grid and the tall atrium, and look straight up for strong symmetry. Use a 35mm or 50mm for the yellow escalators, shooting from the bottom so the color fills the frame. Tripods are not allowed inside, so shoot handheld and bump your ISO. On iPhone, use the ultrawide for the window grid and turn on the grid lines to keep your verticals straight. This is a working library, so keep your voice down and do not photograph people reading without asking.
Best time: Mornings after opening, when it is quiet. Overcast days soften the glare on the glass for exterior shots. Access: Free. A short walk uphill from Pike Place Market.
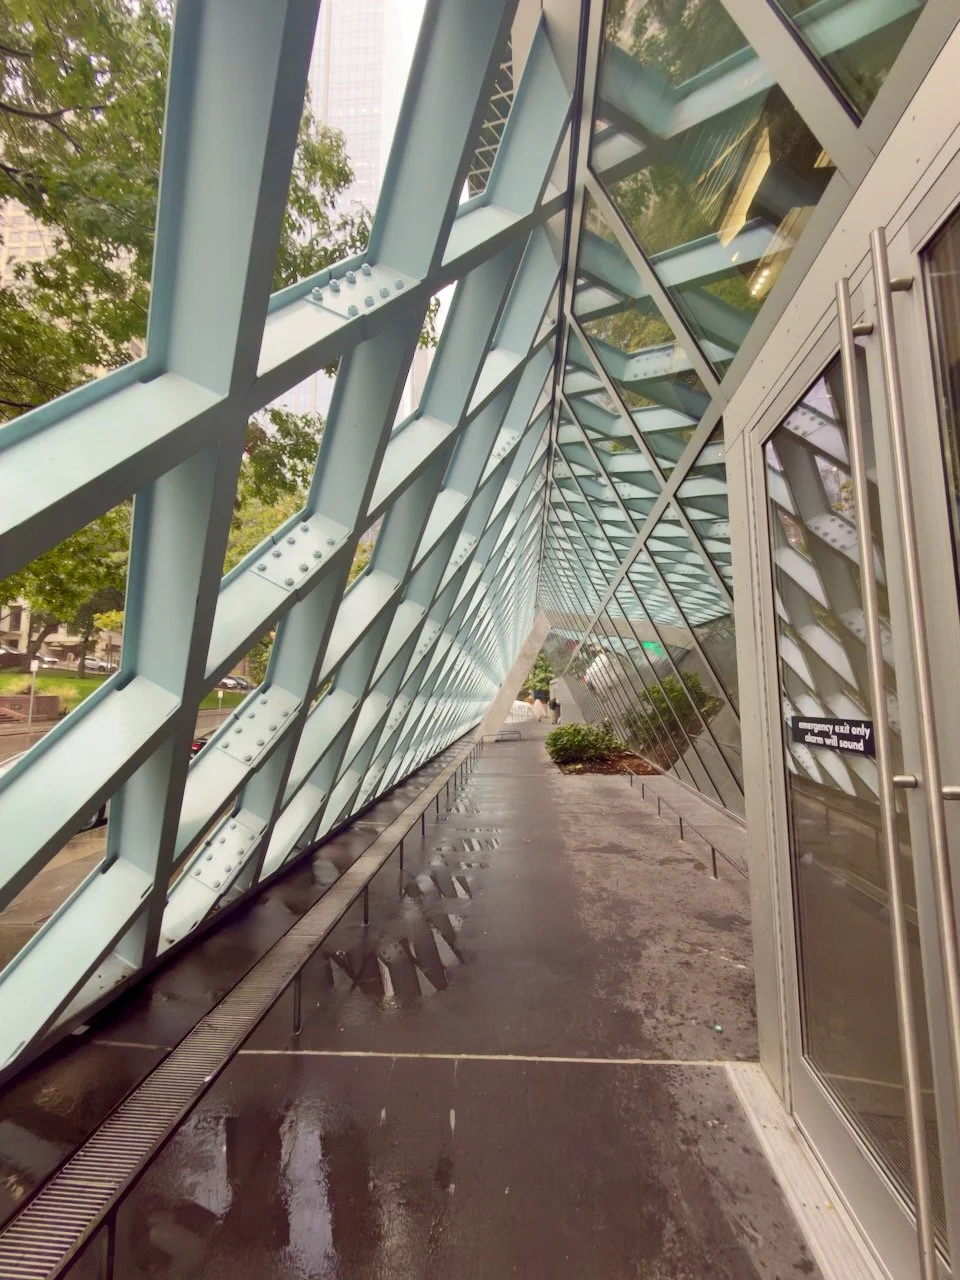
Seattle Waterfront and Olympic Sculpture Park
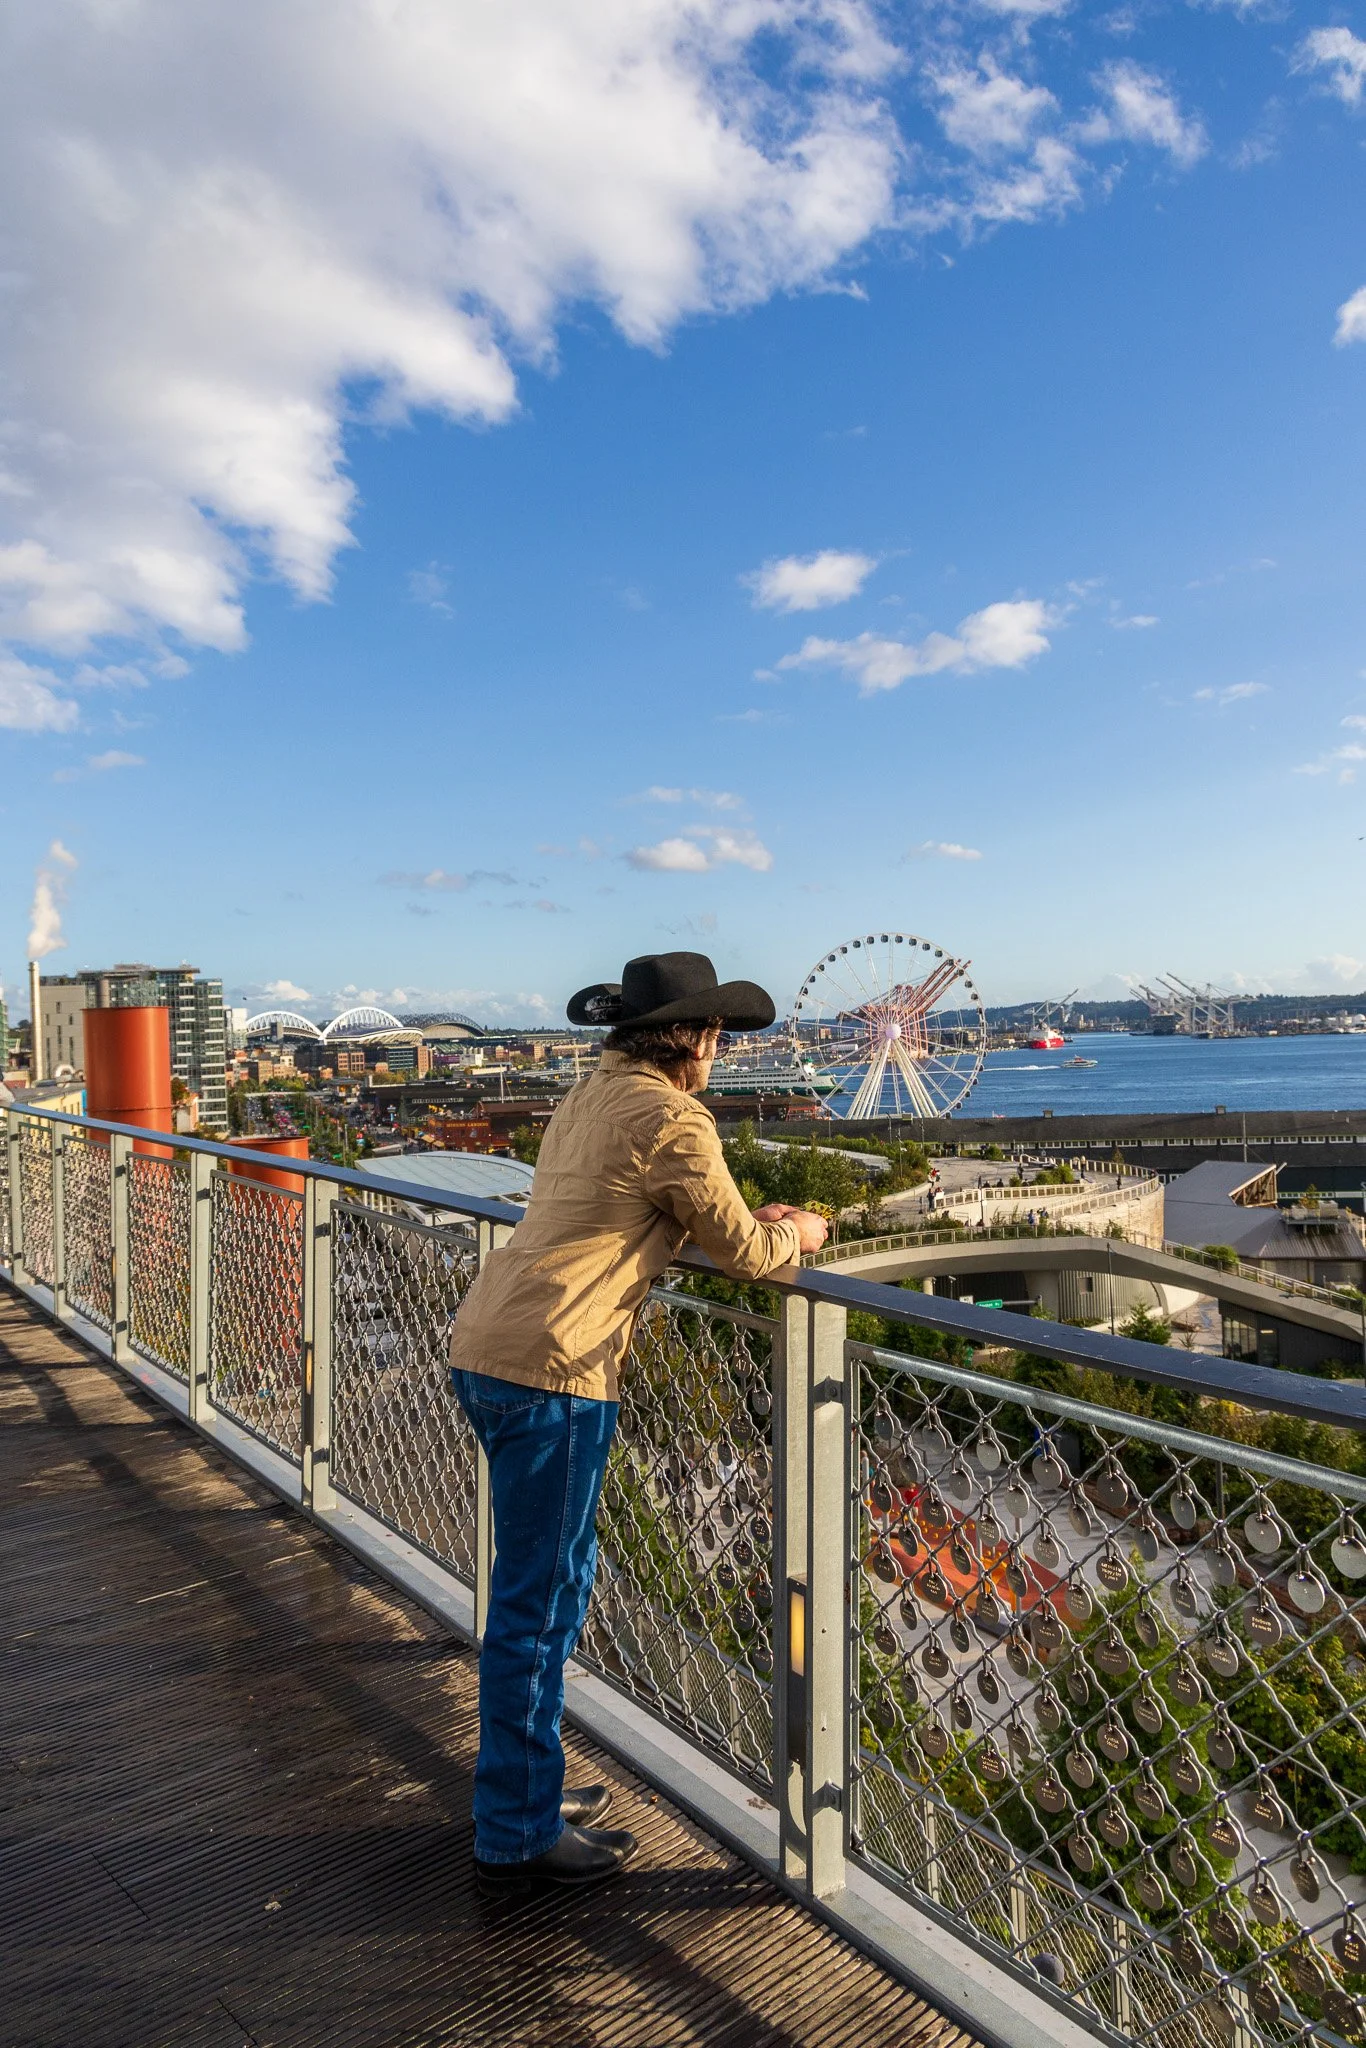
With the old Alaskan Way Viaduct gone, the waterfront now feels open to the water and the sky. The Overlook Walk links Pike Place Market to the waterfront with wide views over Elliott Bay, and a short walk north brings you to Olympic Sculpture Park, a free outdoor park run by the Seattle Art Museum. The park zigzags down to the shoreline with large sculptures framed against the water, the Olympic Mountains, and passing ferries.
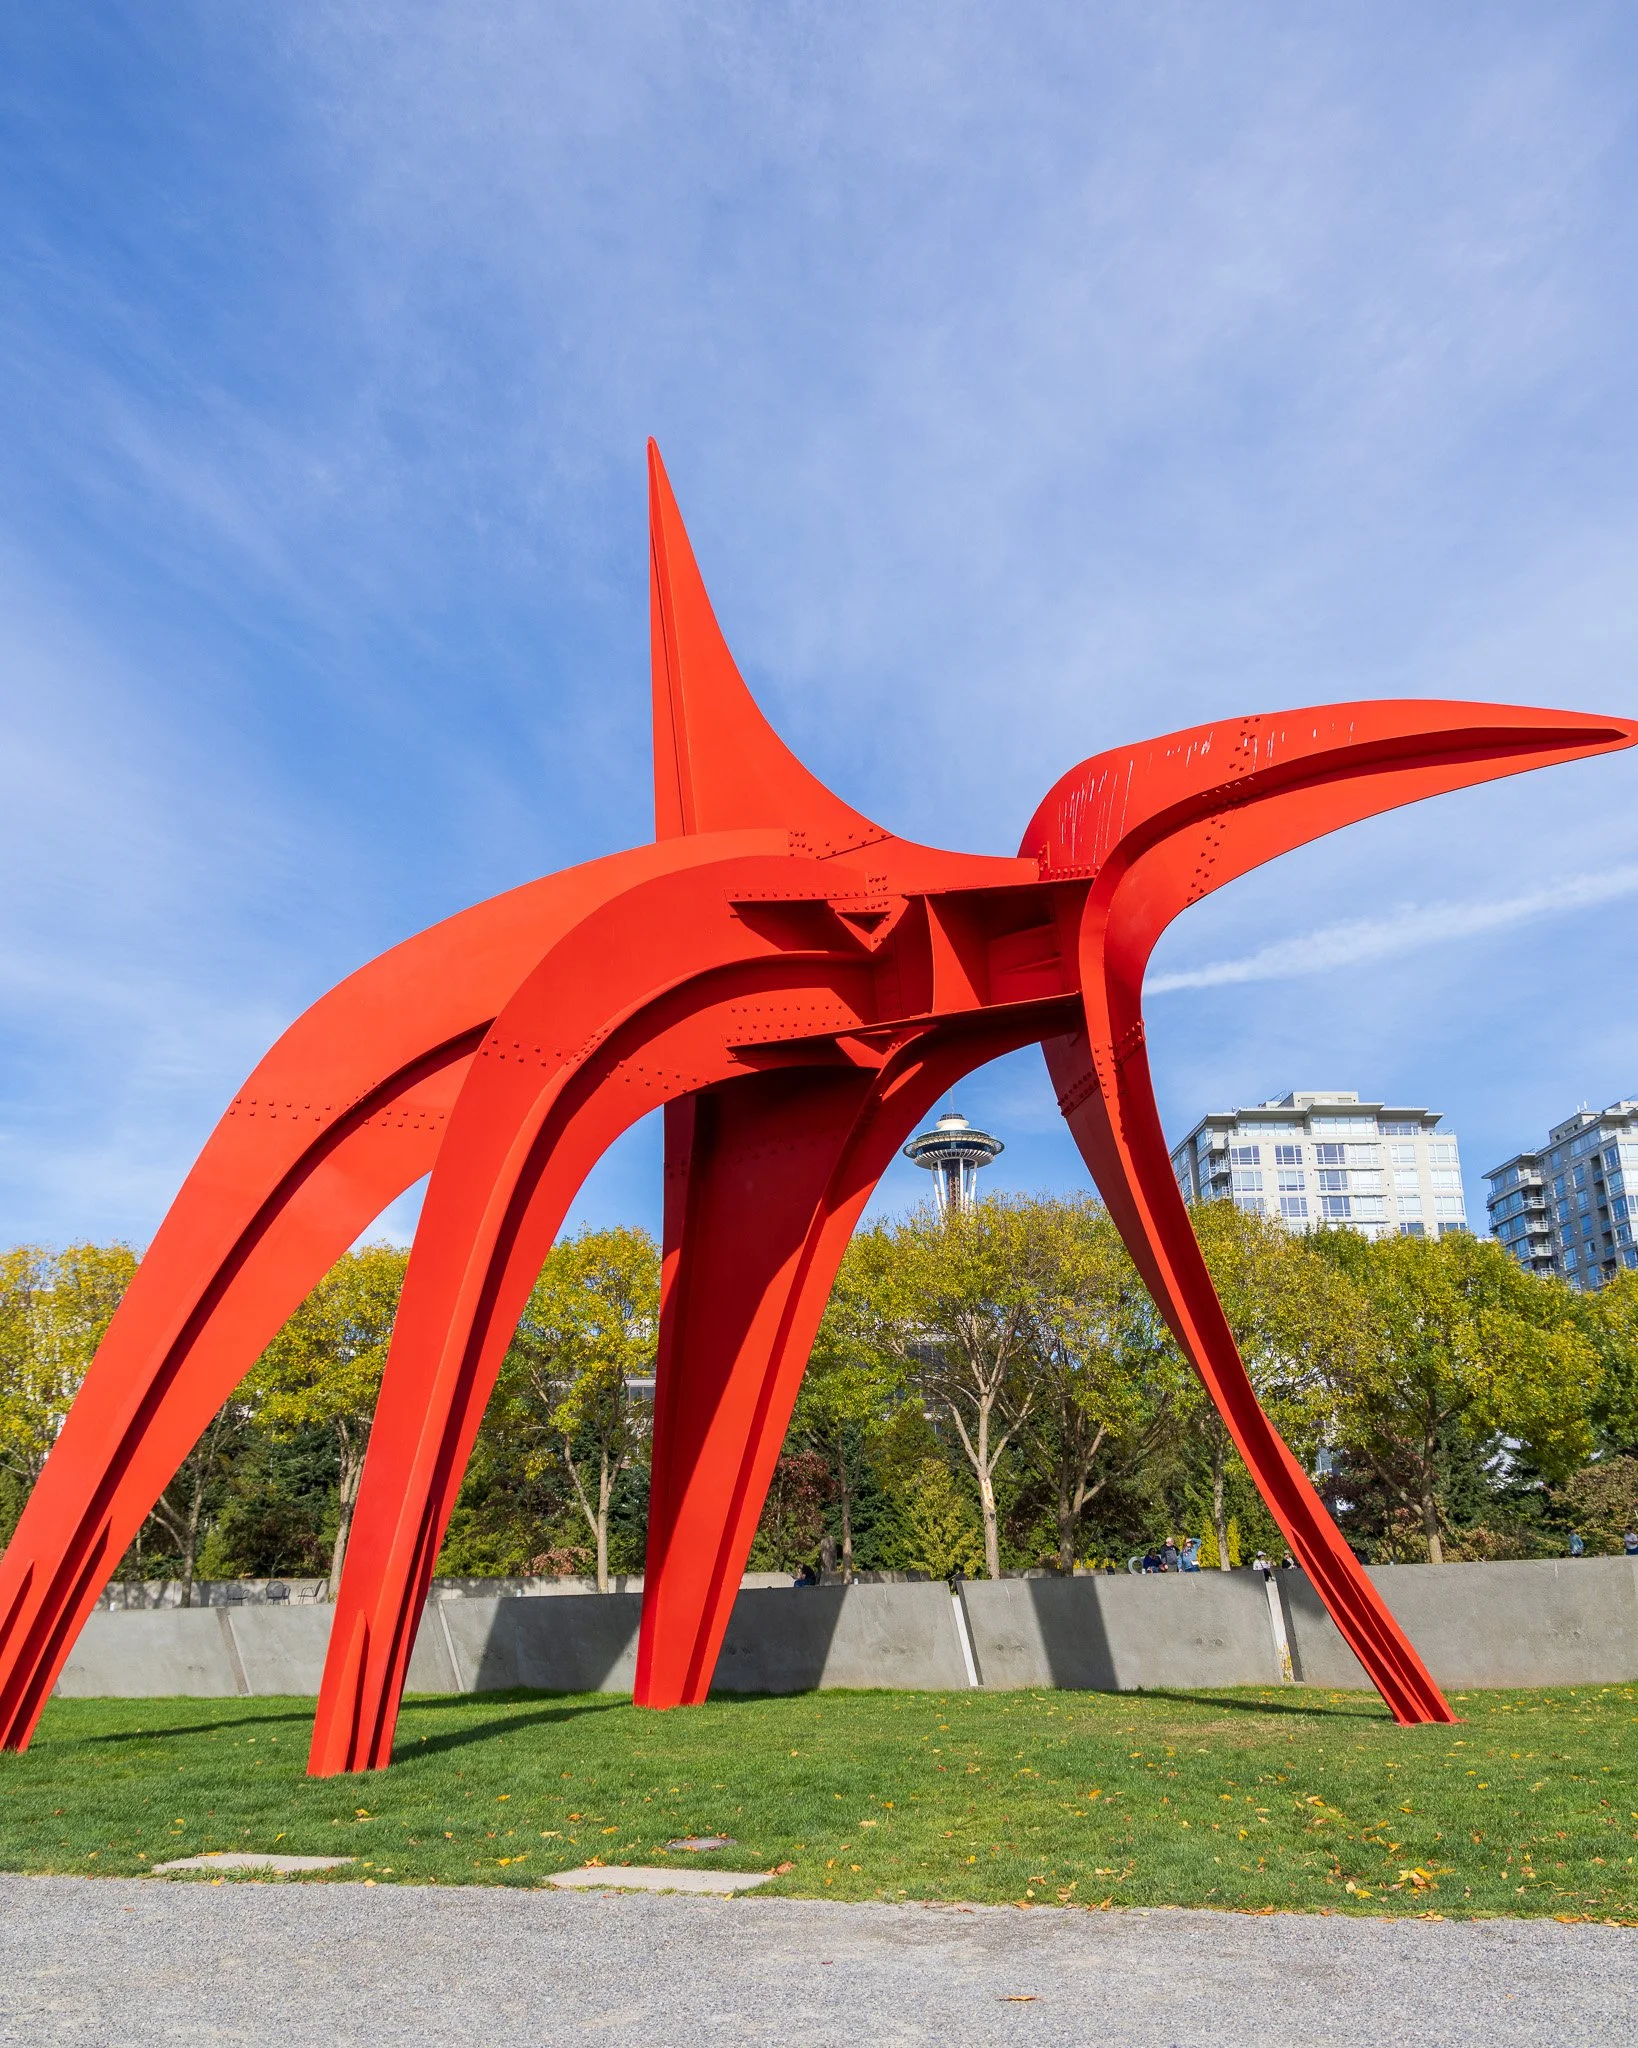
This is Seattle's best sunset location at water level. The sun drops behind the Olympics, and the sculptures, especially Alexander Calder's red Eagle, give you a bold foreground against the orange sky.
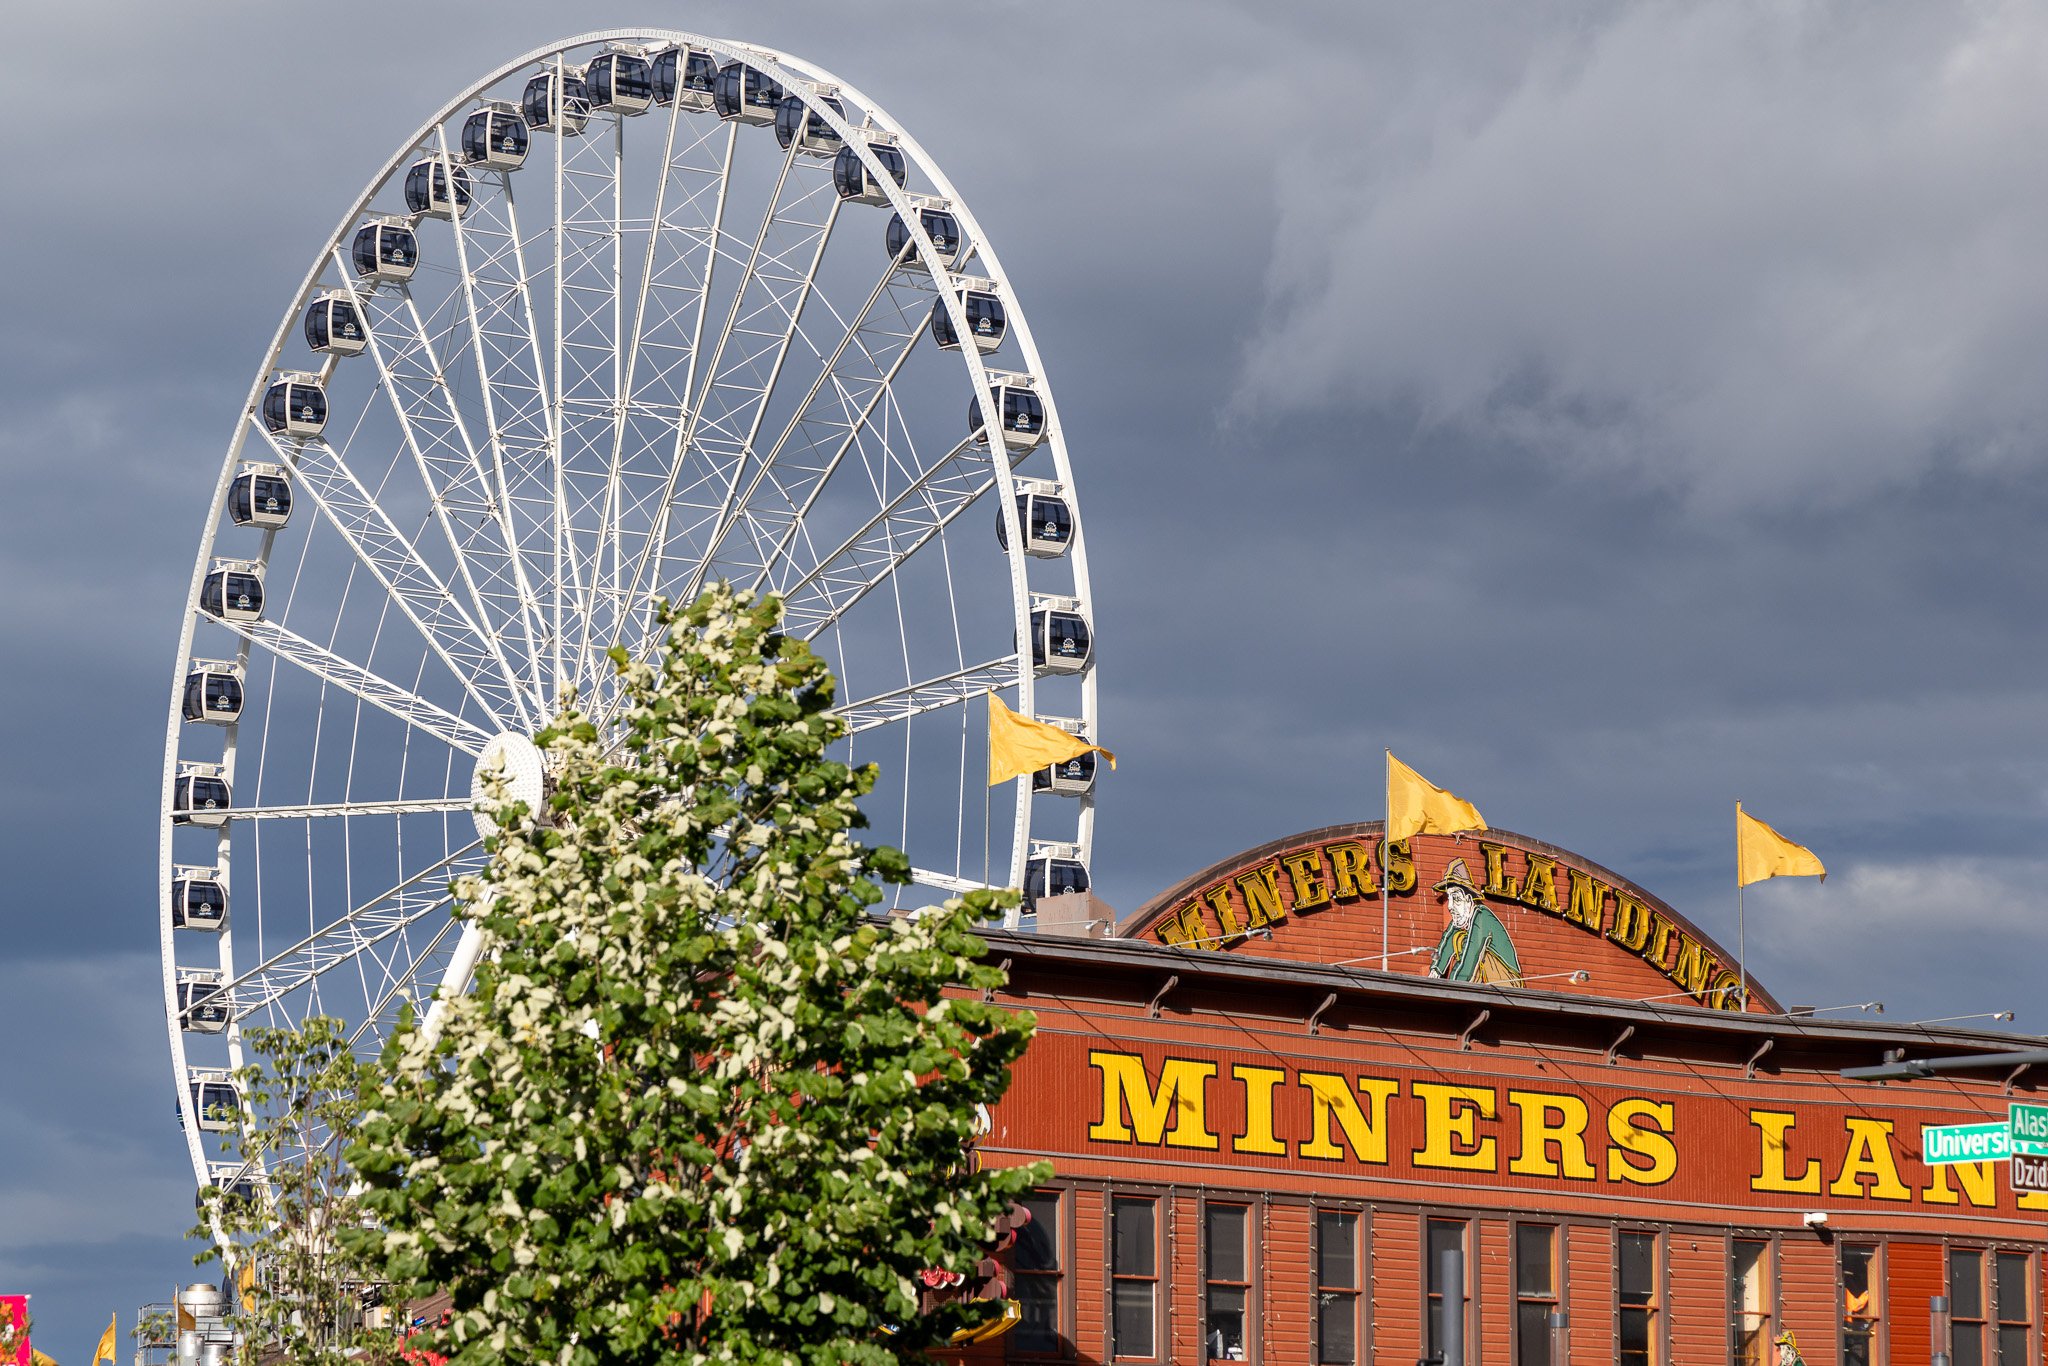
📷 Pro Tip: Arrive an hour before sunset and work the Calder sculpture with a 16 to 35mm, getting low so the red steel breaks into the sky. Then switch to a 70 to 200mm to isolate the Olympics and passing ferries in the last light. After sunset, walk south along the waterfront toward the Great Wheel and use a 6 or 10 stop ND filter for smooth water and light trails. The sculptures are art, so do not climb on them or lean your tripod against them.
Best time: Golden hour and sunset. Access: Free. A 15 minute walk north from Pike Place Market.
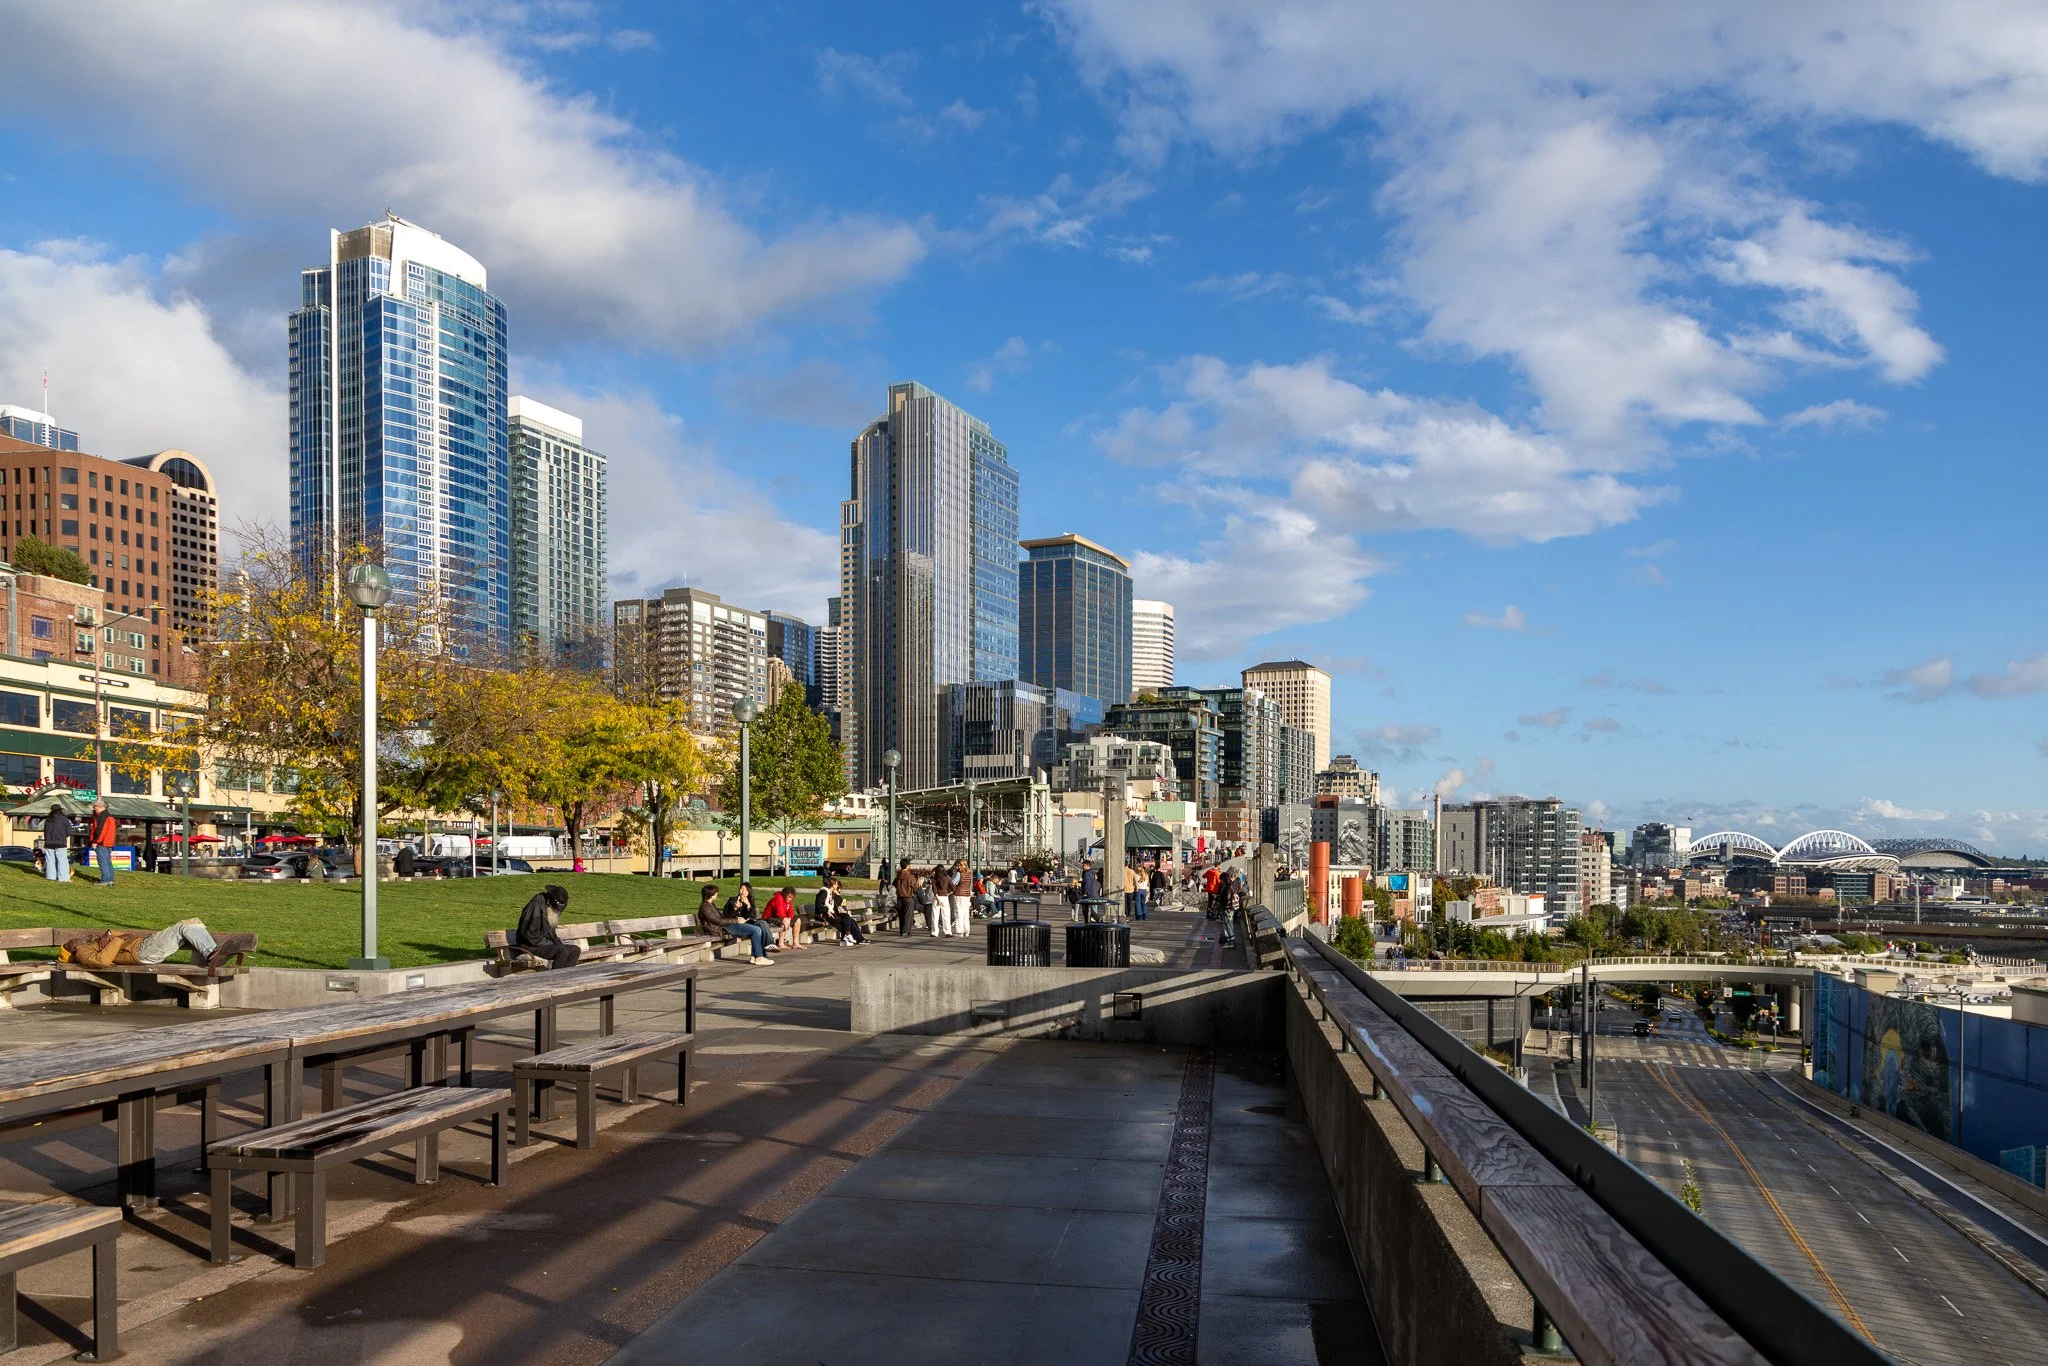
The Seattle Seafront with a view towards downtown
Space Needle and Chihuly Garden and Glass
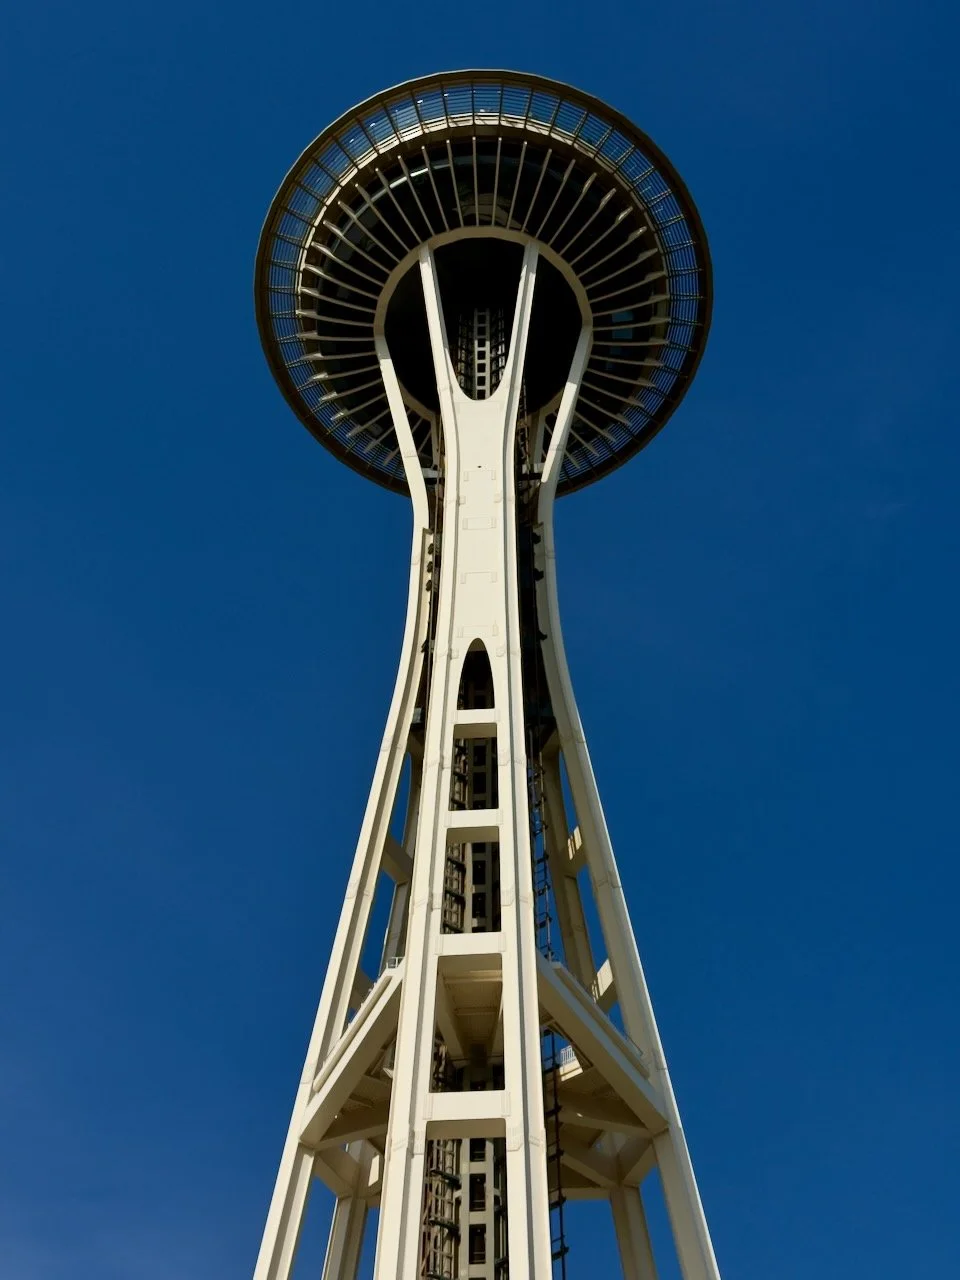
The Space Needle has defined the skyline since the 1962 World's Fair, but the real treat for photographers sits right at its base. Chihuly Garden and Glass shows Dale Chihuly's blown glass in dark galleries, a tall Glasshouse, and an outdoor garden where glass forms grow up between real plants. Stepping into the Glasshouse feels like standing under a warm sunset made of glass.
The glass rewards close attention: color, reflection, and backlight. In the garden, you can line up the glass sculptures with the Space Needle rising behind them for a frame that only works here.
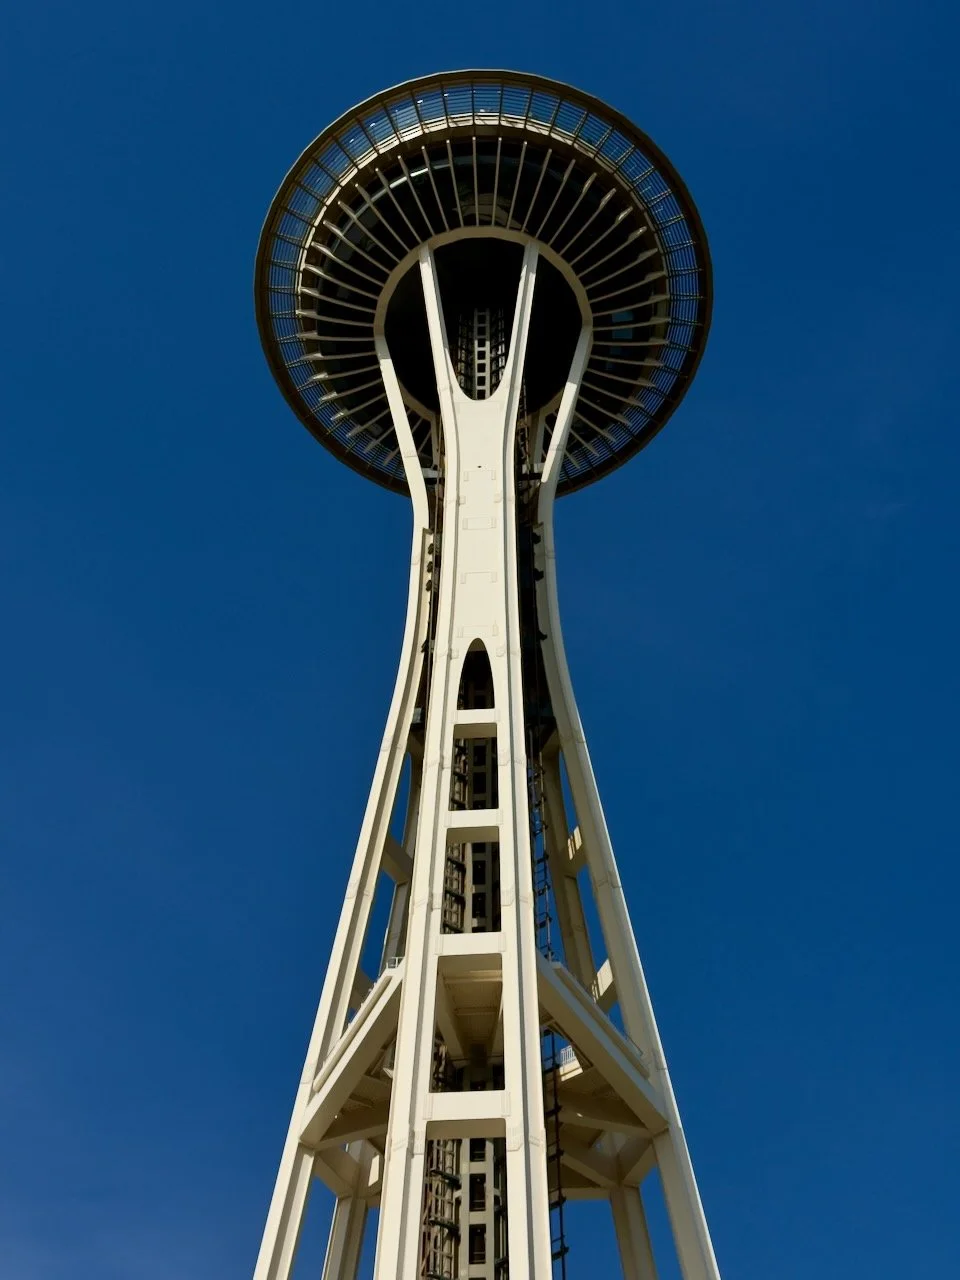
The Space Needle
📷 Pro Tip: Go at opening for the quietest galleries, or return in the evening when the garden glass is lit against the darkening sky and the Space Needle glows behind it. Use a 16 to 35mm in the Glasshouse to capture the full suspended sculpture overhead, and a 24 to 70mm or 85mm for details. Tripods are typically not allowed inside, so raise your ISO and brace against a wall. If you go up the Space Needle, shoot through the glass with your lens hood pressed against it to cut reflections.
Best time: Opening or evening. Overcast days work well for the outdoor glass. Access: Ticketed, and combination tickets with the Space Needle are available. Take the Monorail from Westlake Center.
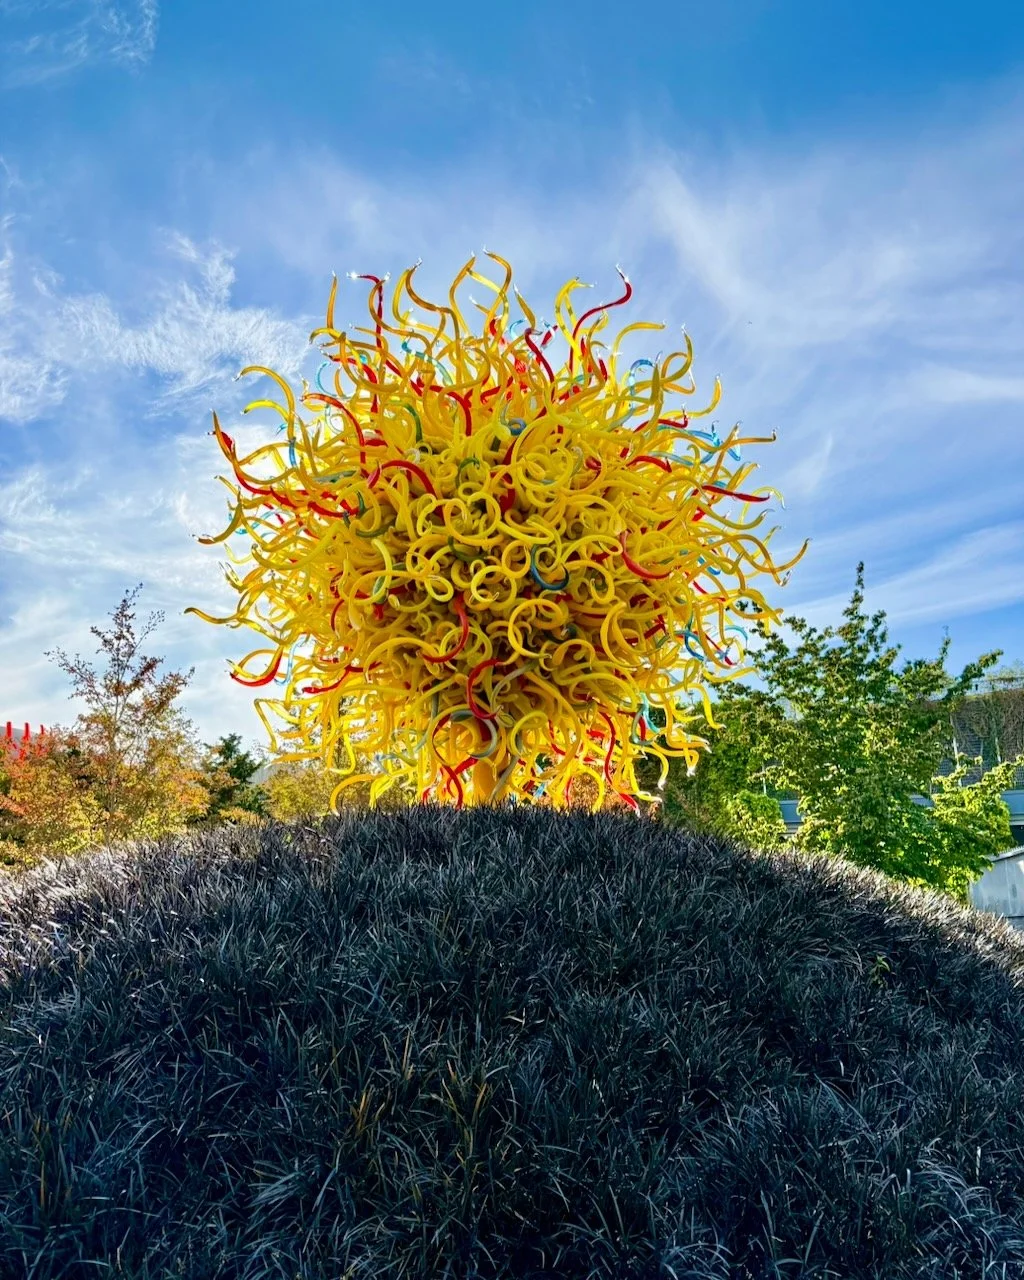
Chihuly Gardens photo credit my wife Zena
Museum of Pop Culture (MoPOP)
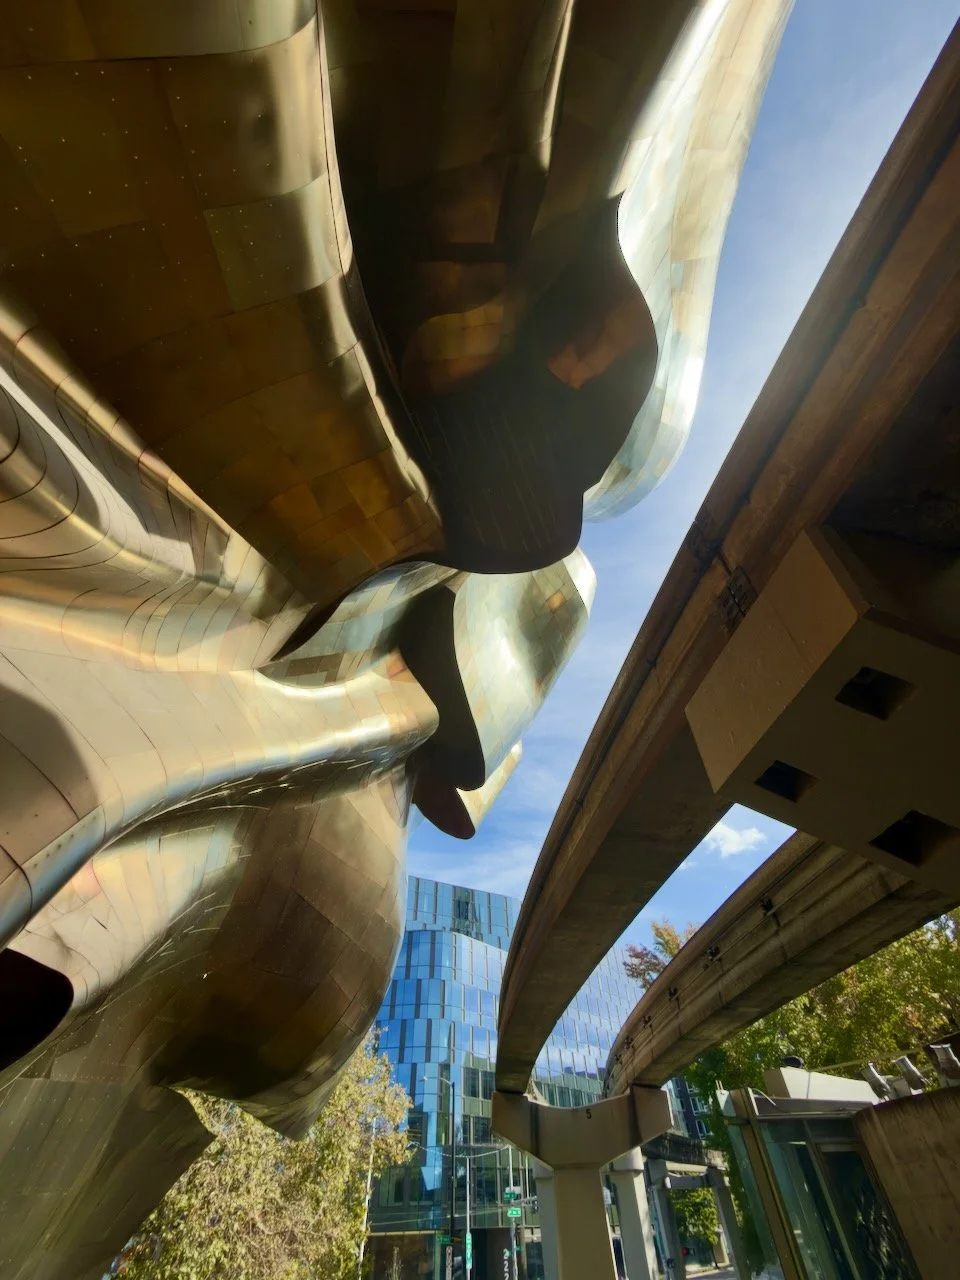
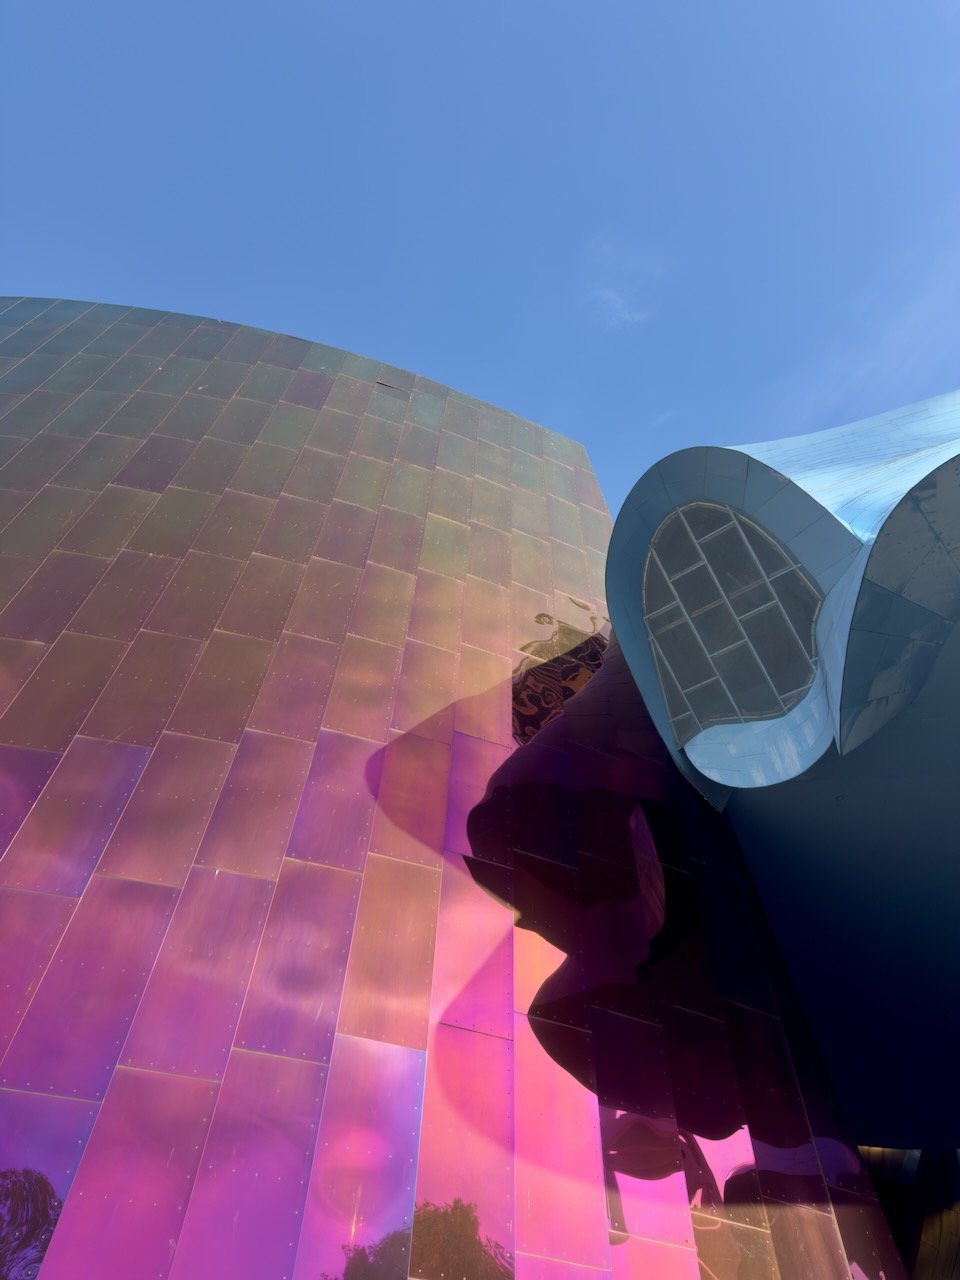
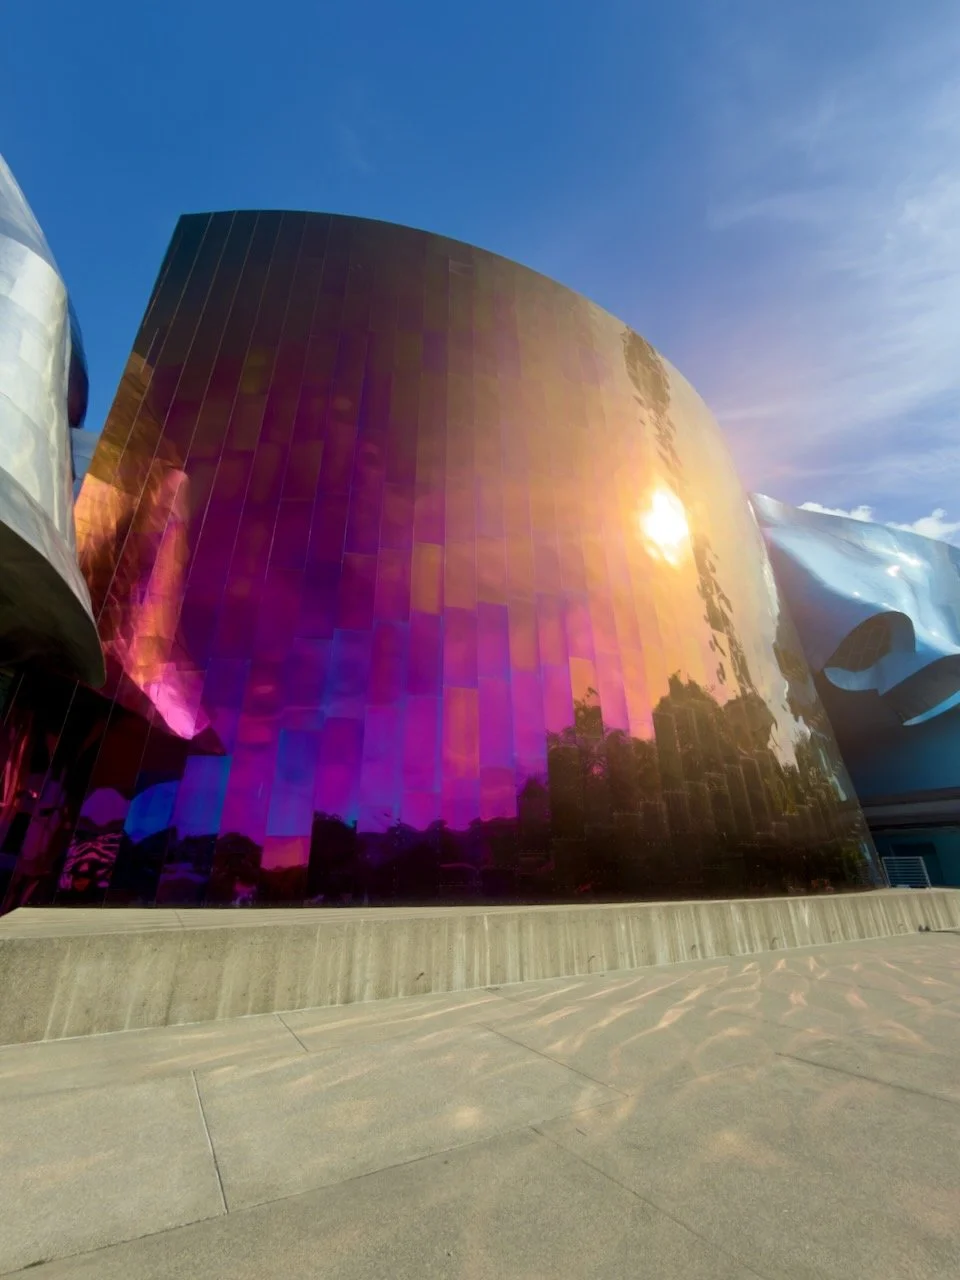
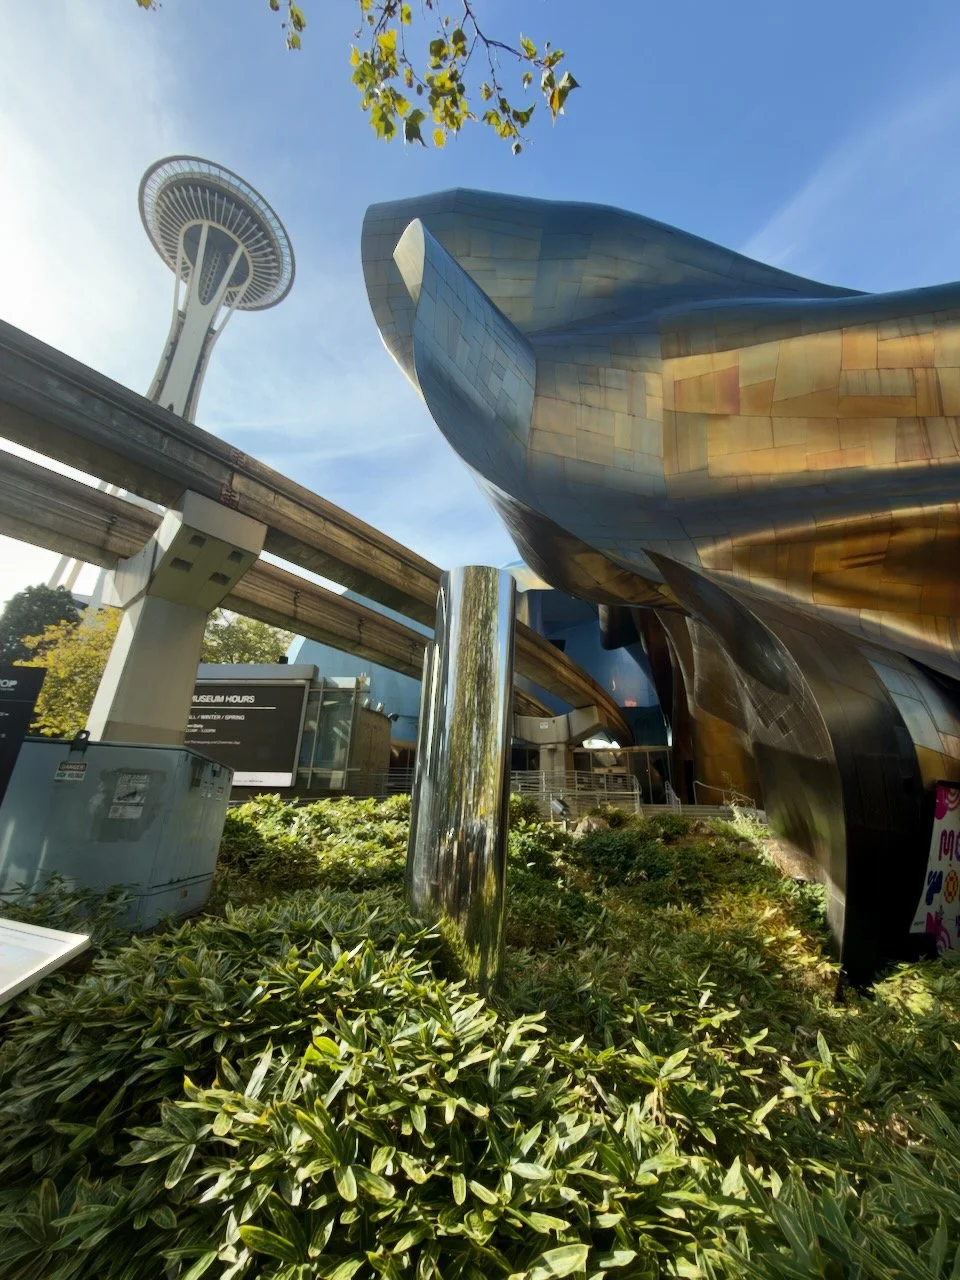
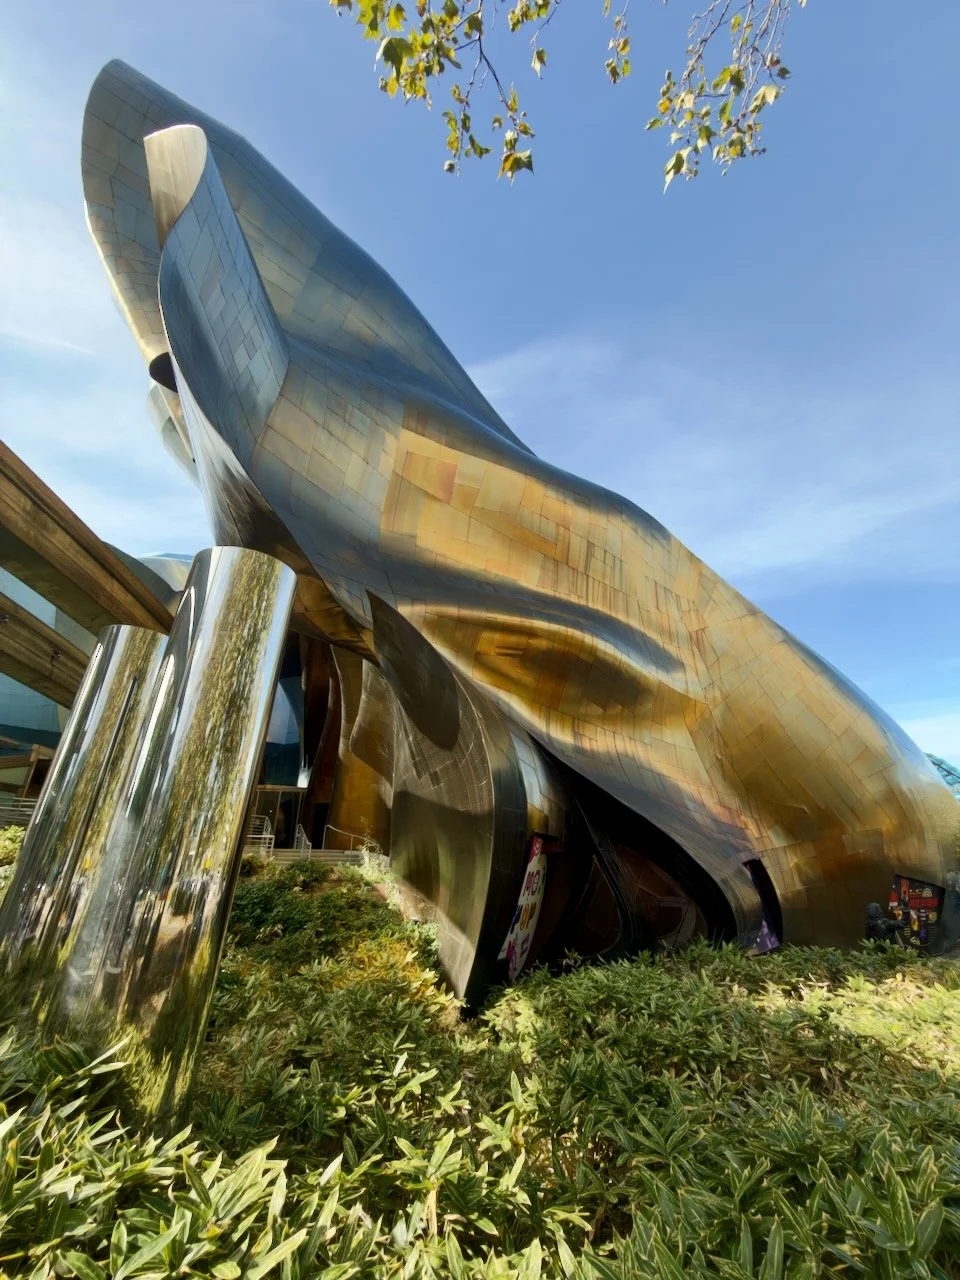
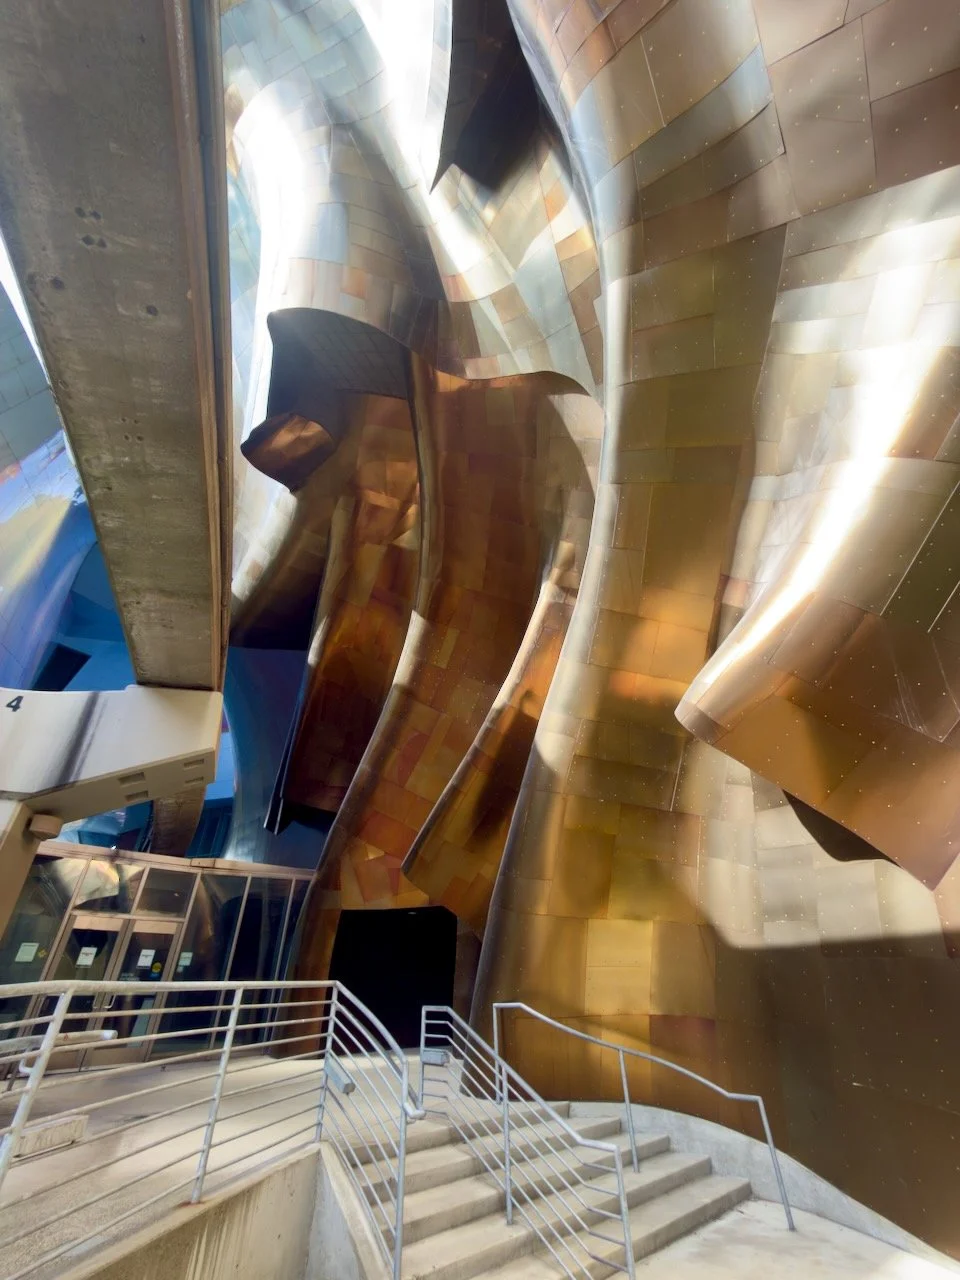
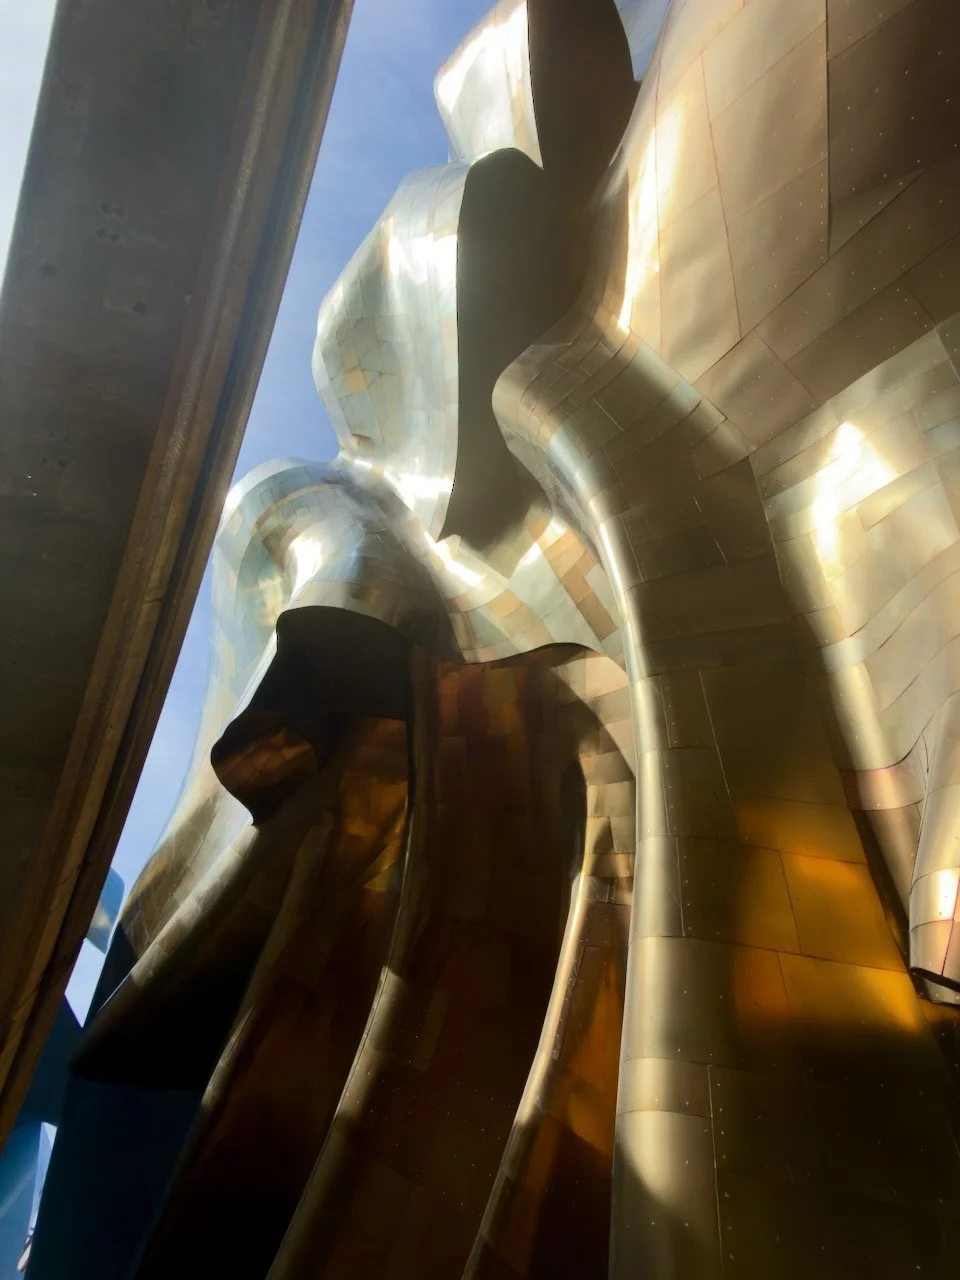
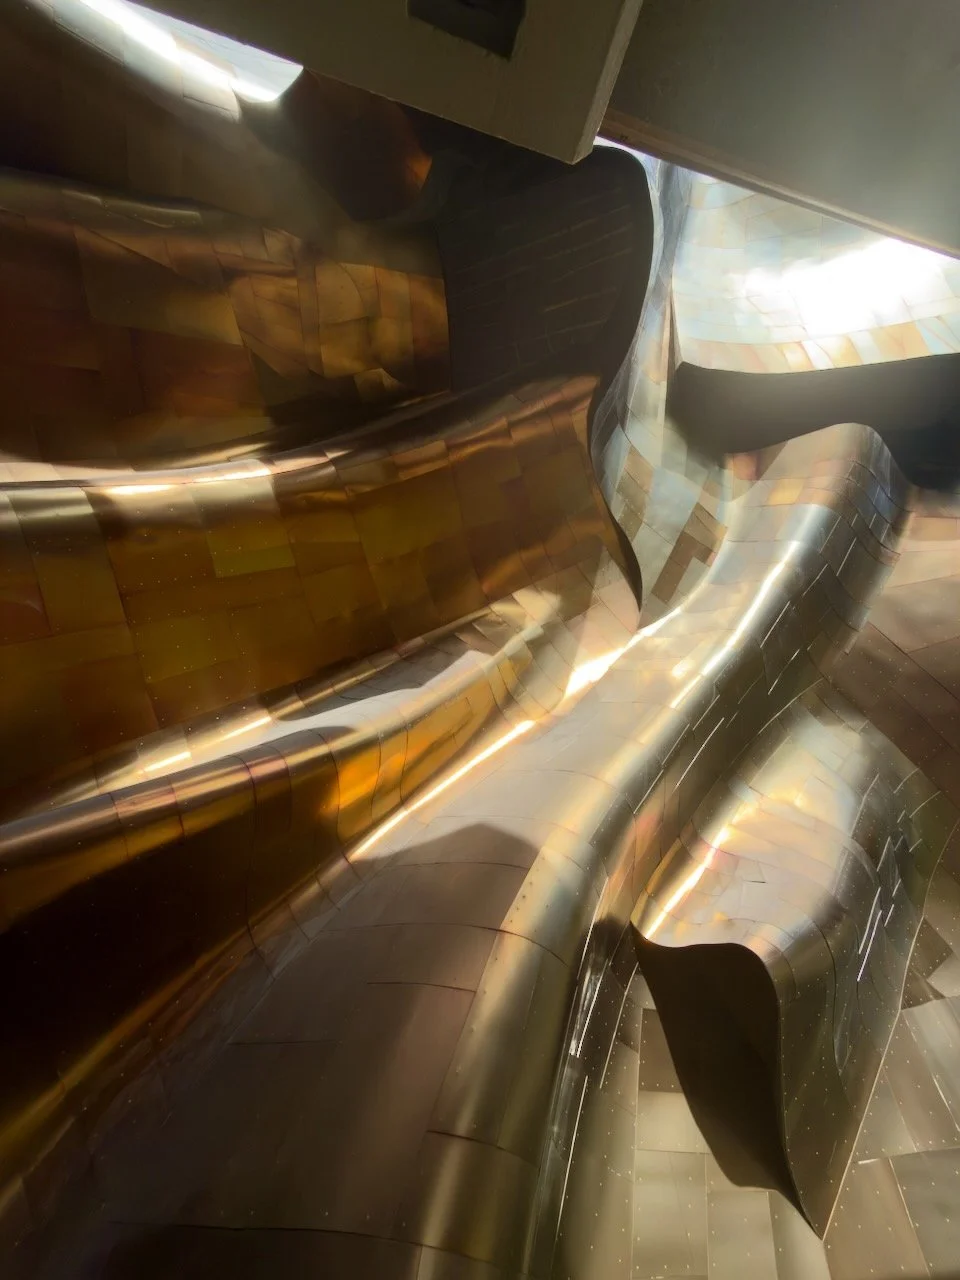
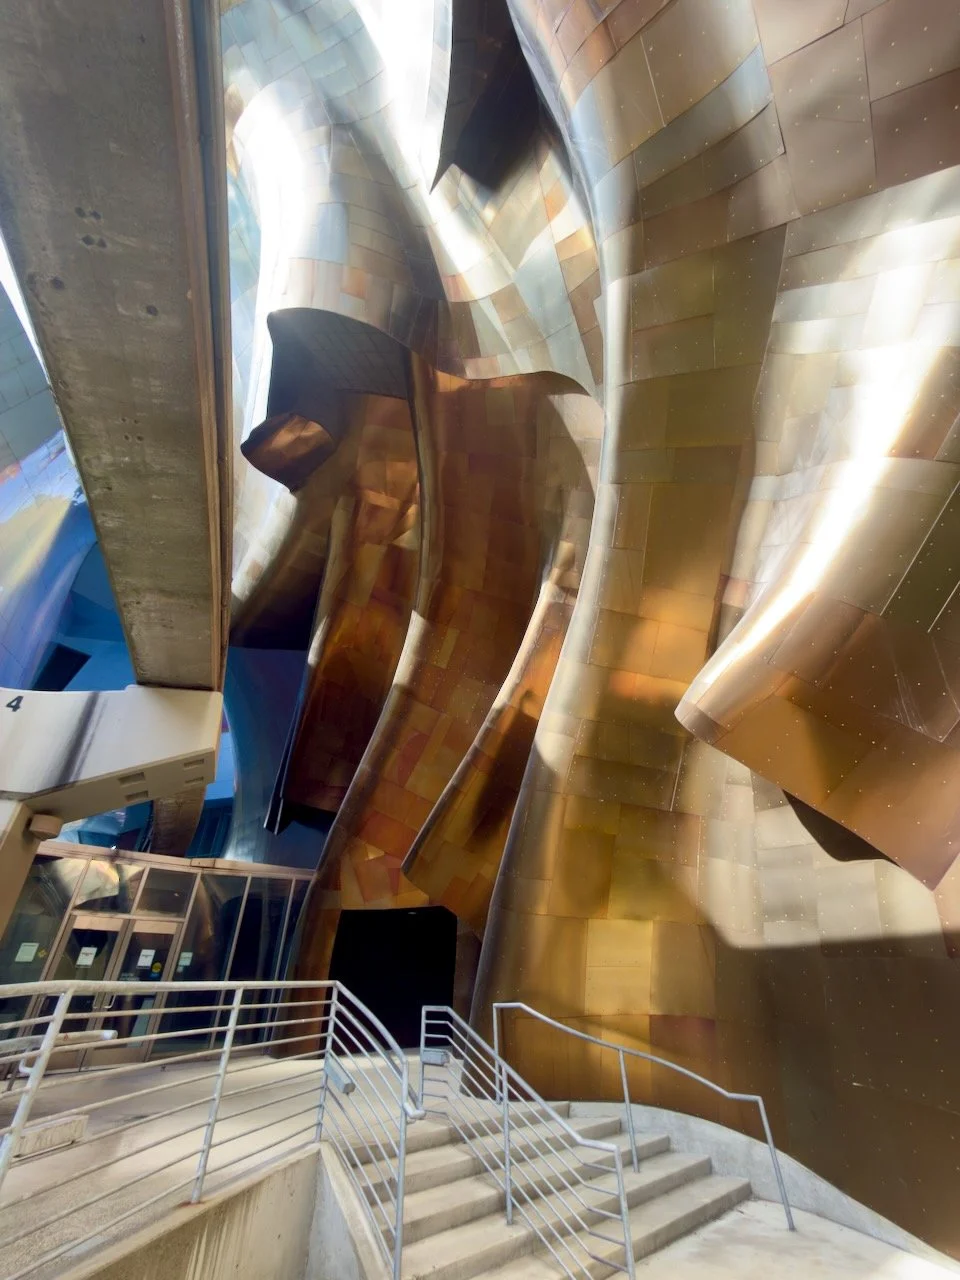
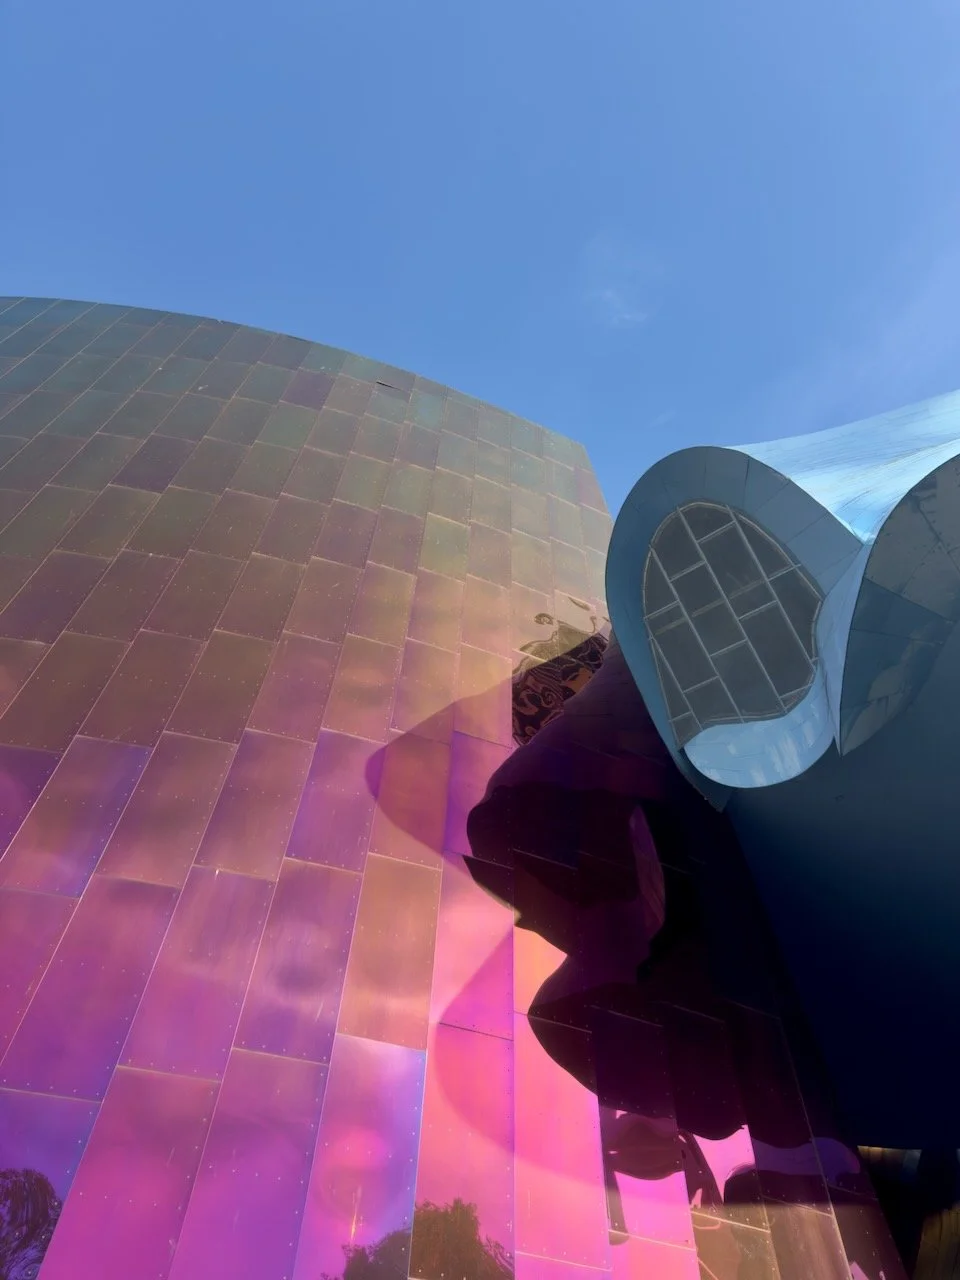
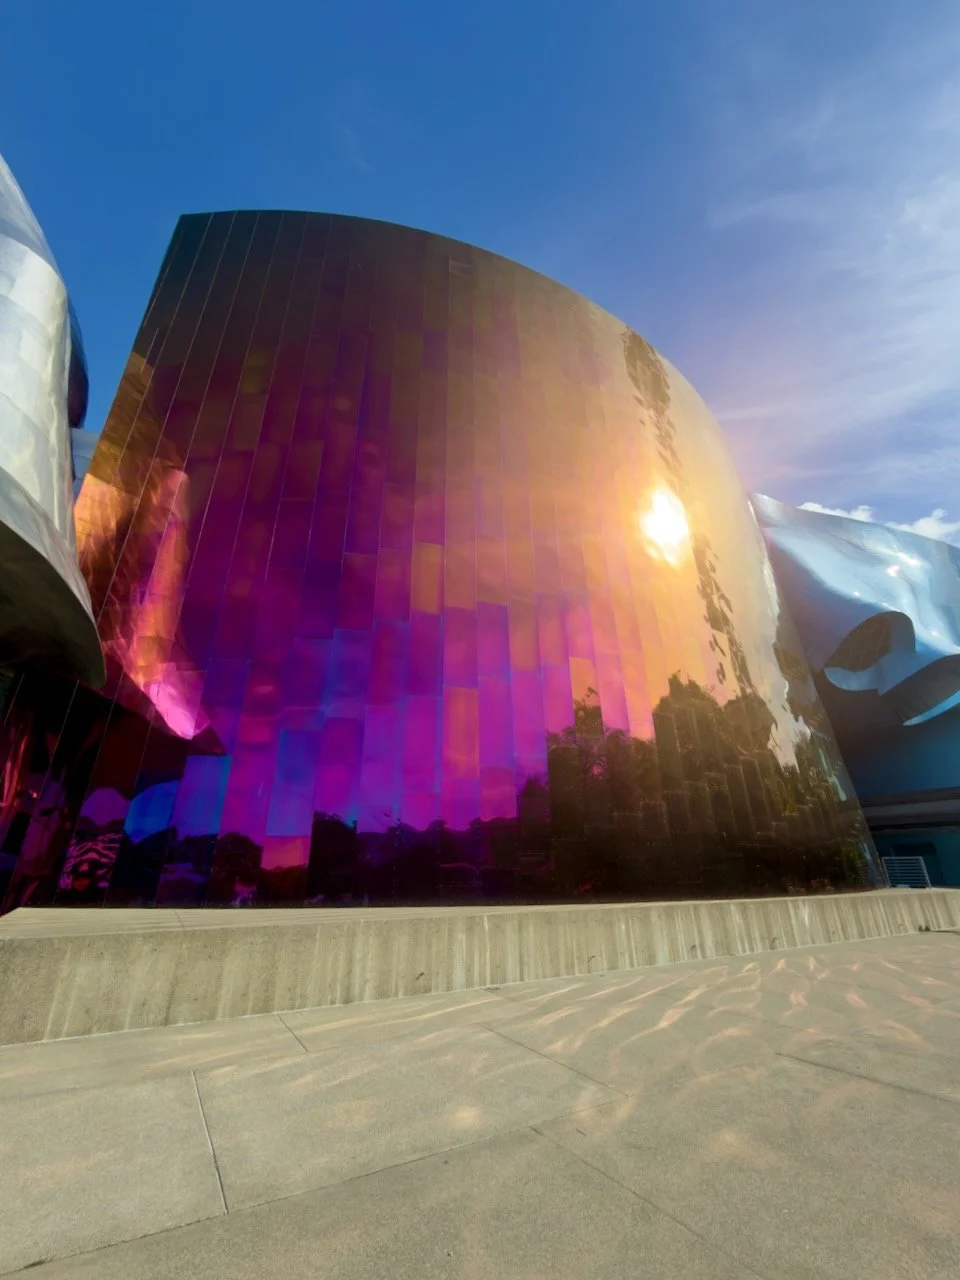
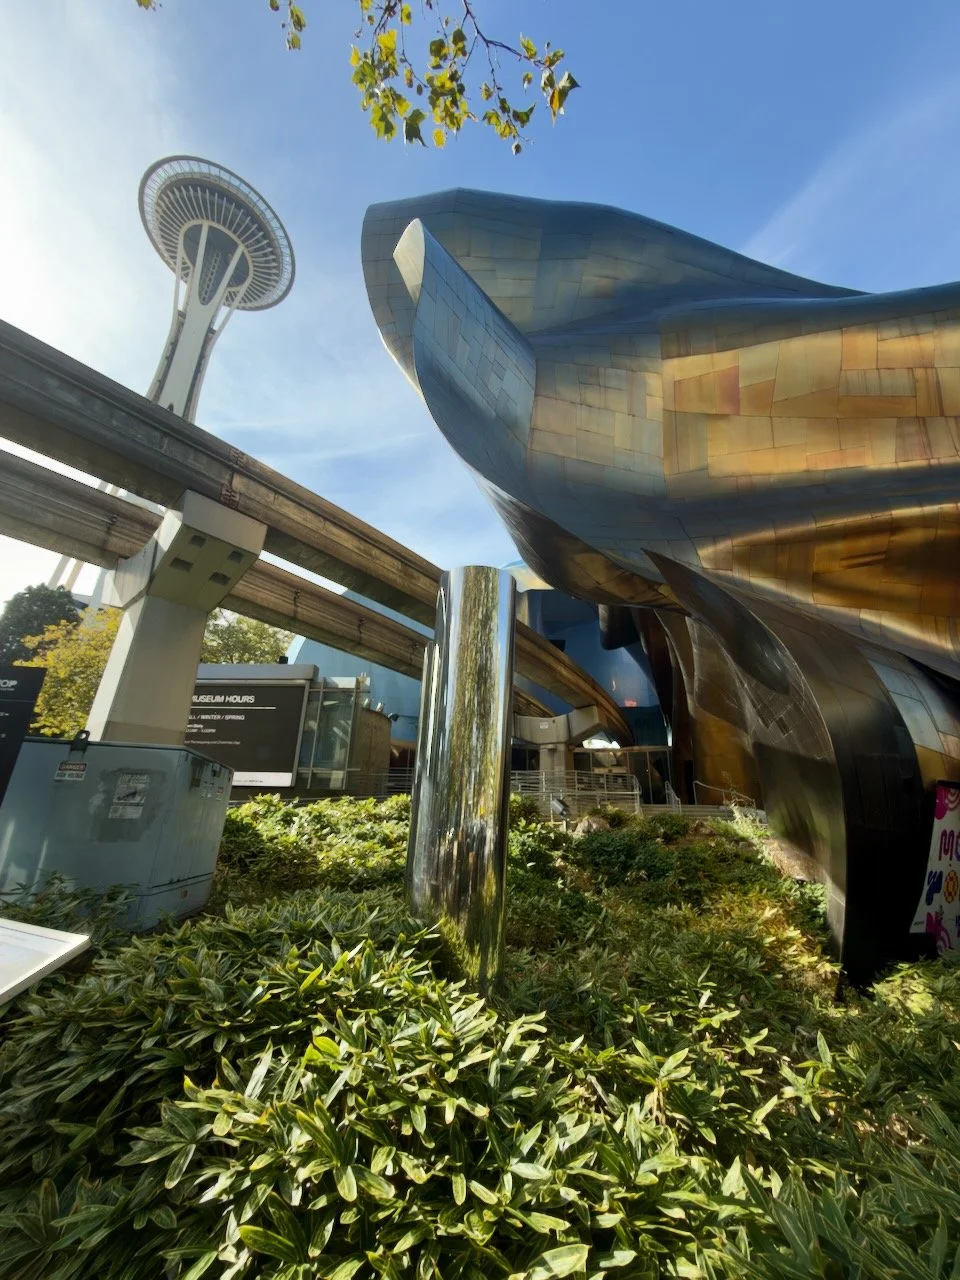
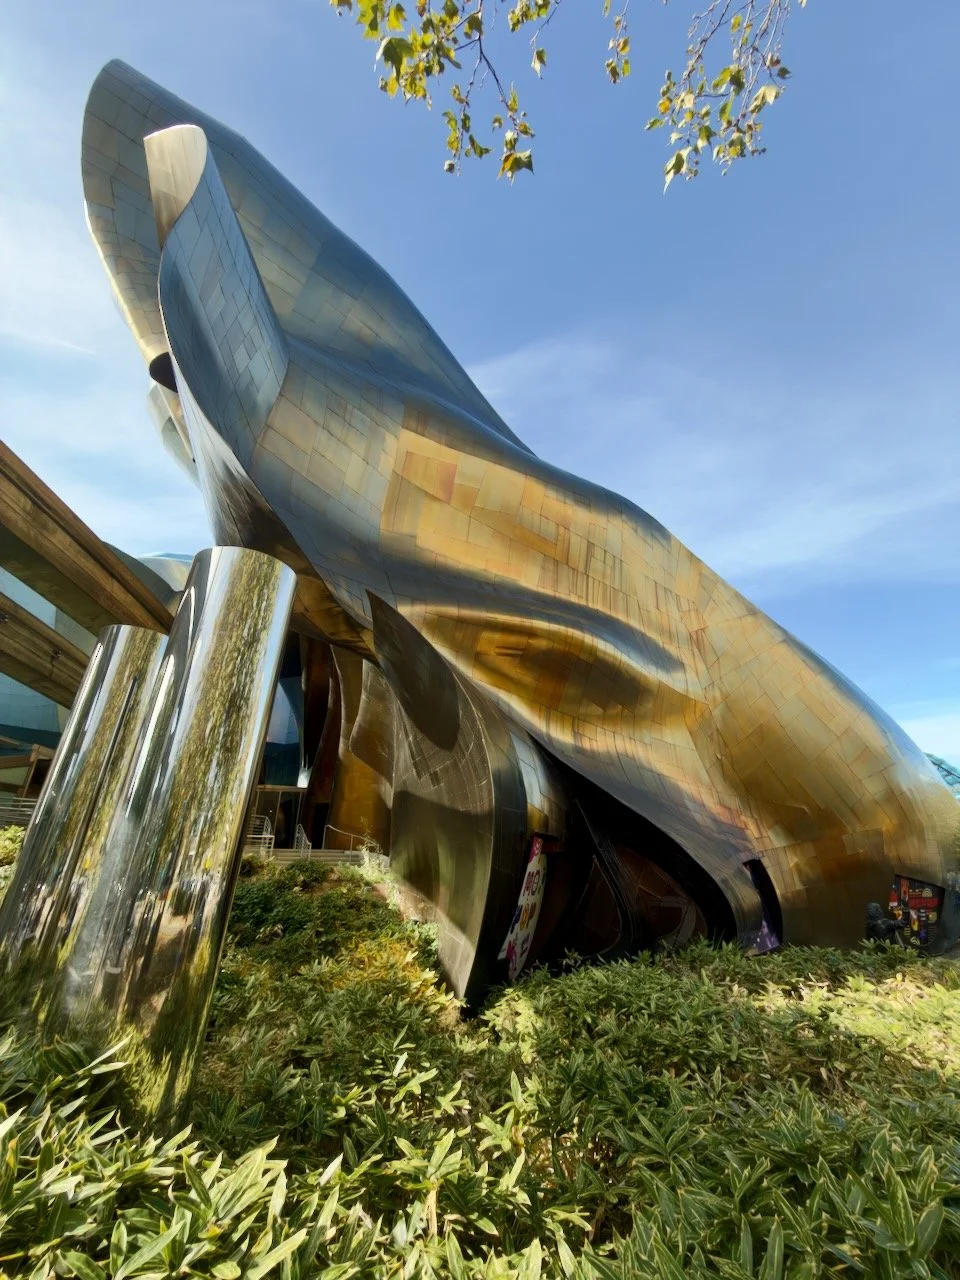
Right next to the Space Needle, the Museum of Pop Culture, known as MoPOP, is the wildest building in Seattle. Frank Gehry designed it, and it opened in 2000 as the Experience Music Project. Walk around it and the walls never stop moving: curves of brushed steel and panels of red, gold, purple, and blue that seem to melt into each other. Gehry based the shapes on smashed electric guitars. It is a classic Frank Gehry building, and I spent a good while walking all the way around it with my camera. There are so many angles, and the metal throws great reflections, so take your time and do the full loop.
For photographers, this is pure abstraction. Color, reflection, and curves change with every step and every shift in the light. And the best detail of all: the Monorail from the 1962 World's Fair runs straight through the building.
📷 Pro Tip: Walk the full outside of the building with a 24 to 70mm, then switch to a 70 to 200mm to isolate abstract curves and color blocks. Wait for the Monorail and time your shot as the train slides into the building, using 1/1000 to freeze it or 1/30 on a steady hand to blur it. Late afternoon sun makes the metal glow, and overcast days give you richer, even color. Shoot the Space Needle rising behind the curves for a frame that puts two eras of Seattle side by side. On iPhone, use the telephoto lens for abstract details and Burst mode for the passing train.
Best time: Late afternoon for warm light on the metal. Access: The museum is ticketed, but you can photograph the exterior for free, which is what I did. Take the Monorail from Westlake Center, which arrives right through the building.
Gas Works Park
Gas Works Park sits on a point on the north shore of Lake Union, built around the rusted towers of an old gas plant. You walk past giant pipes and tanks painted in faded industrial colors, then climb the grassy mound for a view straight across the lake to downtown and the Space Needle. Seaplanes take off and land in front of you, and kayaks and sailboats drift by.
The mix of industrial ruins, open water, and skyline makes this one of the most distinctive views in Seattle. At blue hour, the city lights reflect in the lake and the rusted towers become dark silhouettes.
📷 Pro Tip: Come for sunset and stay for blue hour. Set up on top of the mound or down by the shoreline with a 24 to 70mm for the skyline across the water. Use a 10 stop ND filter to smooth the lake into glass. Grab a 16 to 35mm to shoot up into the rusted towers, and a 70 to 200mm for seaplanes crossing in front of downtown. On summer evenings, the park fills with picnics and families, so keep your tripod legs out of people's way.
Best time: Sunset and blue hour, any season. Access: Free city park. Take a rideshare or a bus from downtown, about 15 minutes.
Bainbridge Island Ferry
The Bainbridge Island ferry leaves from Colman Dock on the waterfront and crosses Puget Sound in about 35 minutes. Stand on the open deck as the ferry pulls away and the whole skyline slides into view, with the Space Needle on the right and, on a clear day, Mount Rainier to the south. The wind picks up, gulls ride along beside you, and the city gets smaller behind the wake.
This is the best moving view of Seattle, and it costs you nothing but a ferry ride. You get the skyline from the water, which you cannot get anywhere on land.
📷 Pro Tip: Walk on as a passenger and head to the stern for the departure. The best skyline views come on the return trip from Bainbridge, when you approach the city. Time the return for sunset or blue hour. Use a 24 to 70mm for the skyline and a 70 to 200mm to pull in Rainier. Keep your shutter at 1/250 or faster because the boat moves and vibrates. Hold your camera strap tight, and use a rain cover for the spray.
Best time: Return trip at sunset or blue hour. Access: Ticketed walk on passenger fare, paid on the Seattle side. From downtown, walk to Colman Dock at Pier 52.
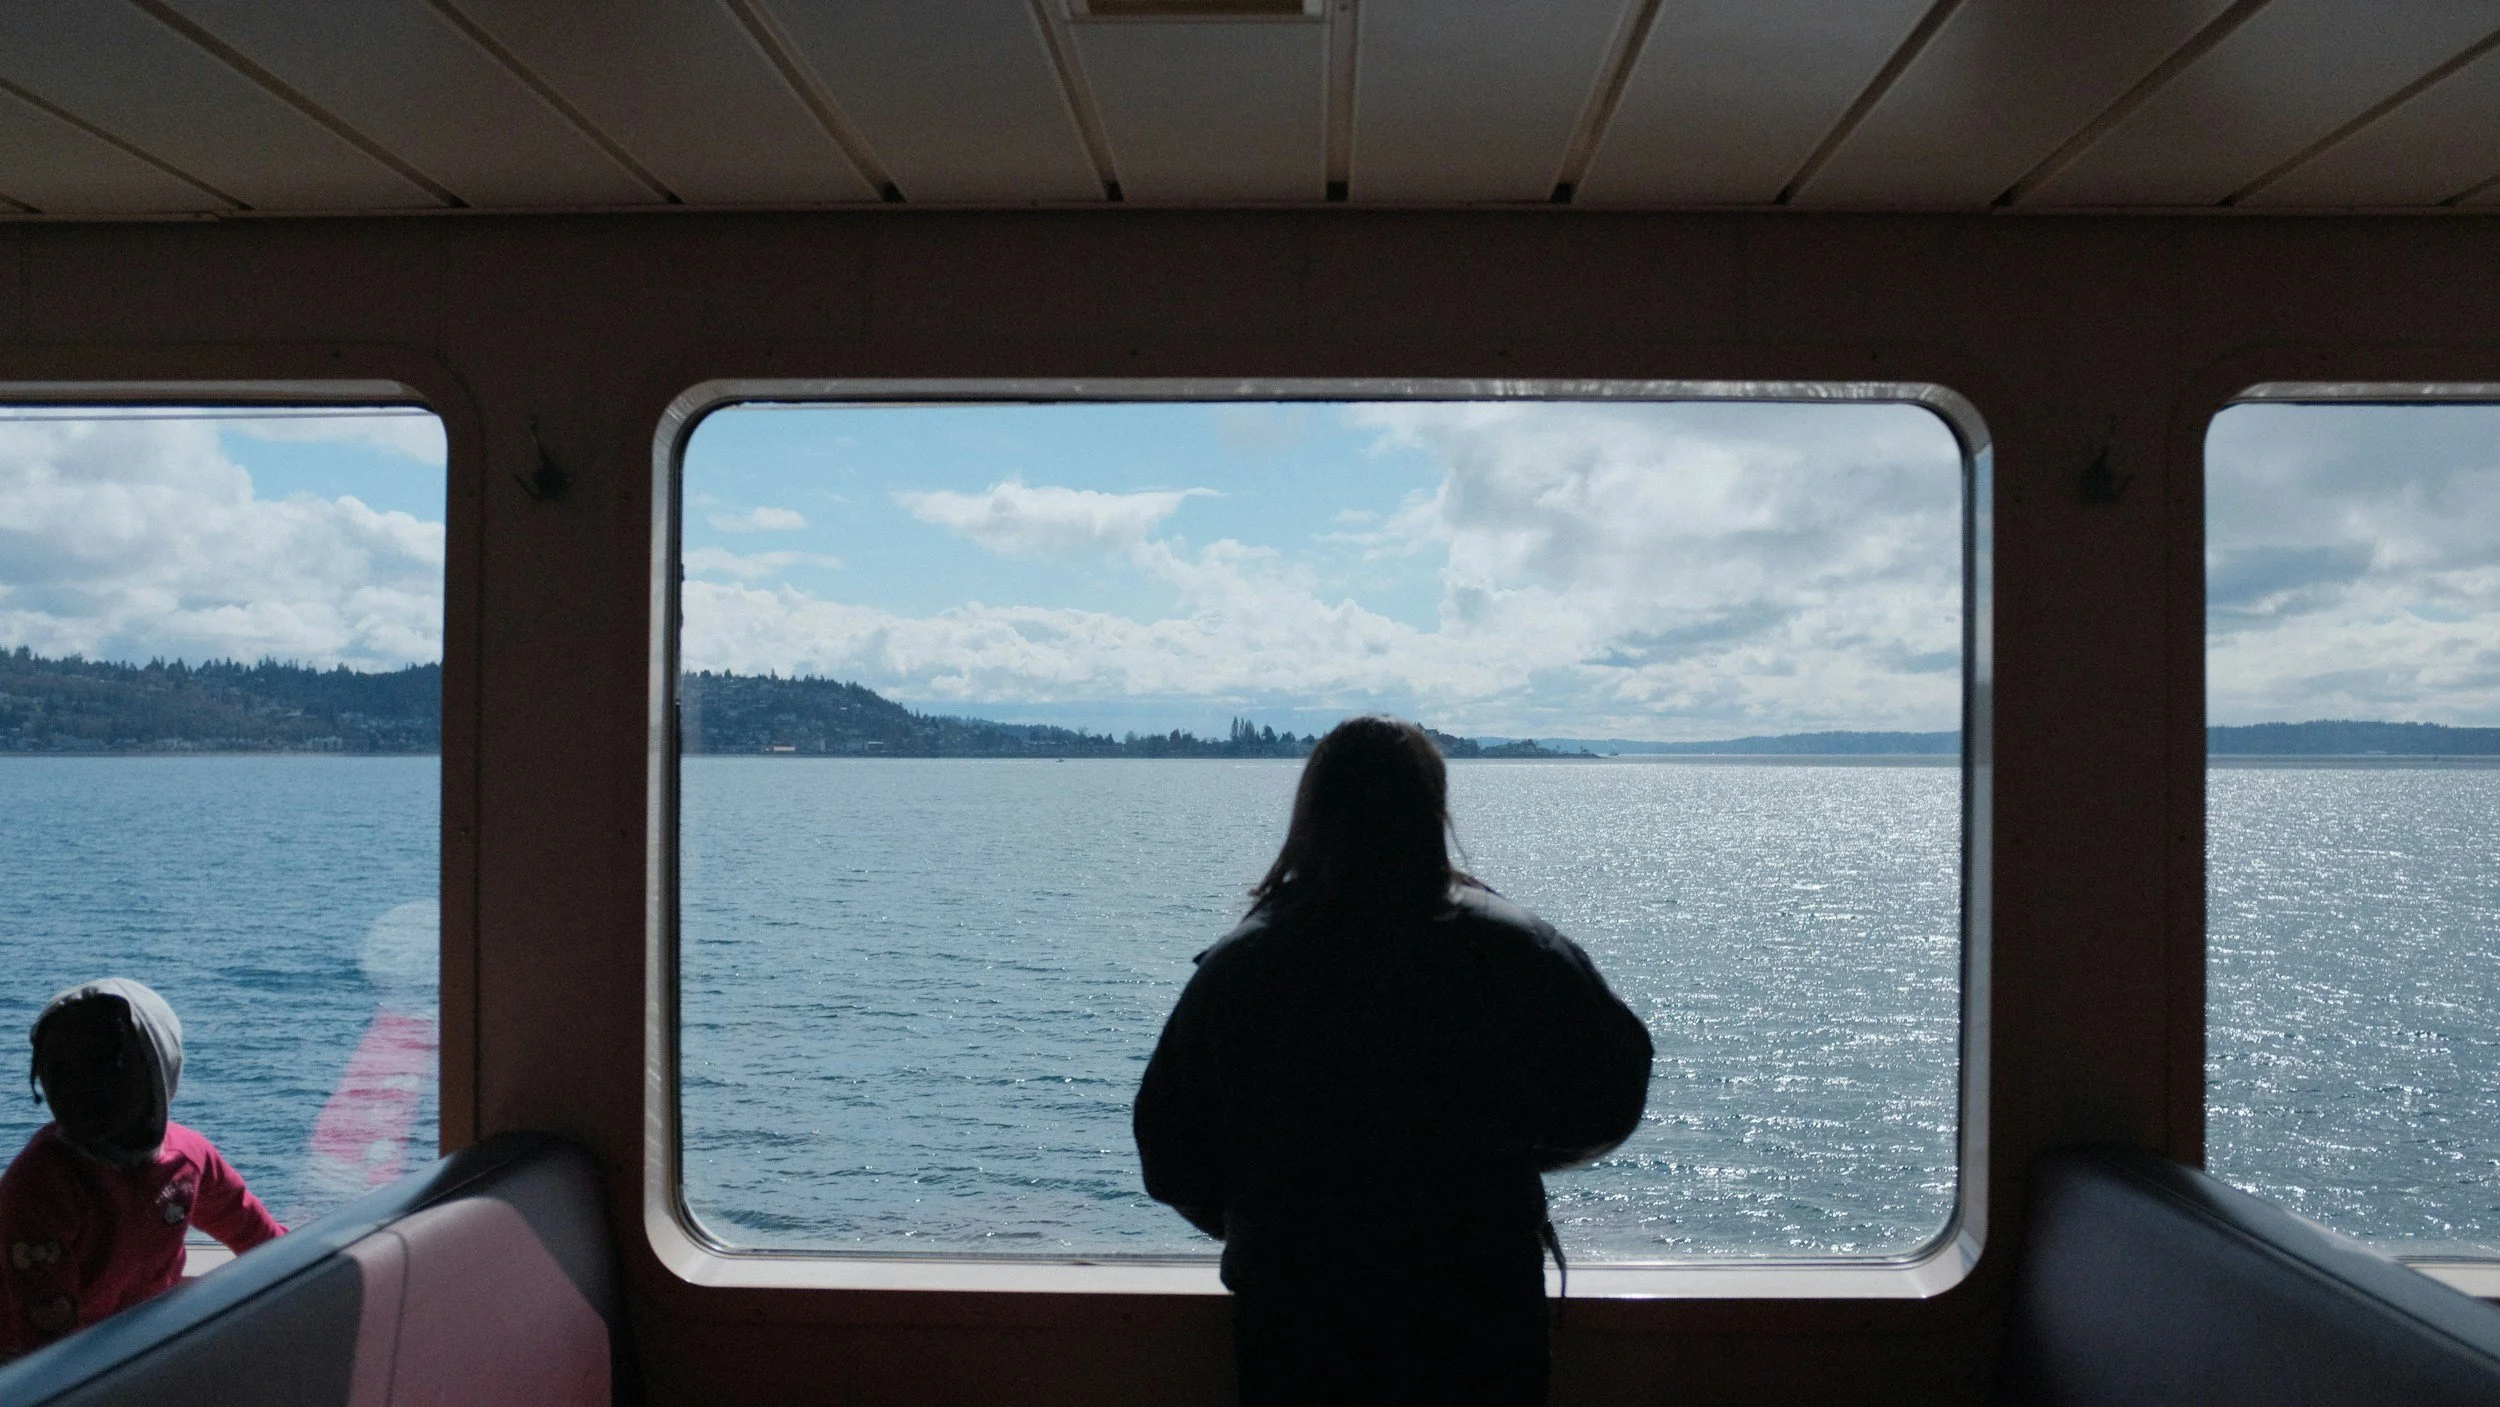
On a Ferry to Bainbridge
Ballard Locks (Hiram M. Chittenden Locks)
Ballard is a really nice neighborhood. It is green and relaxed, with lots of parks, good Thai and Vietnamese restaurants, and plenty of coffee shops. The highlight for photographers is the Ballard Locks, officially the Hiram M. Chittenden Locks. This is where boats pass between the freshwater lakes and the saltwater of Puget Sound. You stand right at the edge and watch fishing boats, sailboats, and yachts rise or drop as the water fills or drains the chamber. It is a lot of fun to watch, and it makes a great photo story in a sequence of frames.
The locks give you something you will not find anywhere else in the city: working boats, moving water, crew members handling the lines, and the lift from start to finish. Across the canal, the fish ladder has underwater windows where you can watch salmon migrate in summer, and the Carl S. English Jr. Botanical Garden sits right next to the locks.
📷 Pro Tip: Use a 24 to 70mm for the boats in the chamber and a 70 to 200mm for detail shots of crew members handling the lines and the boat names on the hulls. Shoot a sequence as the water level changes, since it tells the story better than a single frame. Morning and late afternoon light work best. For salmon, visit between mid June and September, although the fish are never guaranteed. The underwater windows are dark, so raise your ISO, press your lens hood against the glass, and turn off your flash. On iPhone, use Burst mode or Live Photos to catch boats moving through the gates. [VITO TO CONFIRM: did you watch a boat go through? Name any Thai, Vietnamese, or coffee spot in Ballard you want to recommend.]
Best time: Summer for boat traffic and salmon, morning or late afternoon for light. Access: Free. About 15 to 20 minutes north of downtown by car or rideshare.
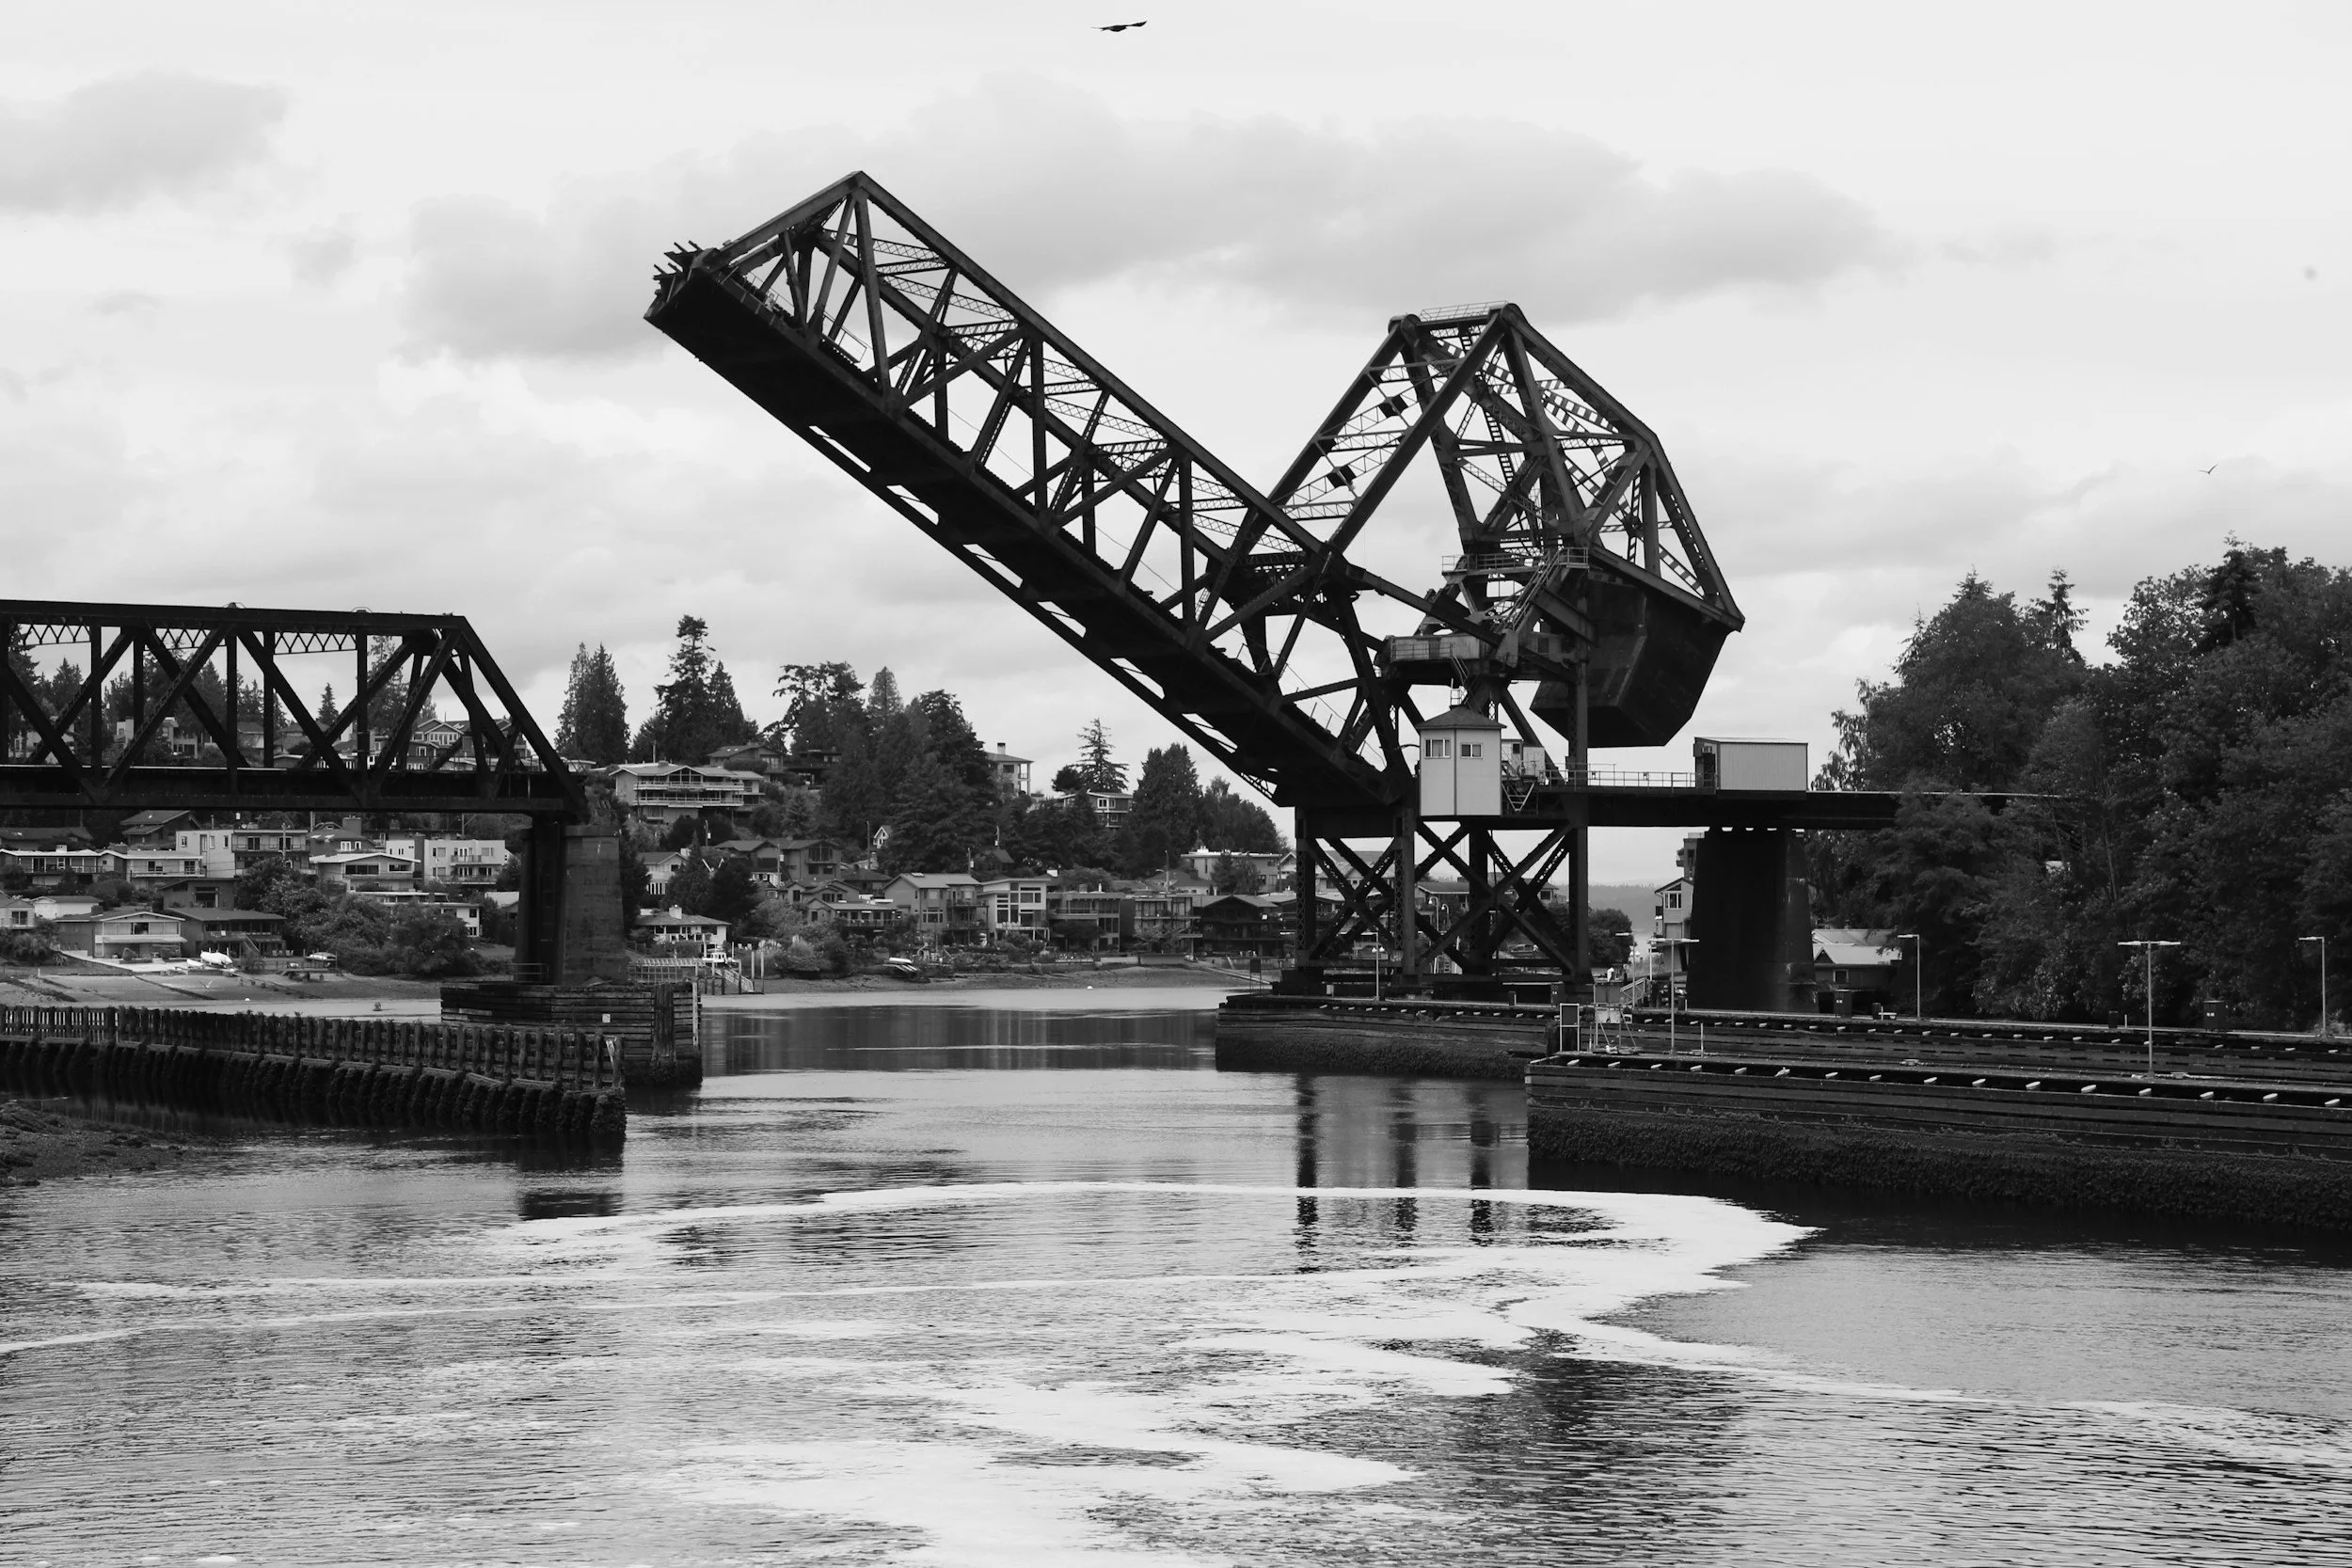
A B&W of the famous locks in Ballard
Street Photography: Pioneer Square, Pike Place, and Capitol Hill
Seattle is a great street photography city because the neighborhoods feel so different from each other, often just a few blocks apart. Three areas gave me the most.
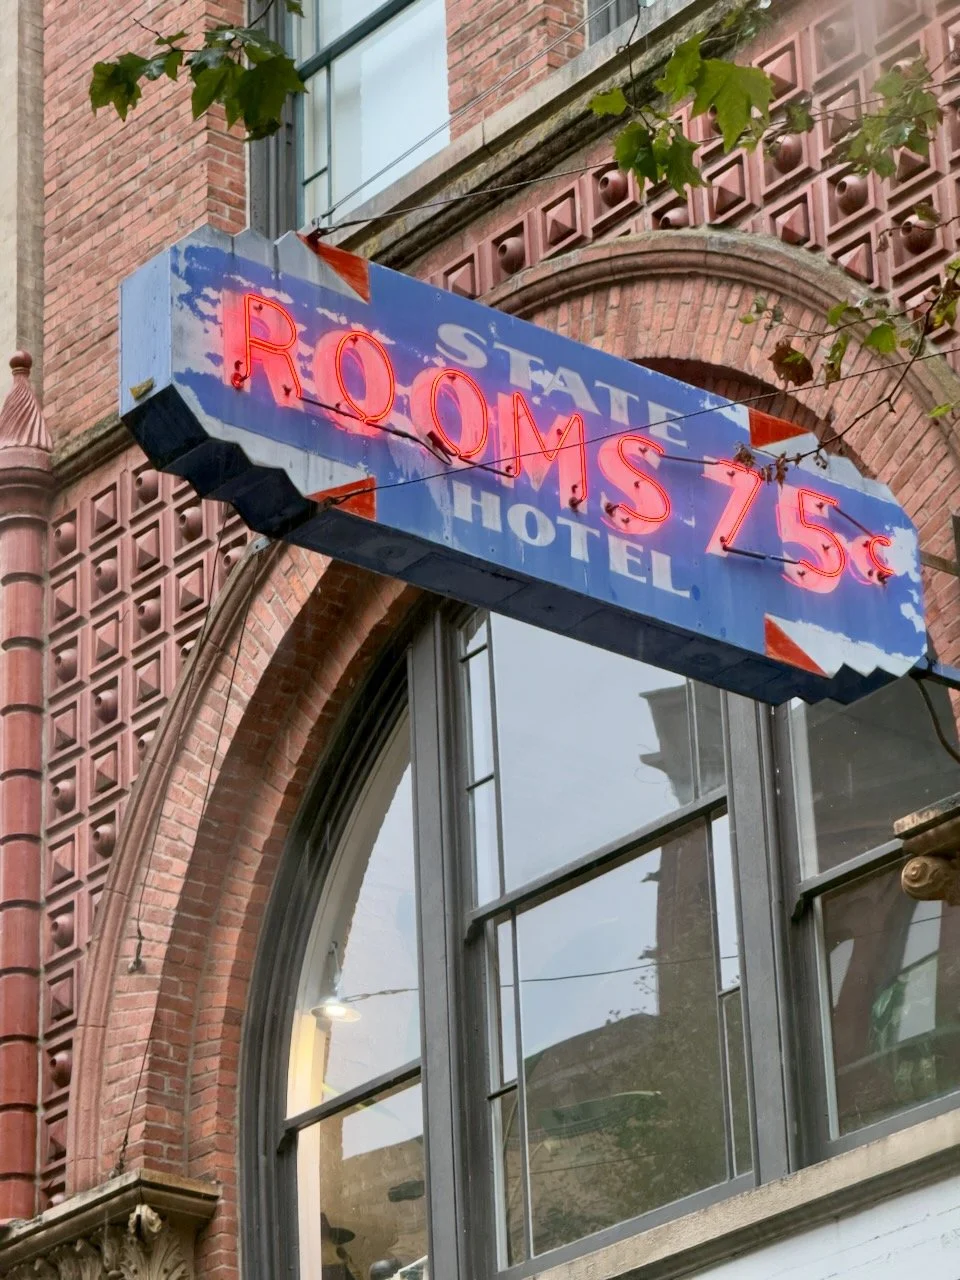
Pioneer Square is where we stayed, and it is Seattle's original downtown. You walk past brick and cast iron facades, old stone archways, and tree lined squares, with office workers, artists, and game day crowds mixing on the same sidewalks. The light bounces off the brick in warm tones late in the day.
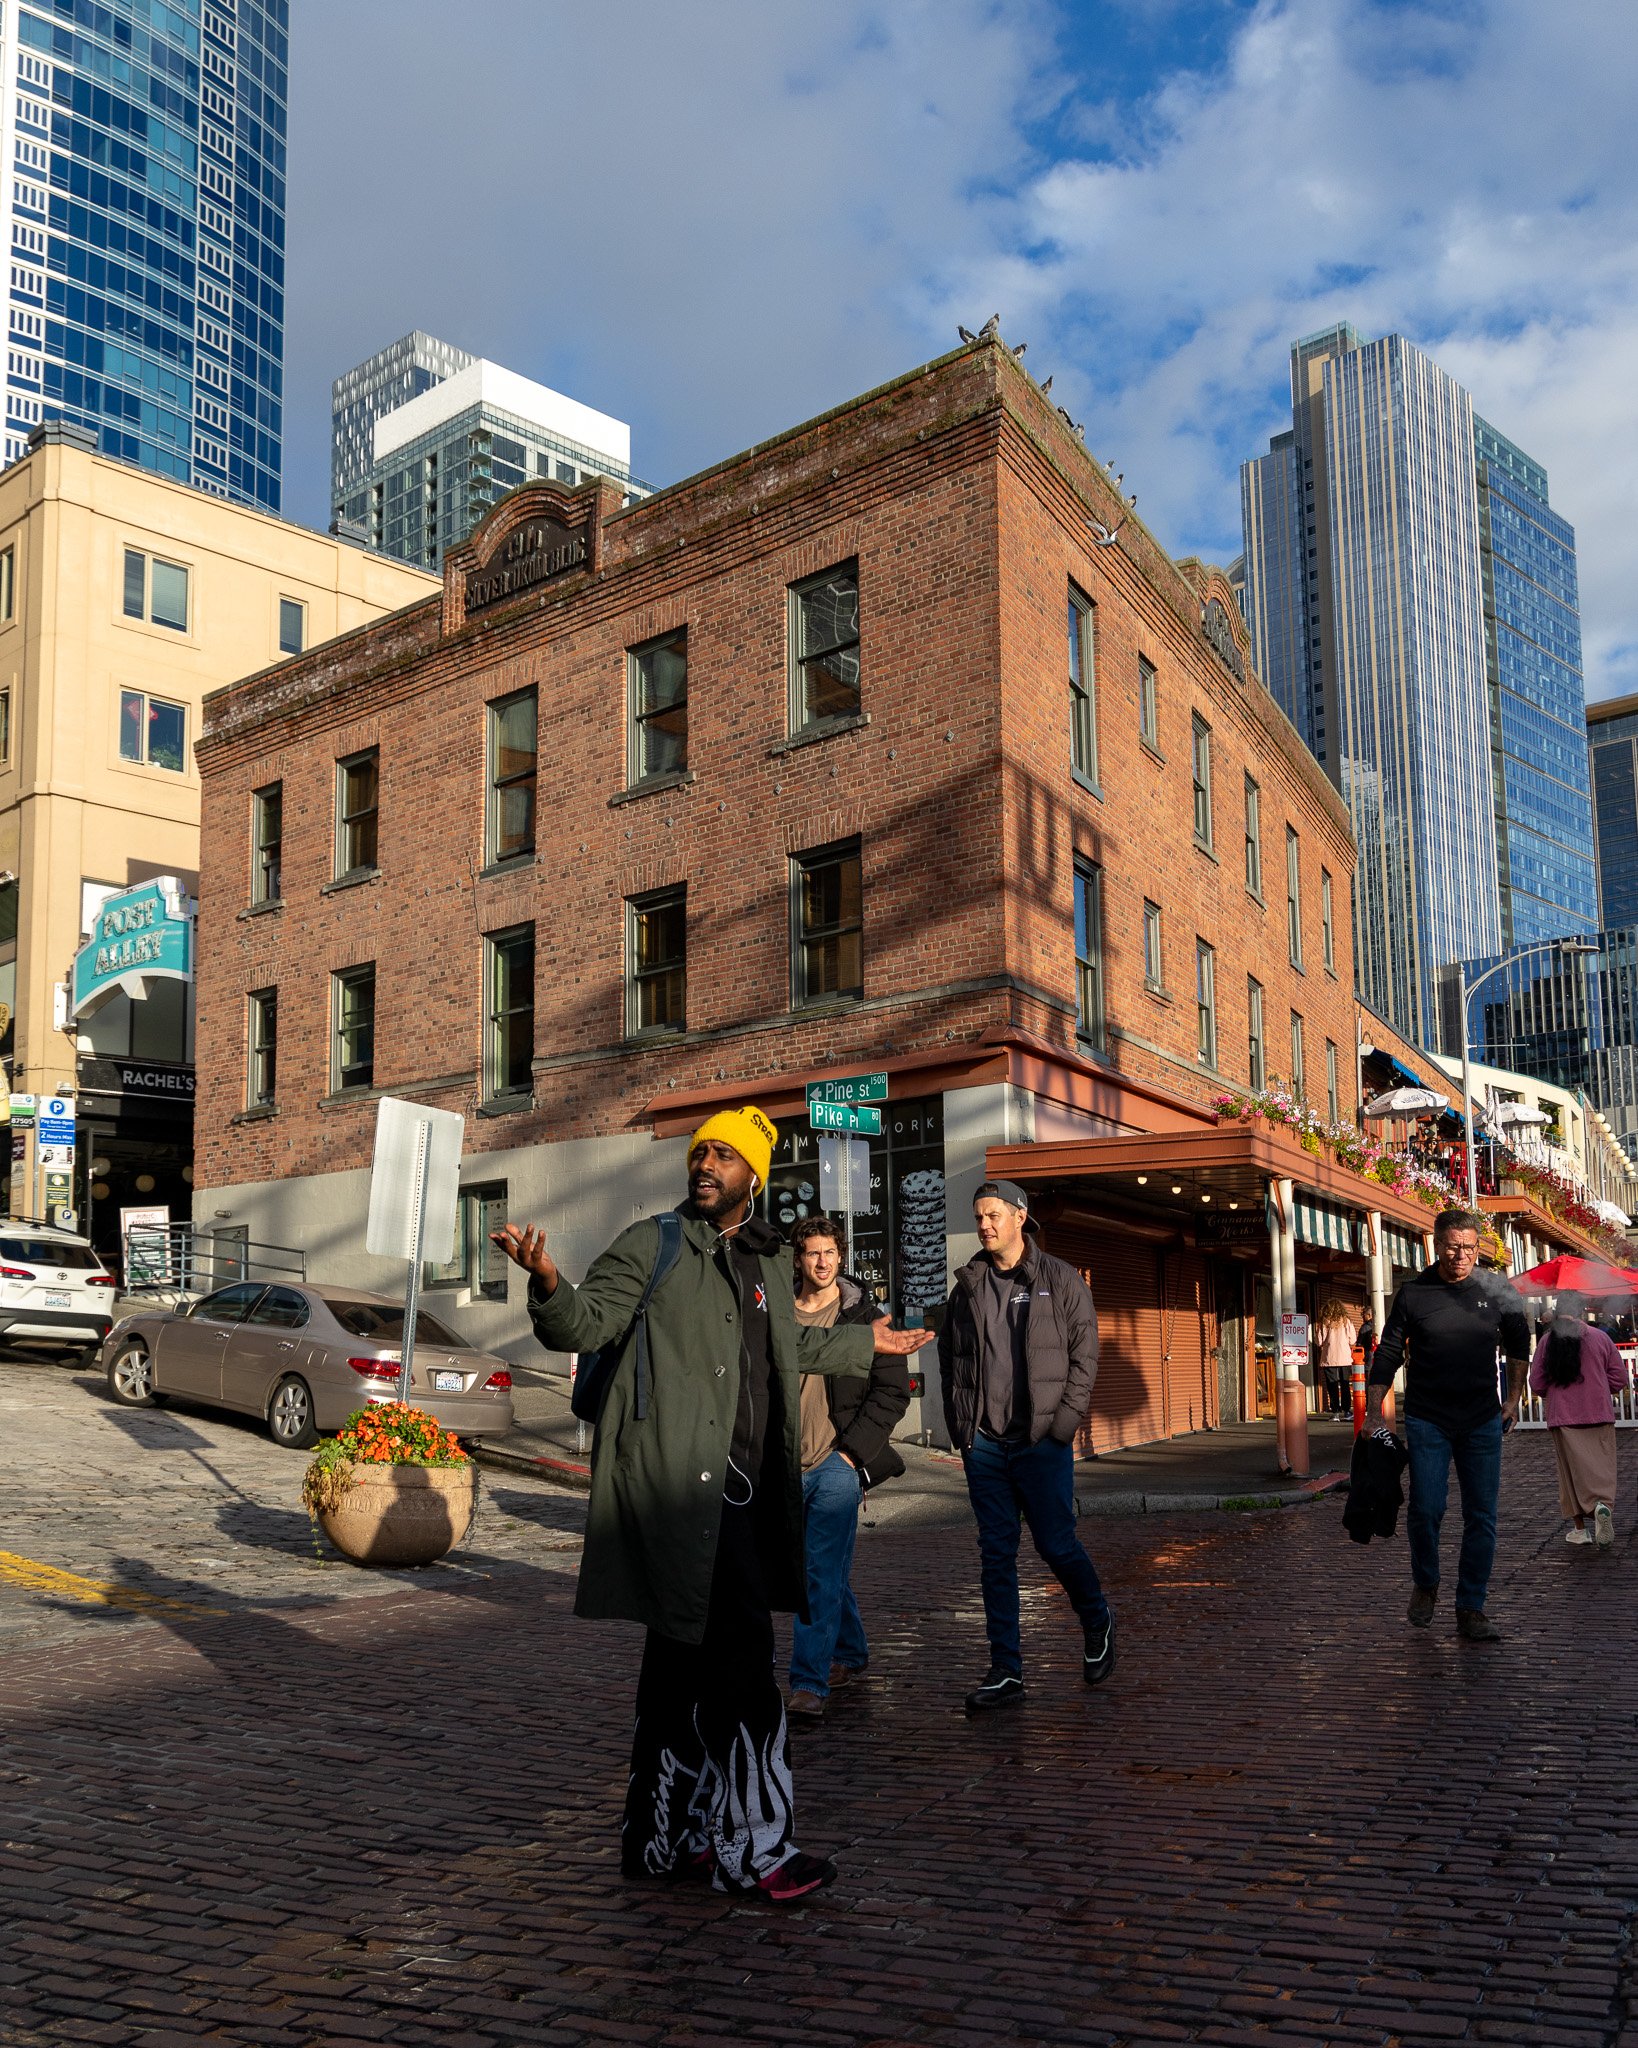
Pike Place Market at sunset gave me some of my best people photos of the trip. The light is beautiful, the street fills up, and everyone seems to slow down.
Capitol Hill has a completely different energy. Broadway is full of cafes, bookstores, and people who dress like they mean it. Grab a window seat at Espresso Vivace and watch the neighborhood walk by, then head out with your camera.
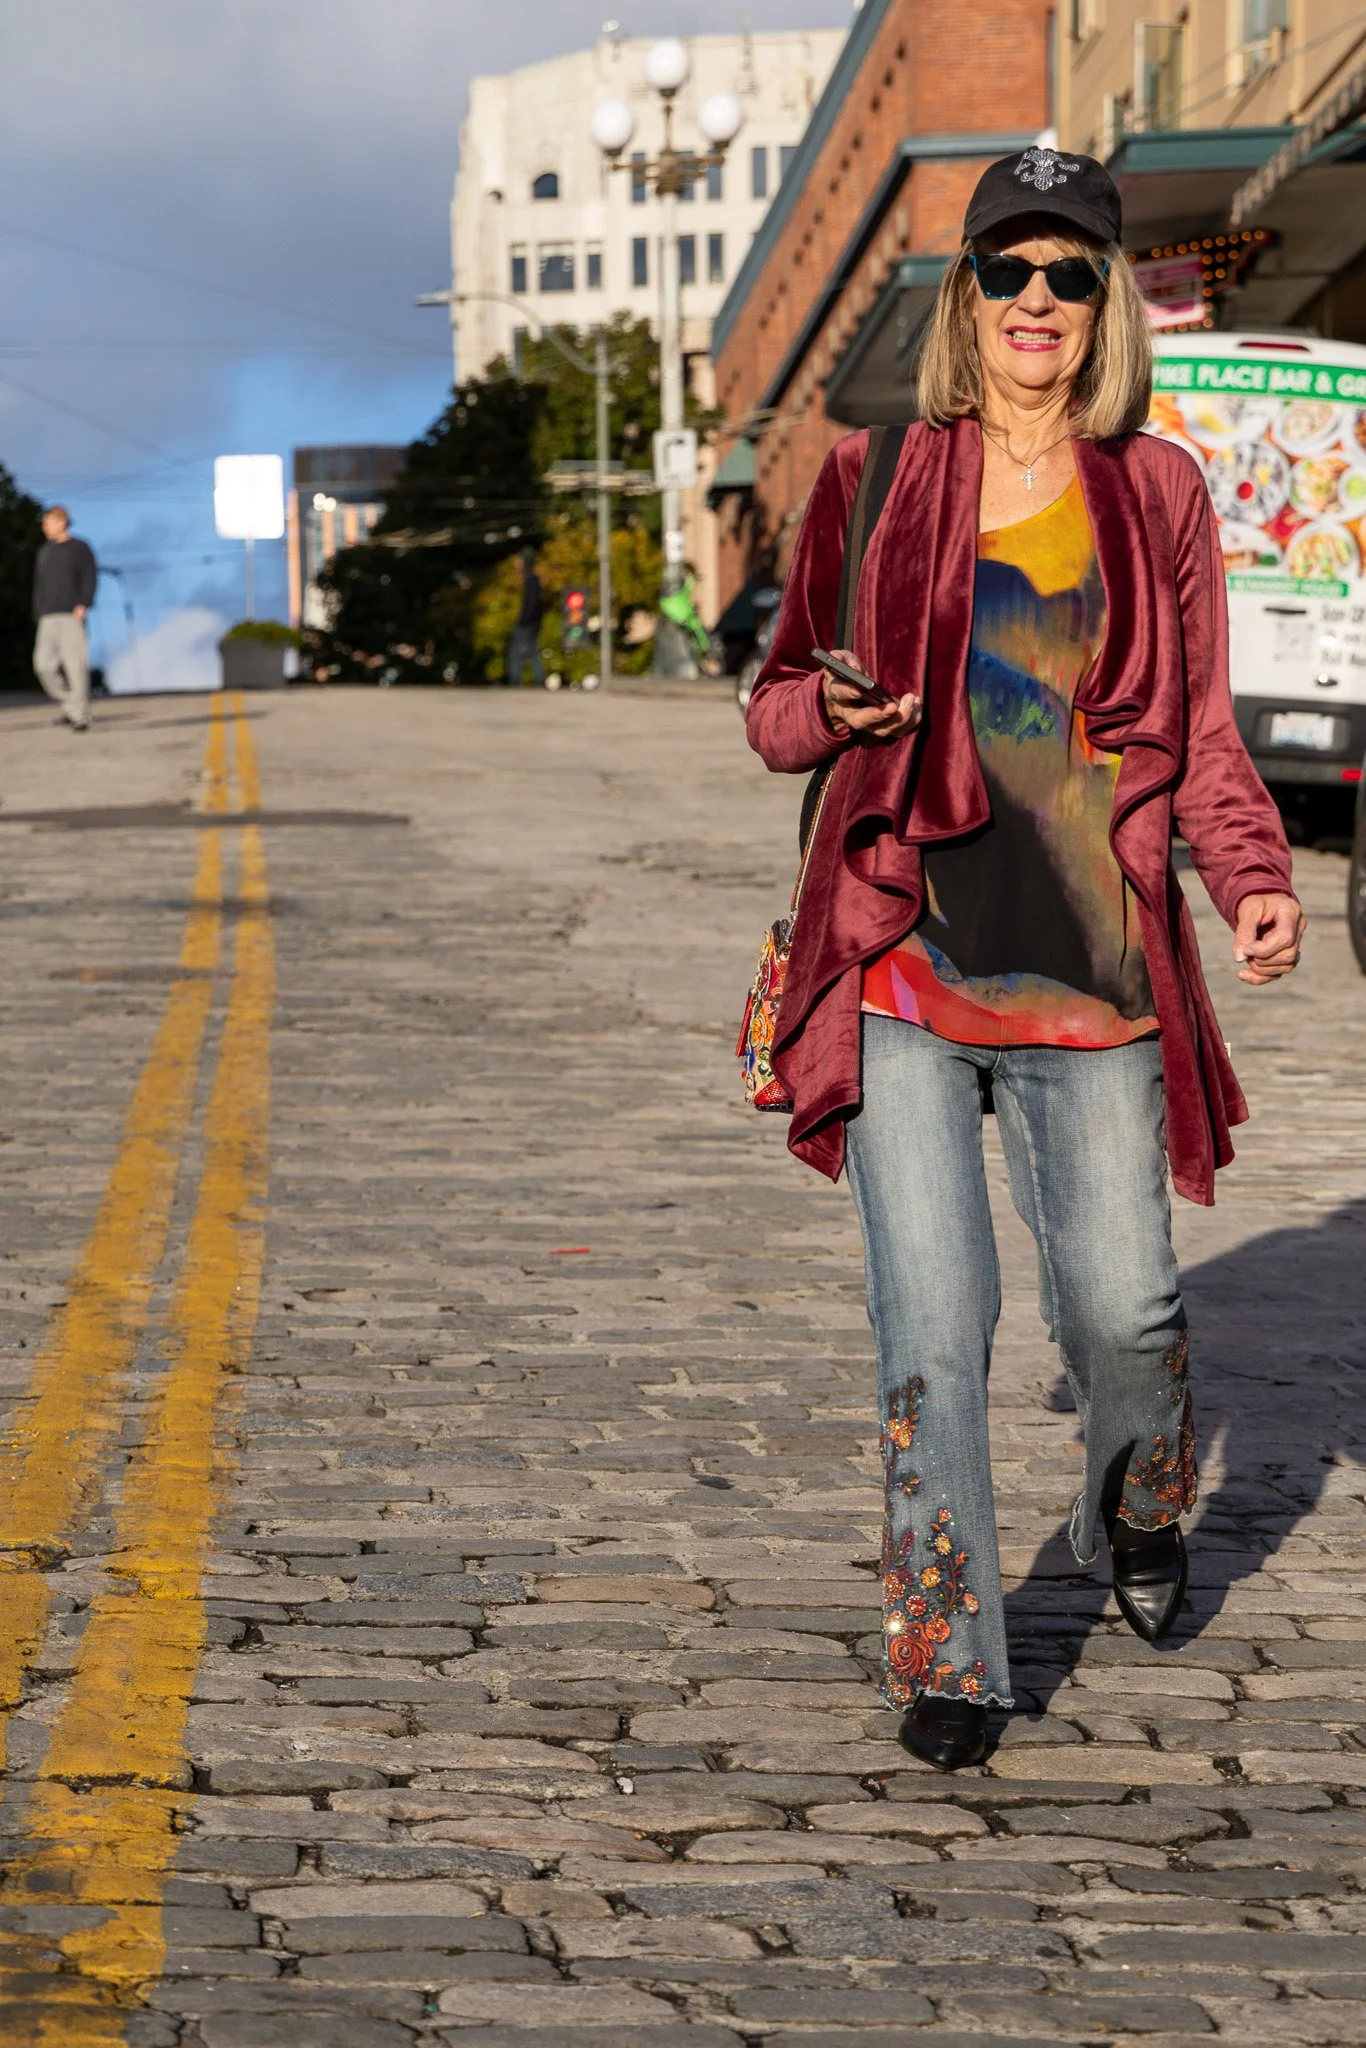
📷 Pro Tip: Keep your kit small. A 35mm prime is perfect for street work here, and an 85mm helps you isolate faces from a respectful distance. Late afternoon into sunset gives you the warmest light on the brick in Pioneer Square and the best crowds at the market. Use a fast shutter, around 1/500, to freeze people in motion. Always ask before taking close portraits, respect anyone who says no, and do not photograph people experiencing homelessness without permission. On iPhone, use the 2x setting to work a little closer to the 50mm look, and shoot in Burst mode for moments that happen fast.
Best time: Late afternoon into sunset. Access: Free. All three neighborhoods are walkable or a short rideshare from downtown.
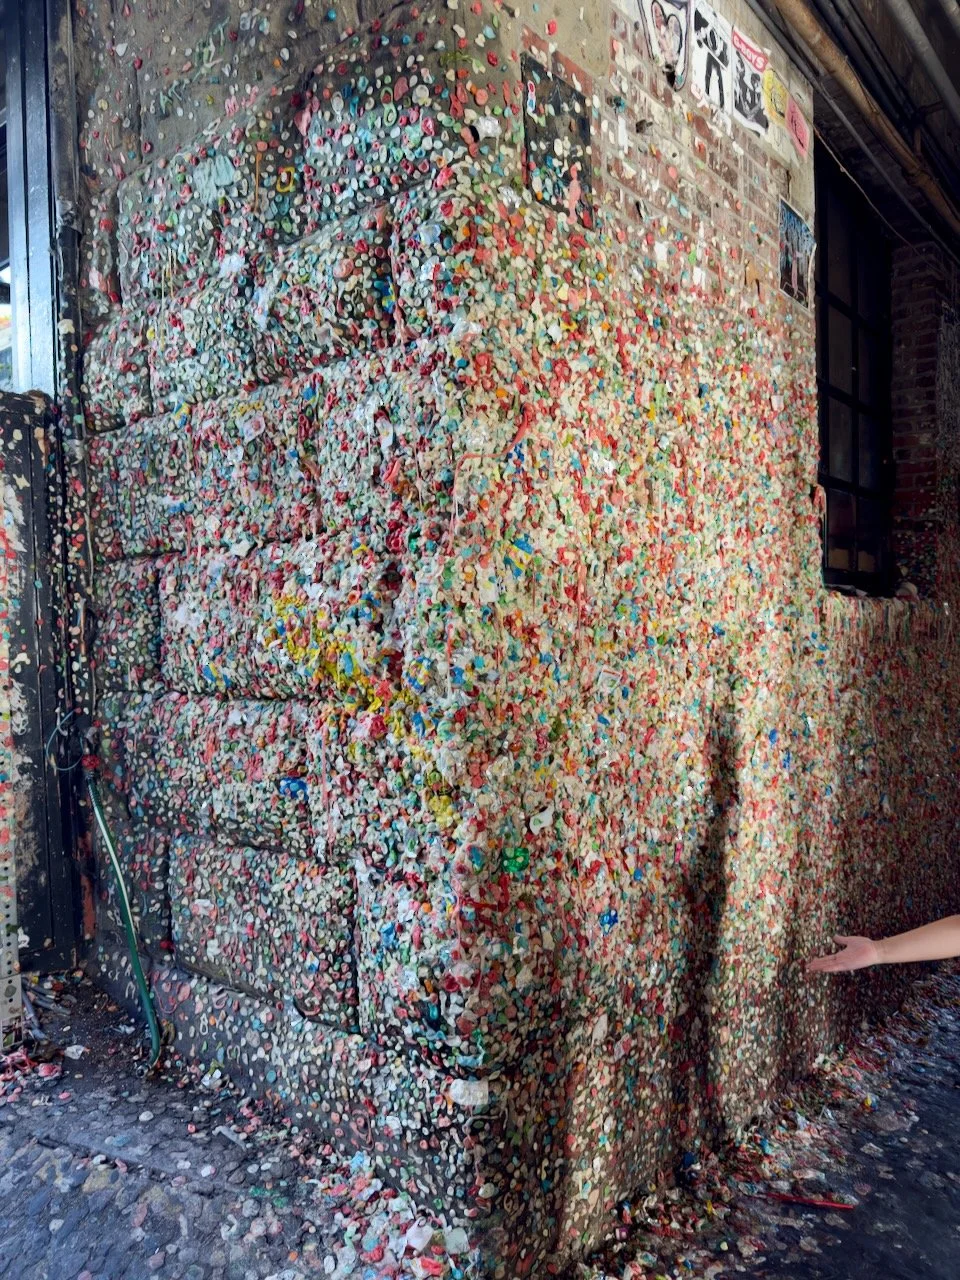
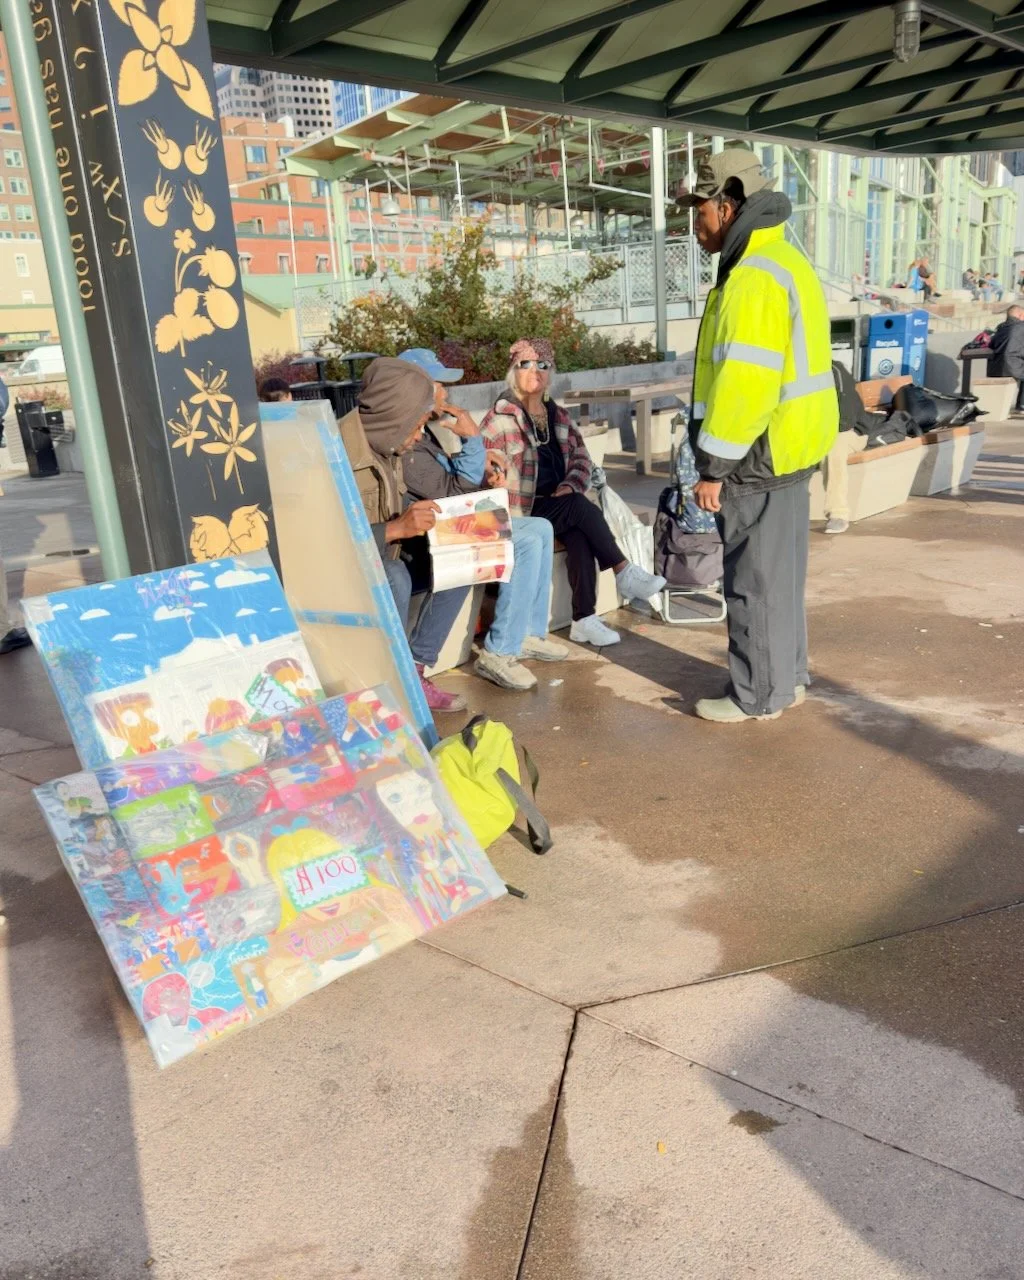
Take a Photo Walk with a Local
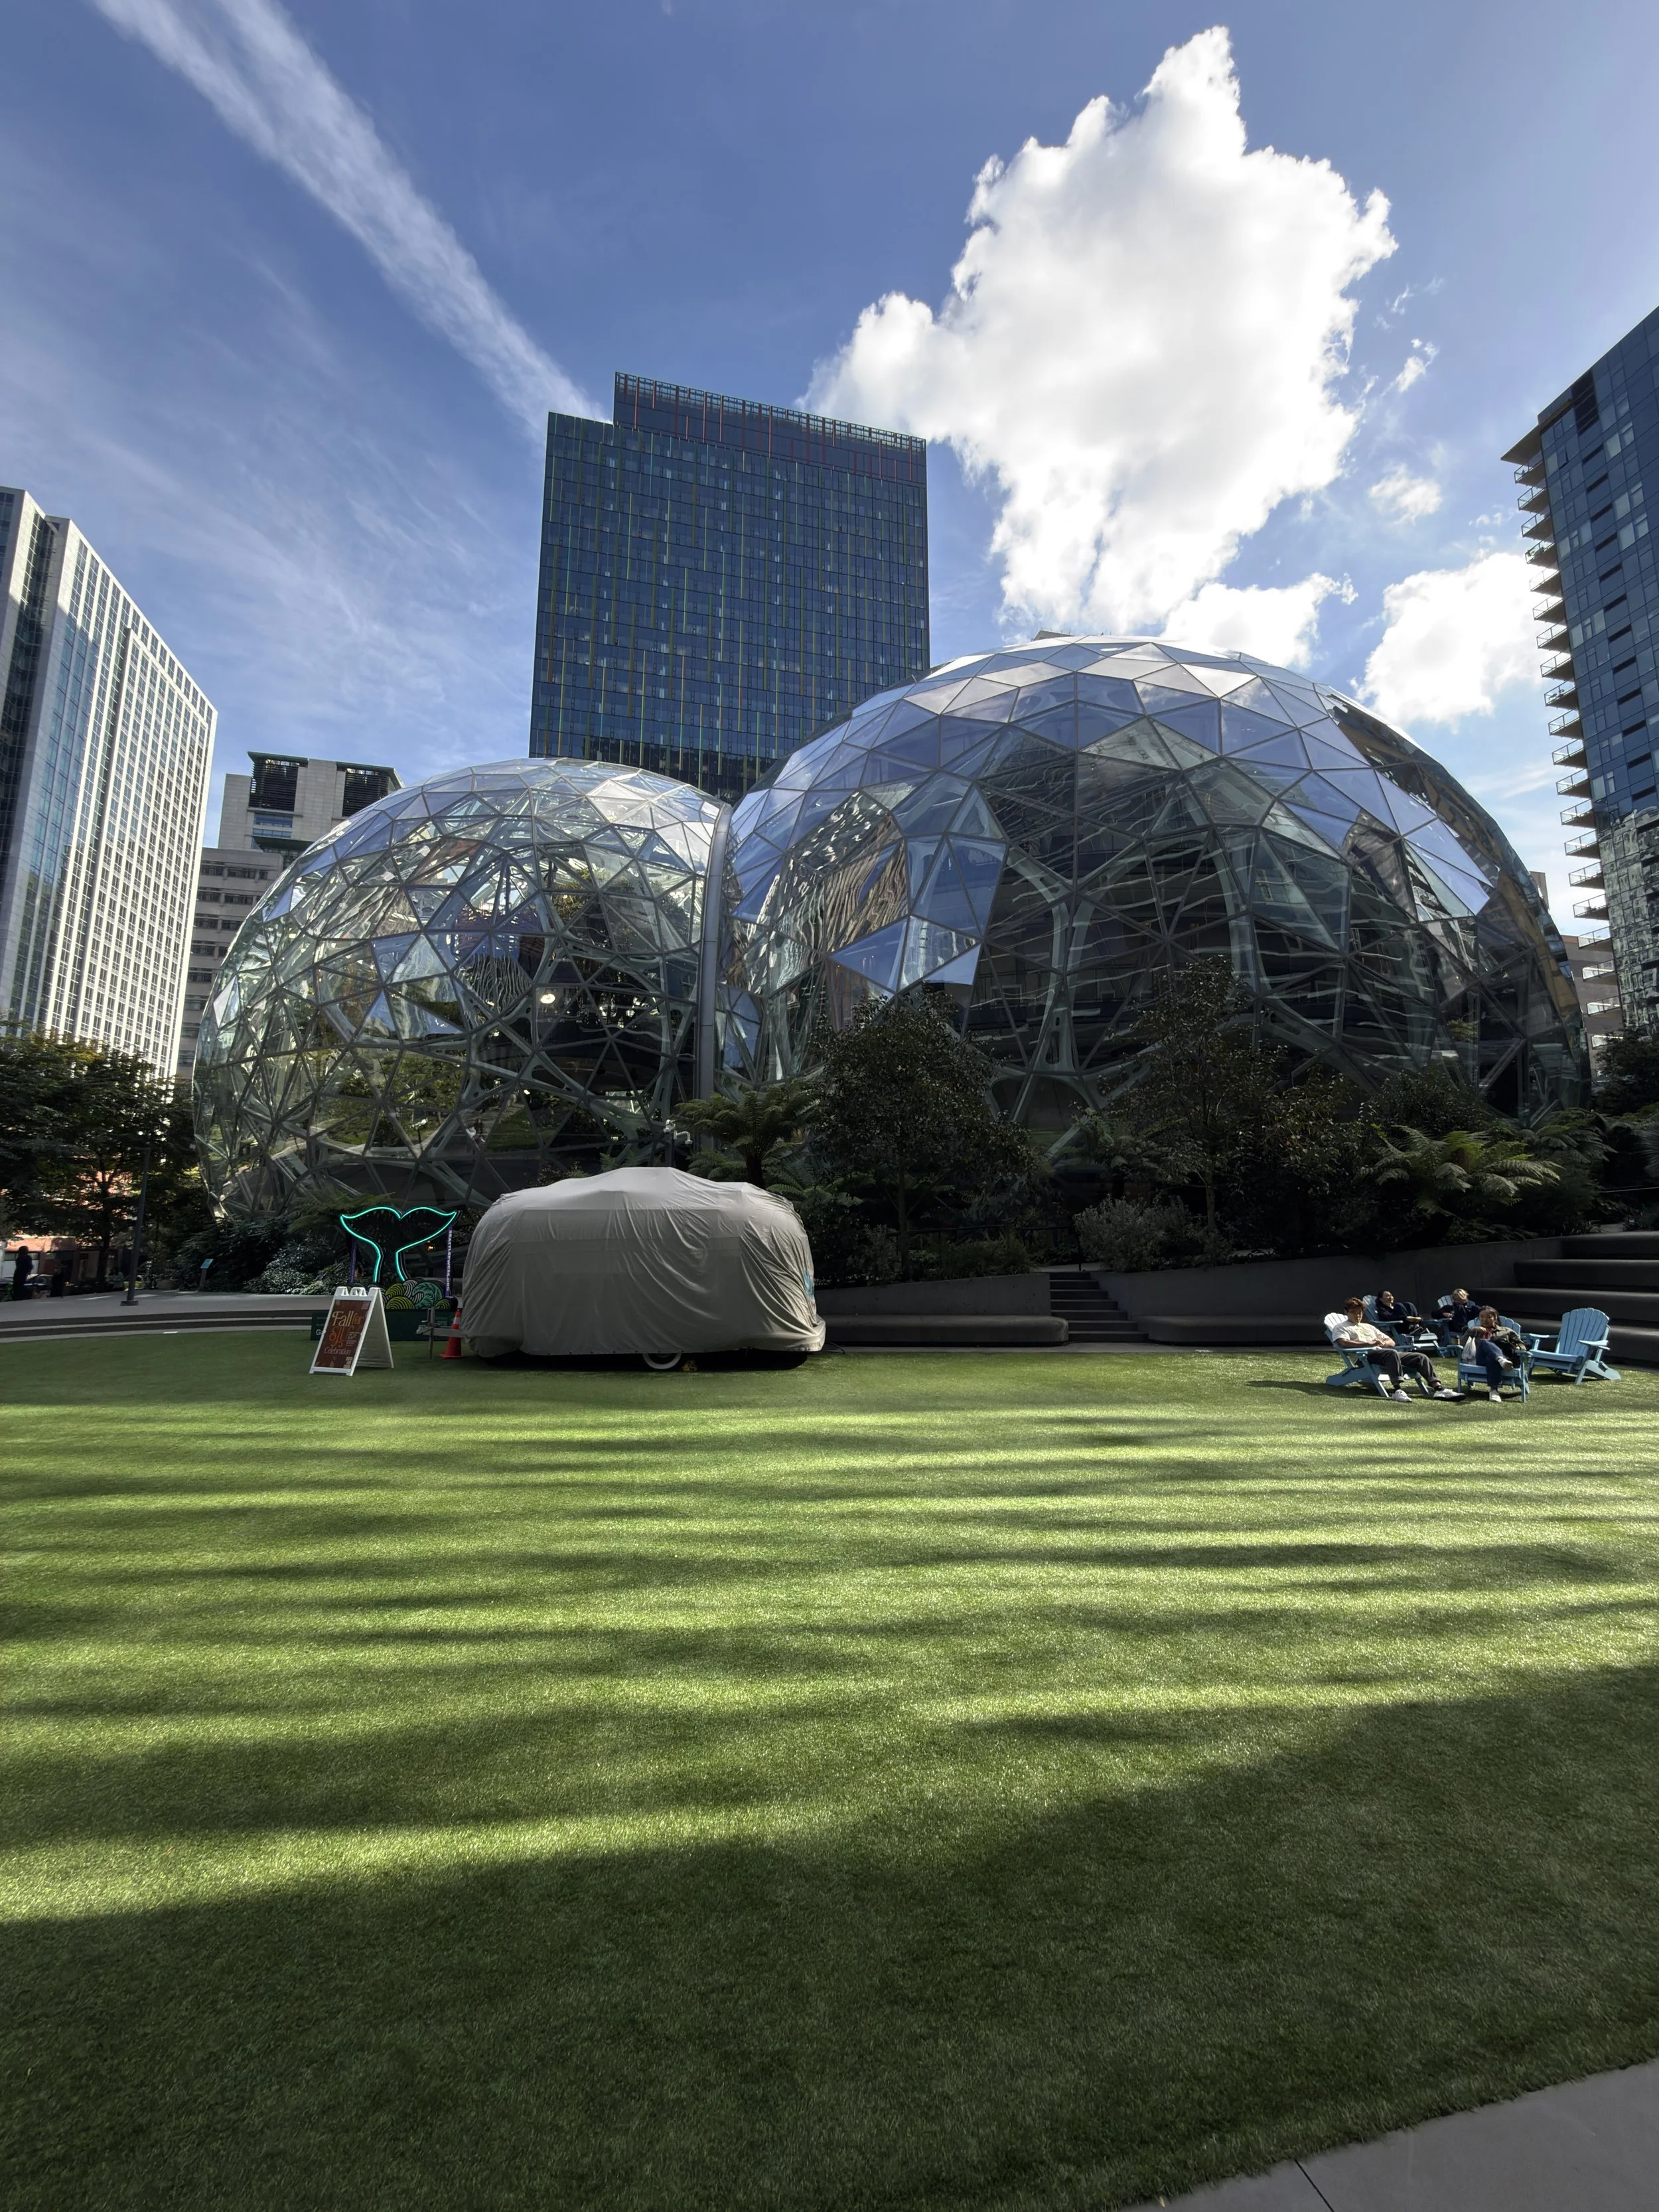
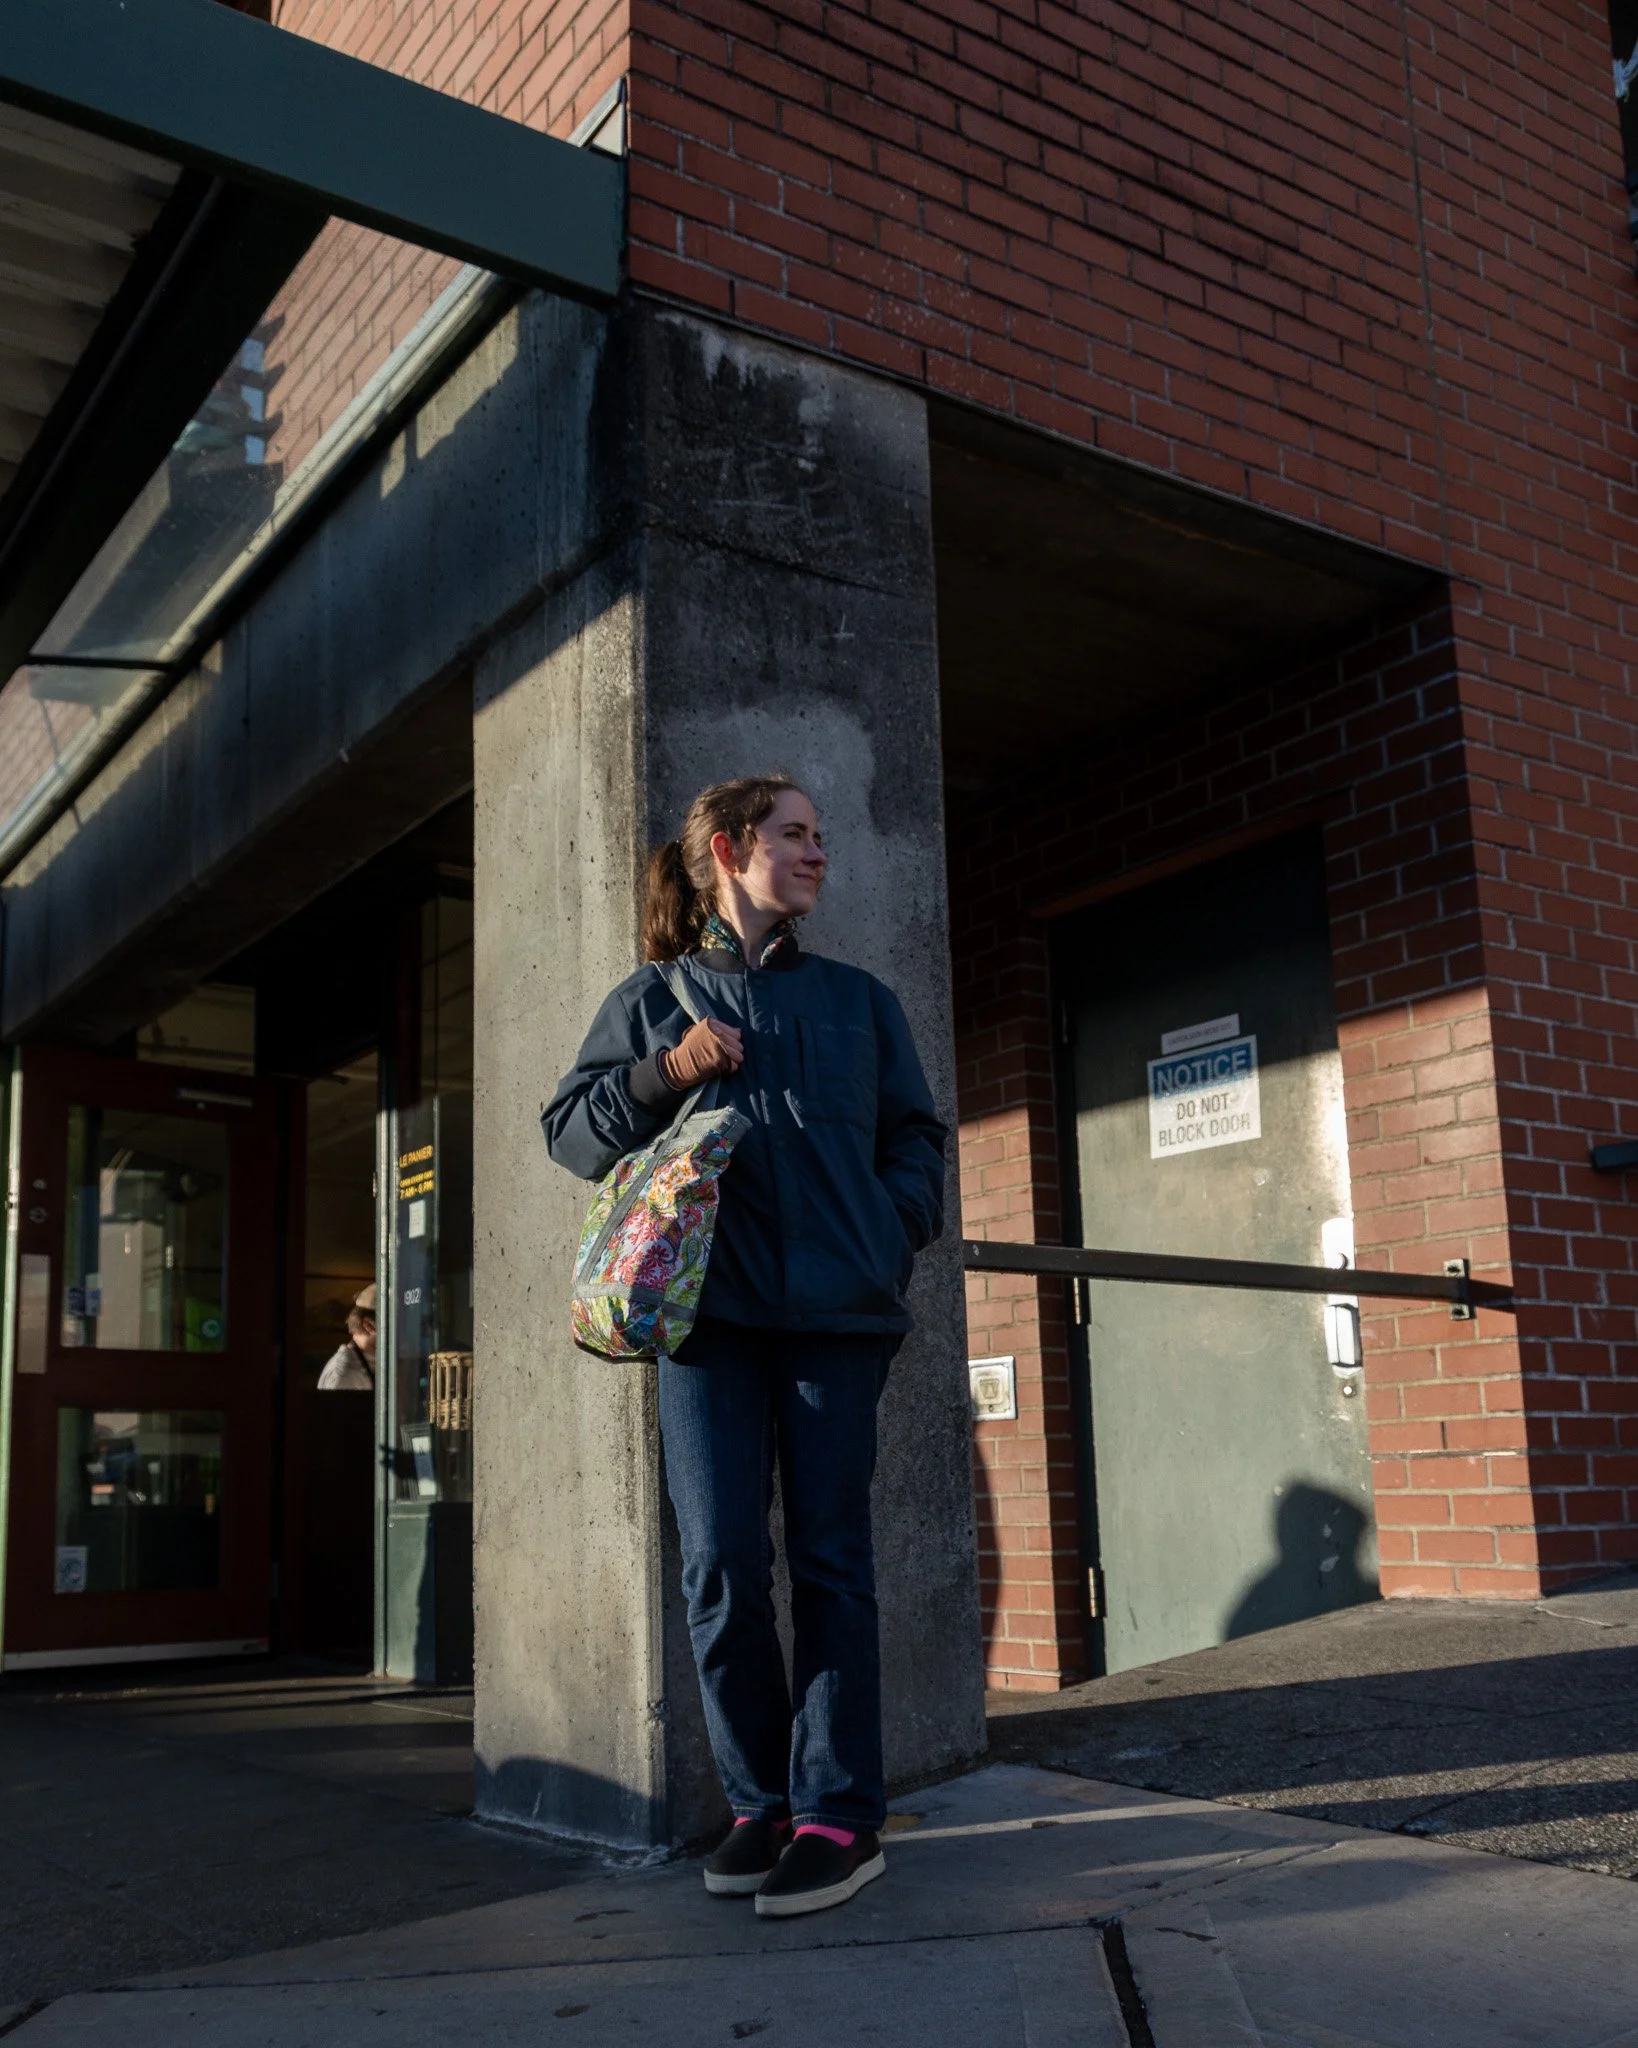
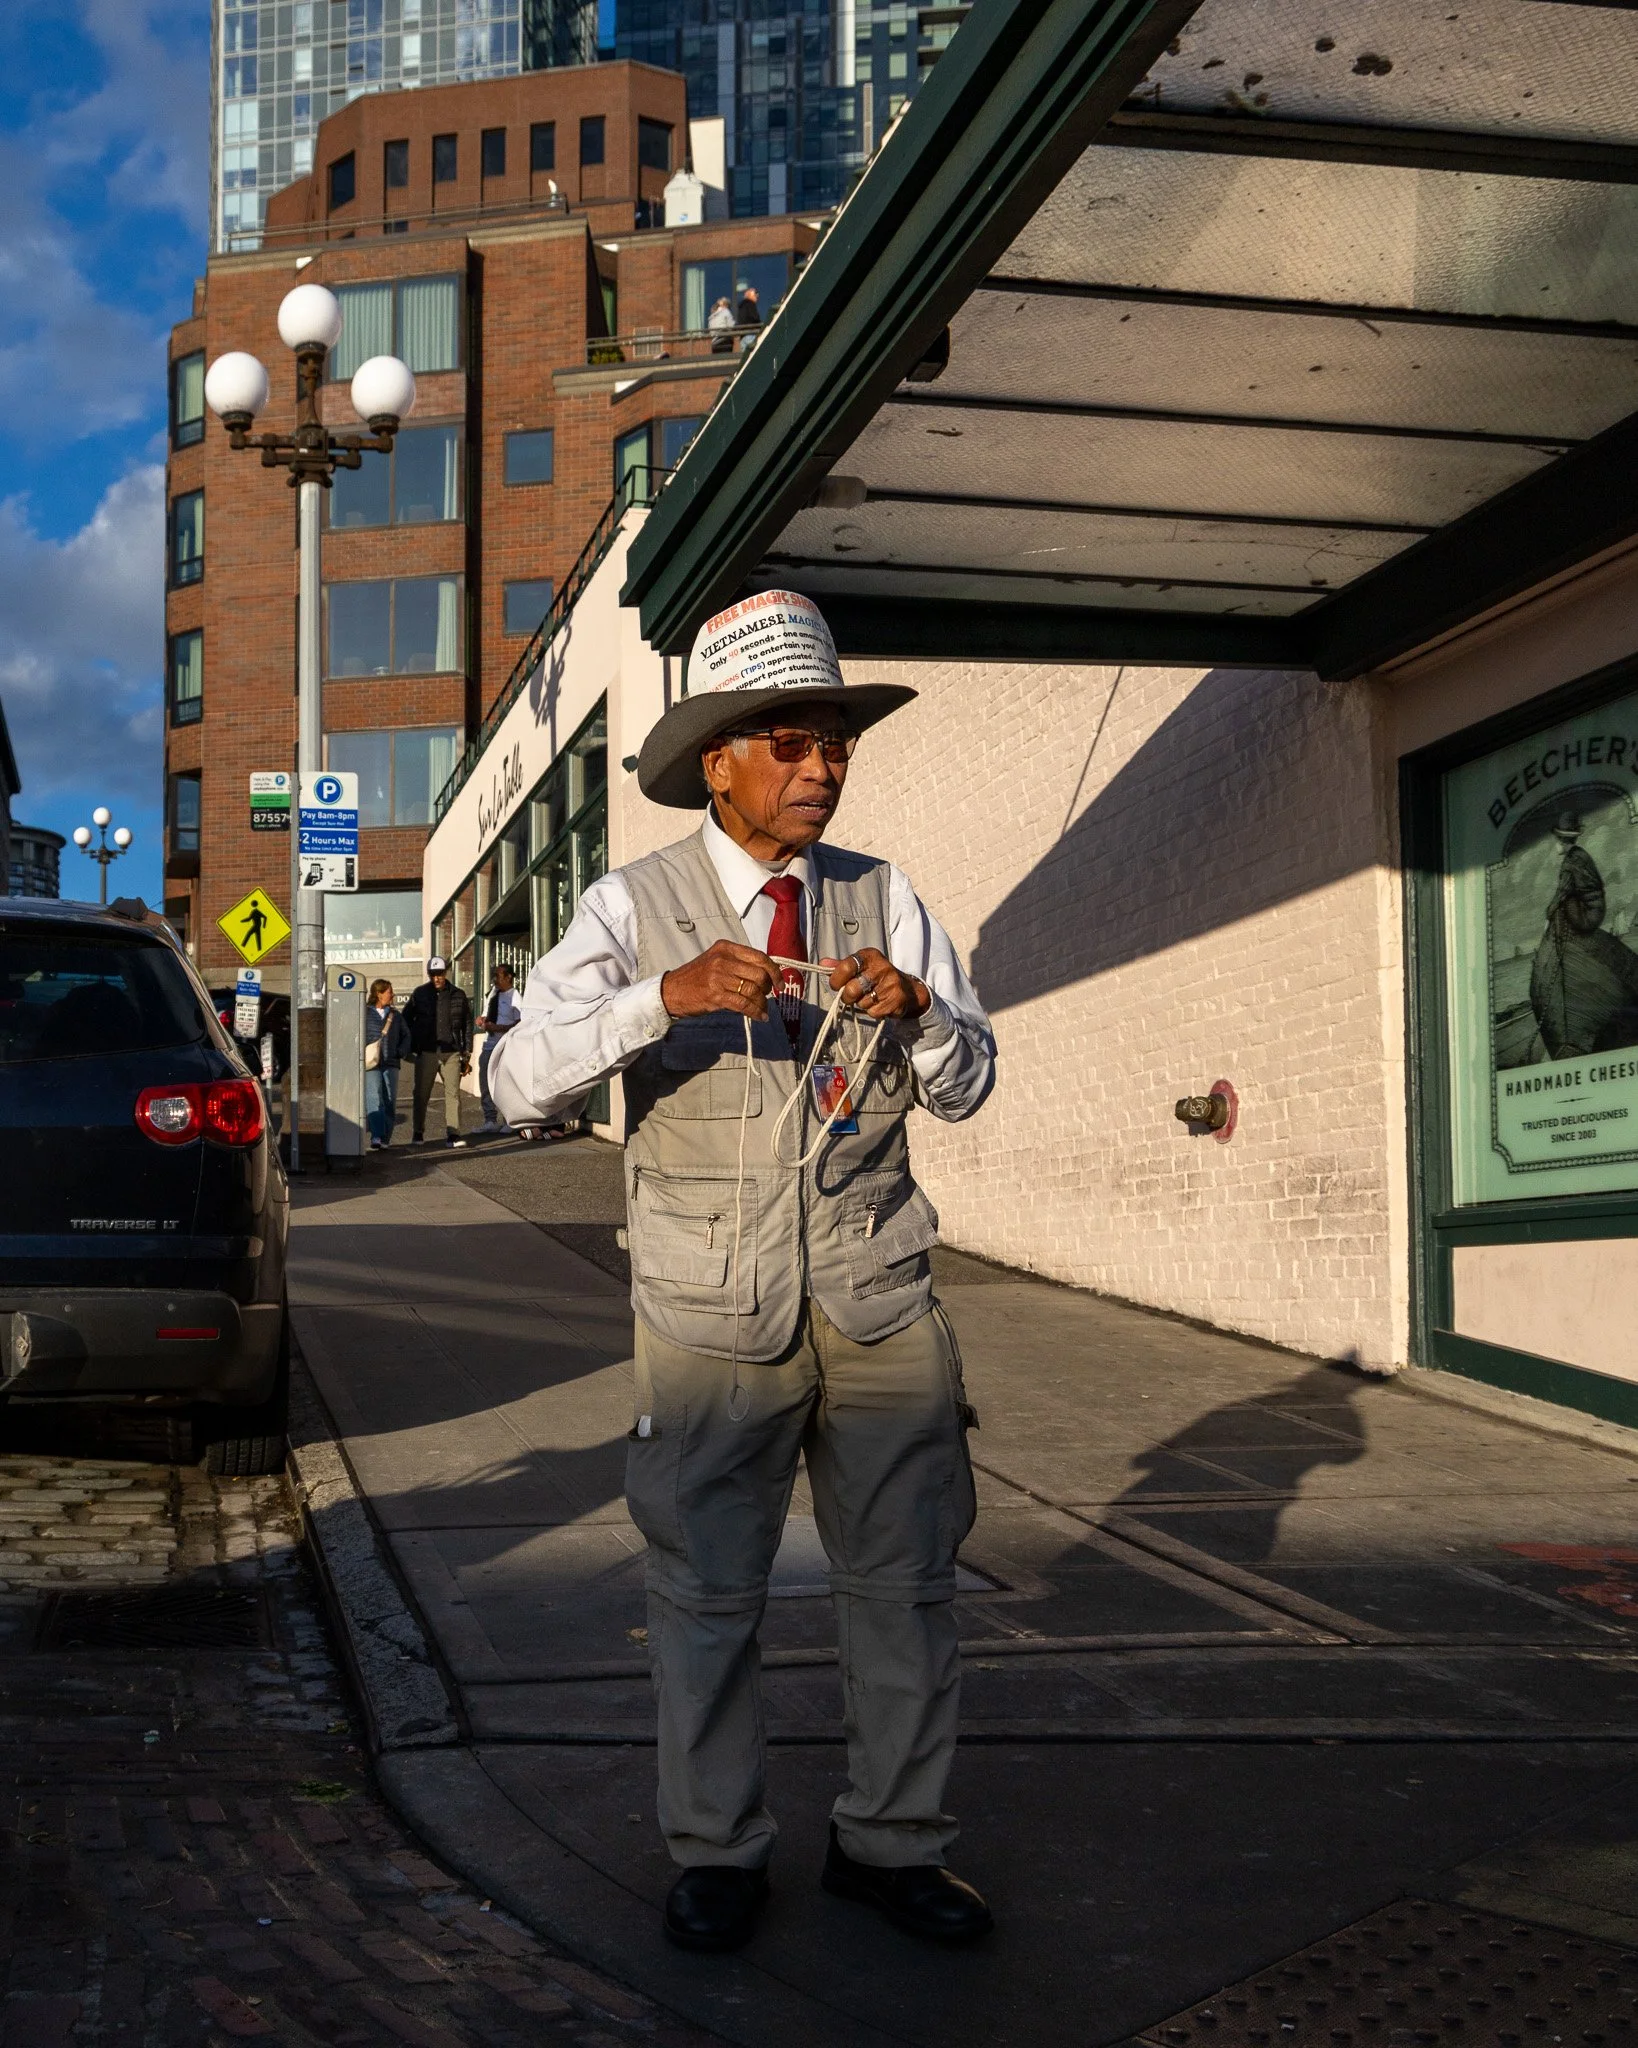
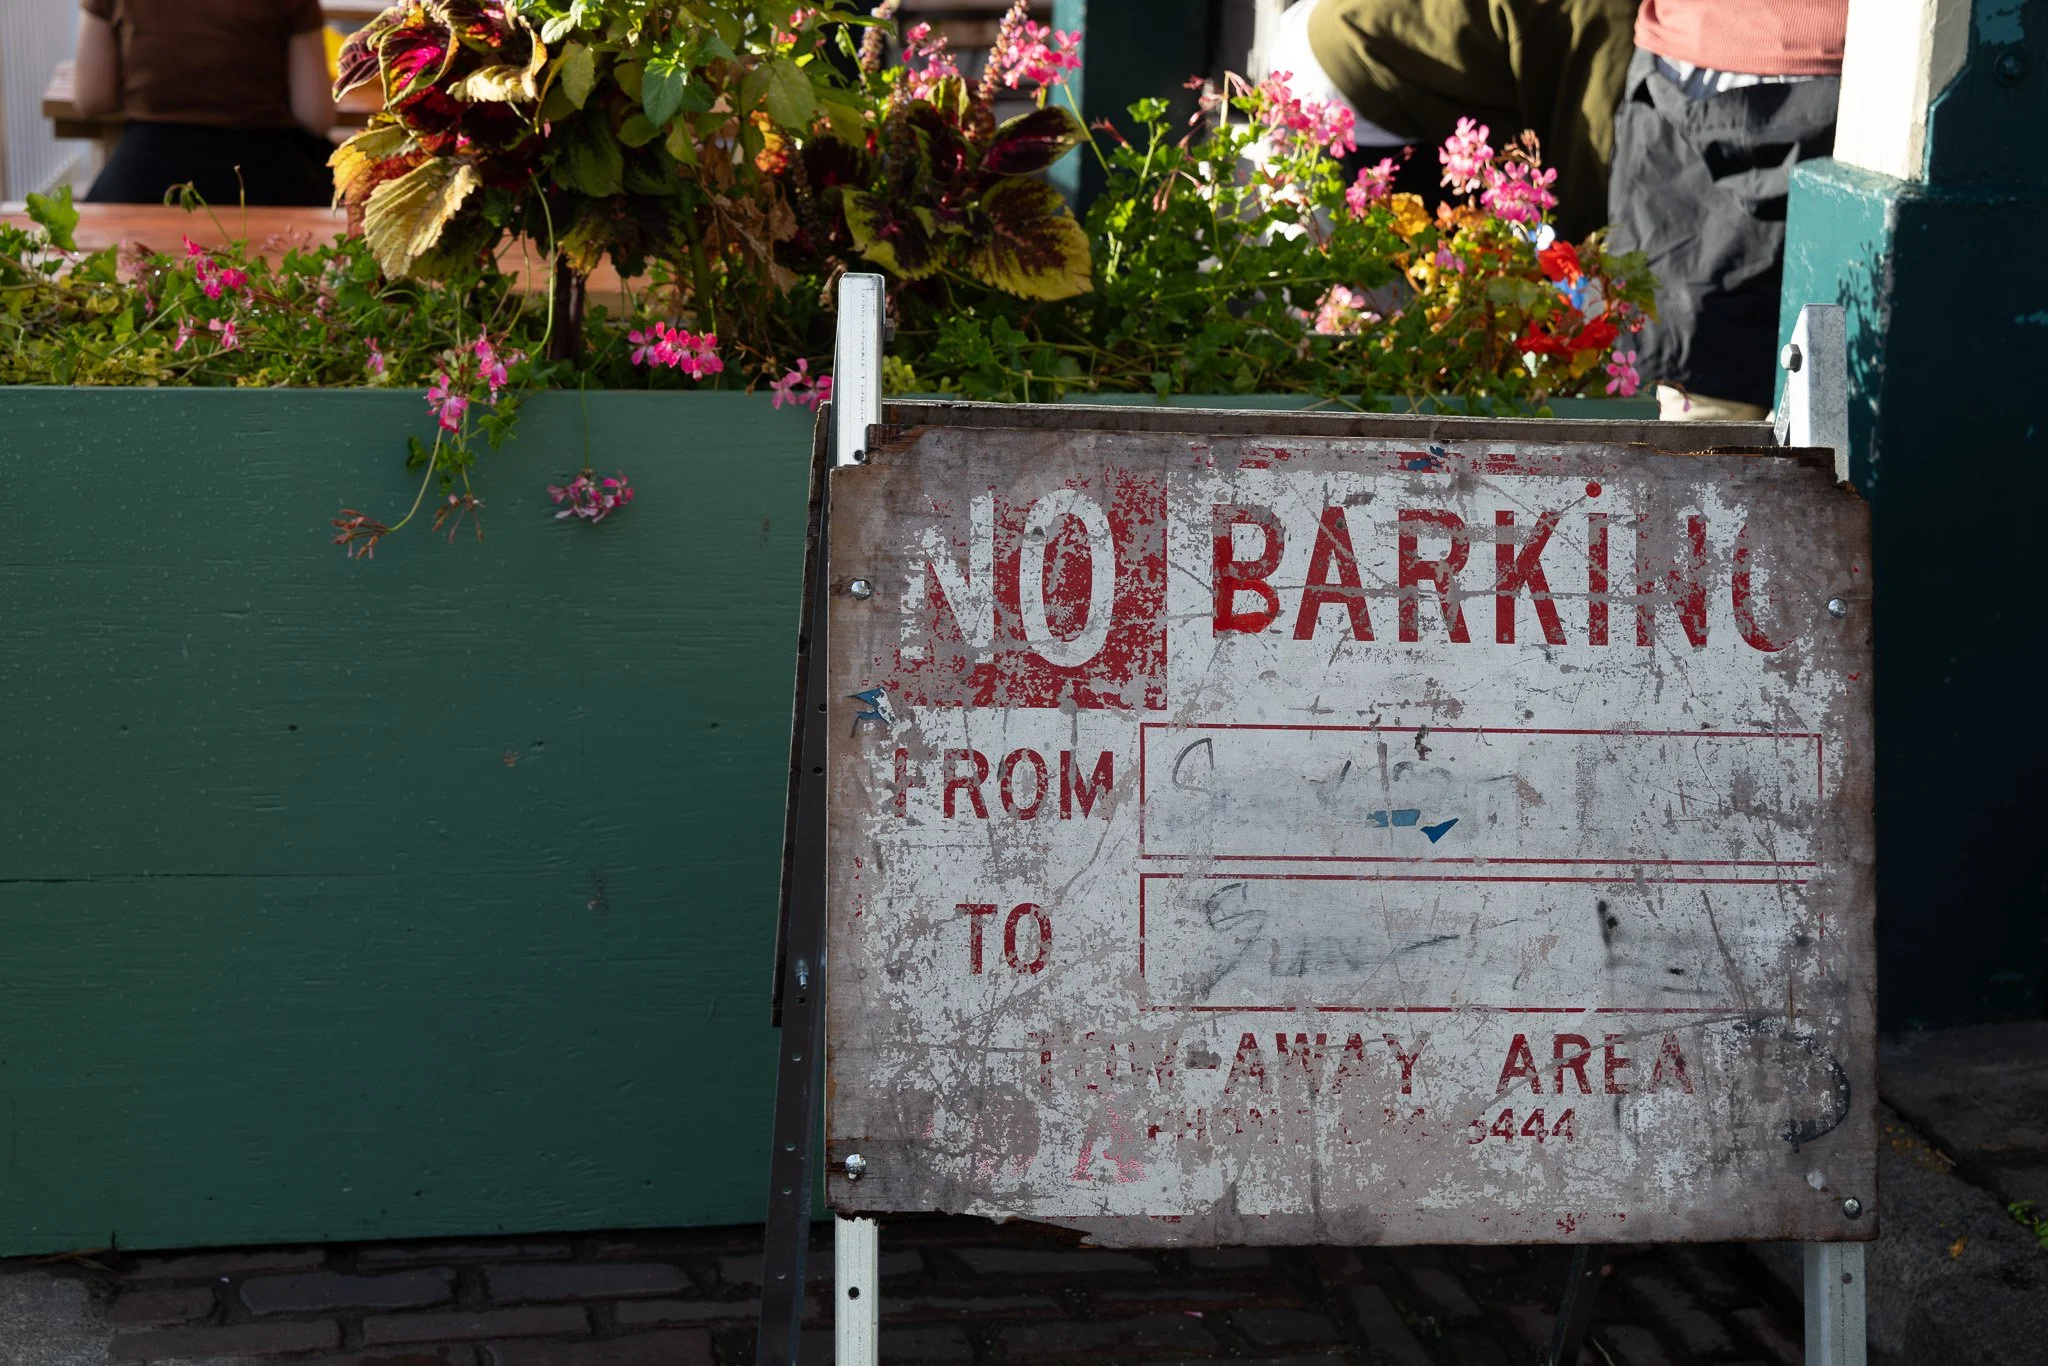
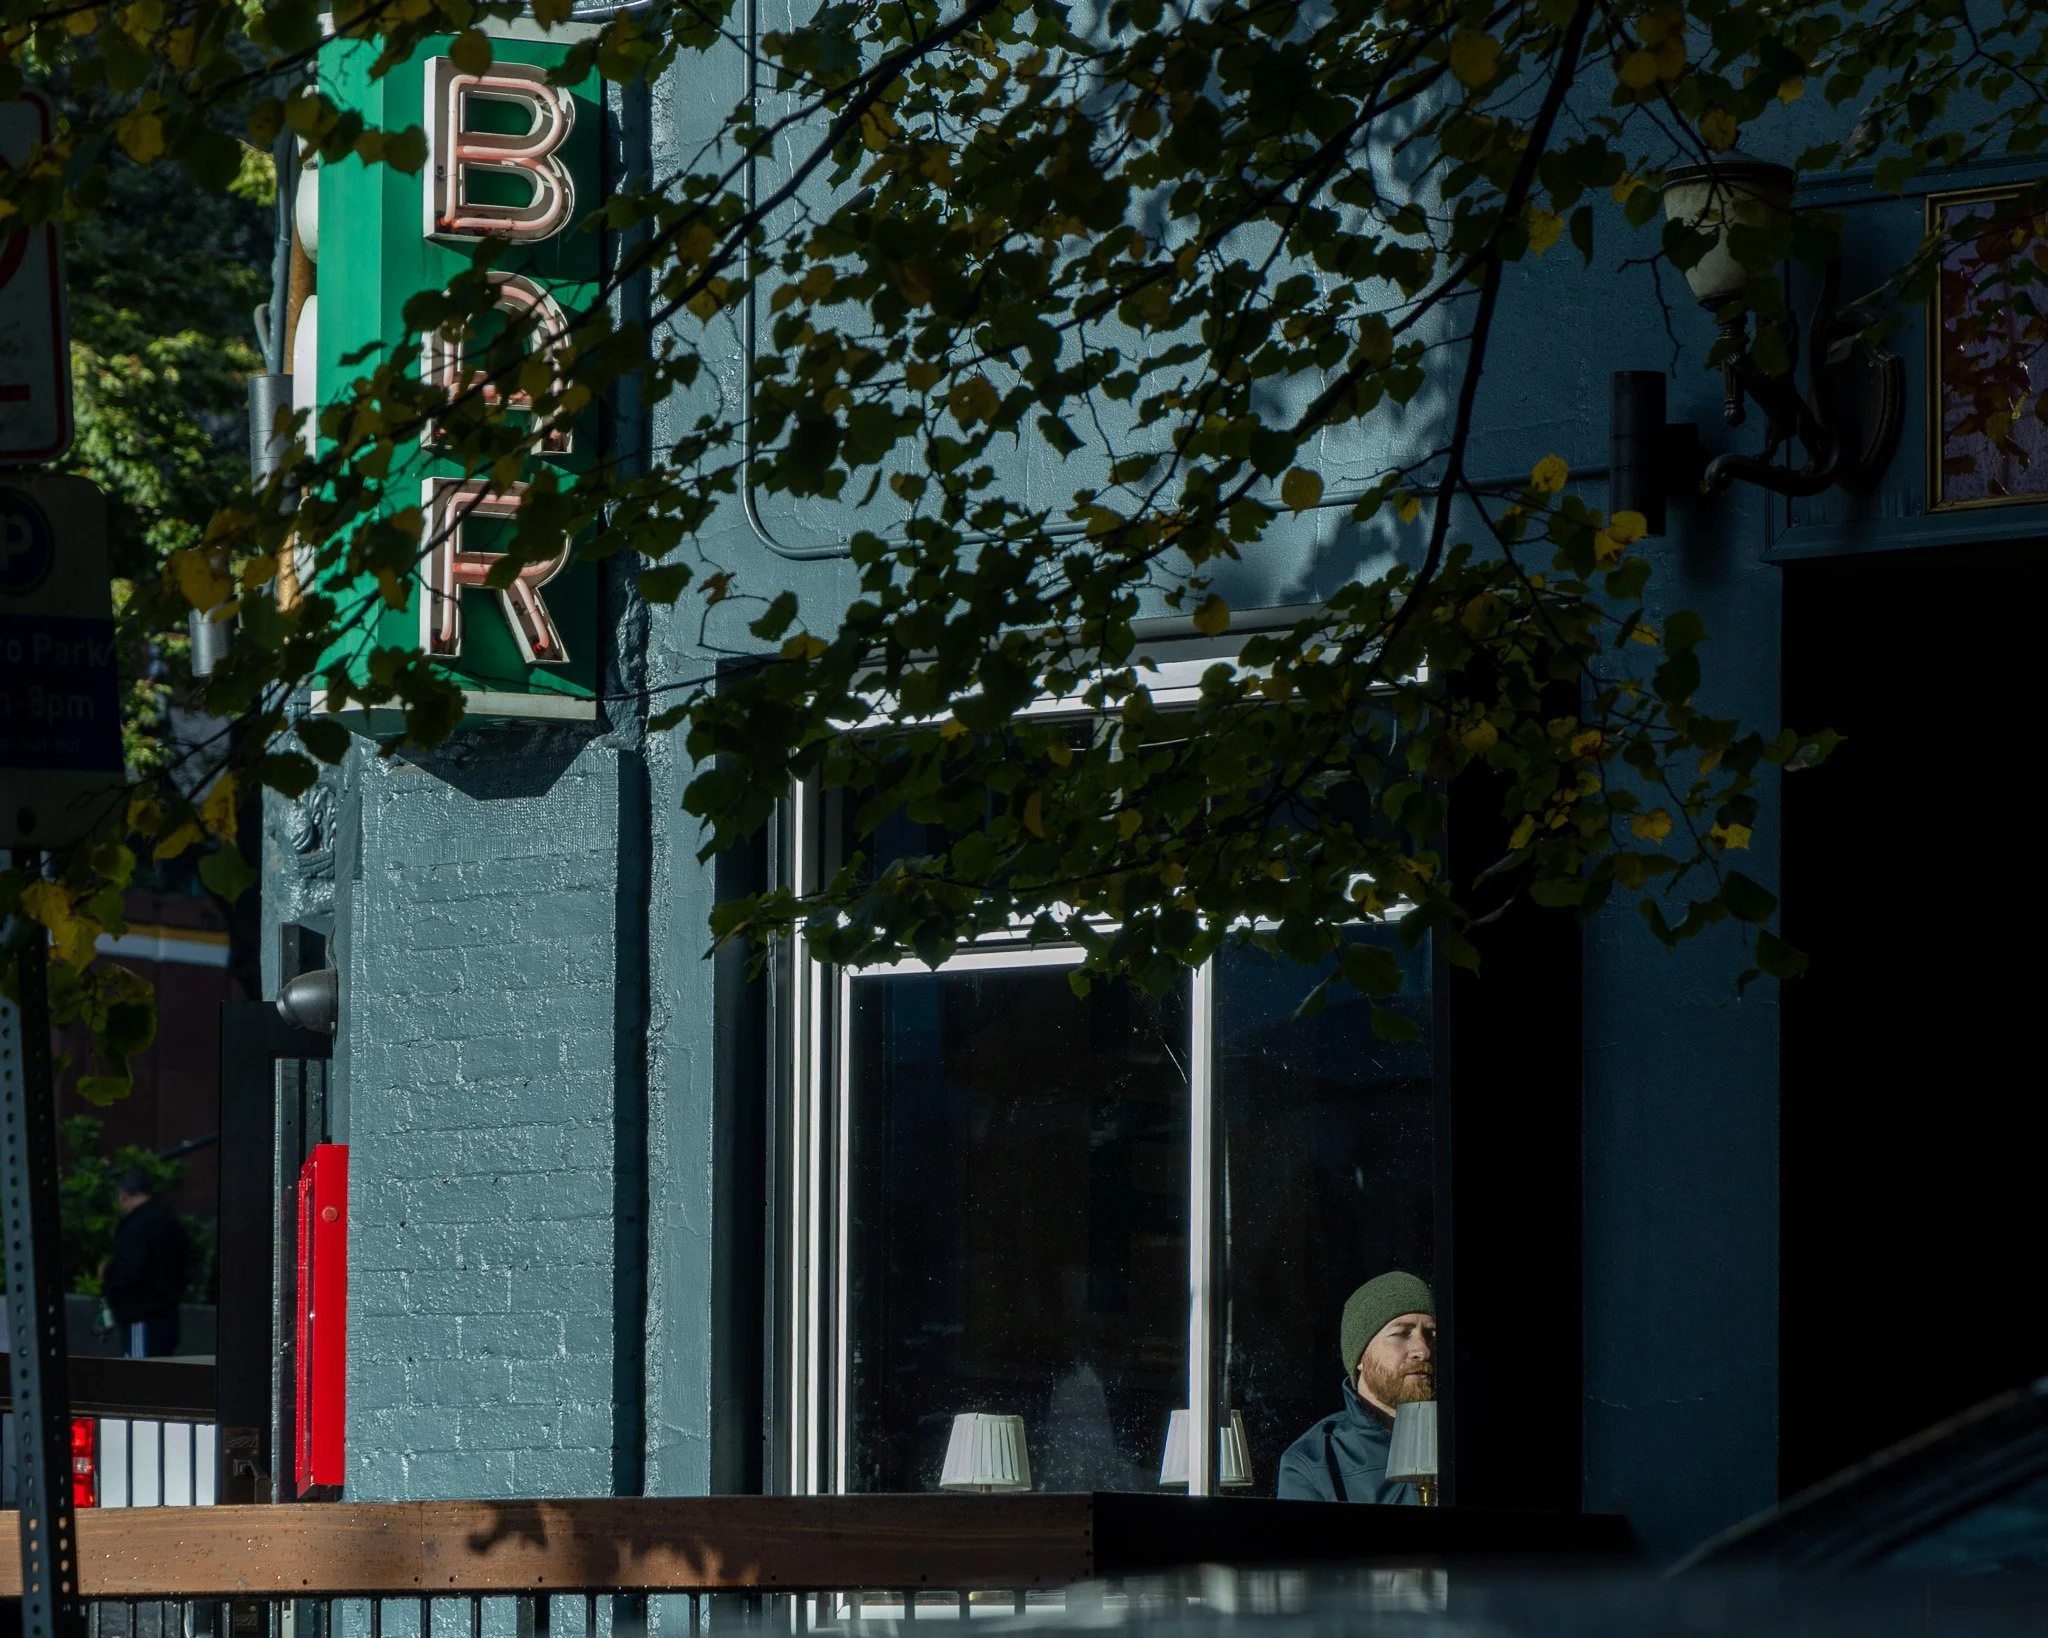
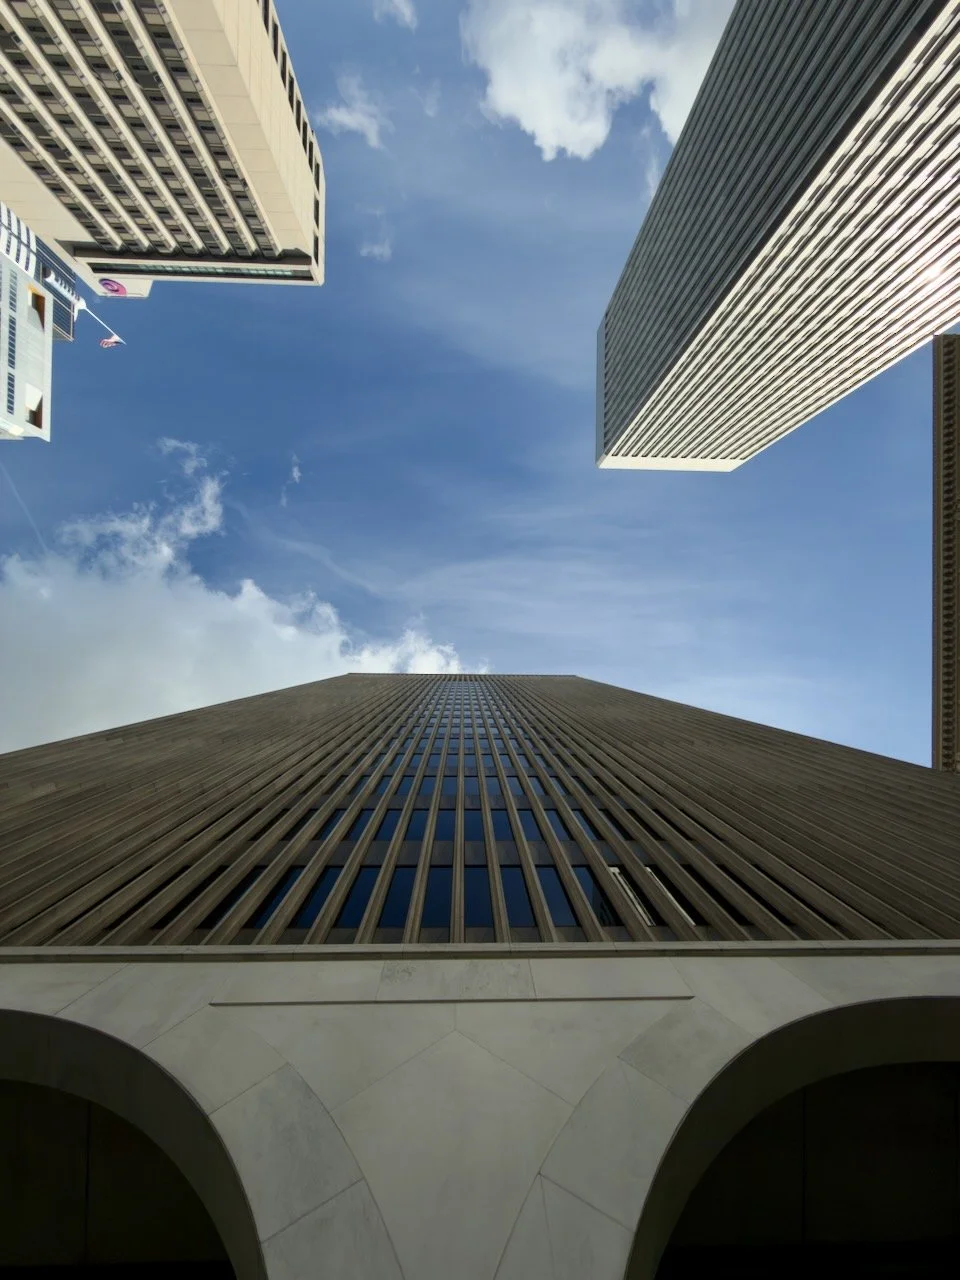
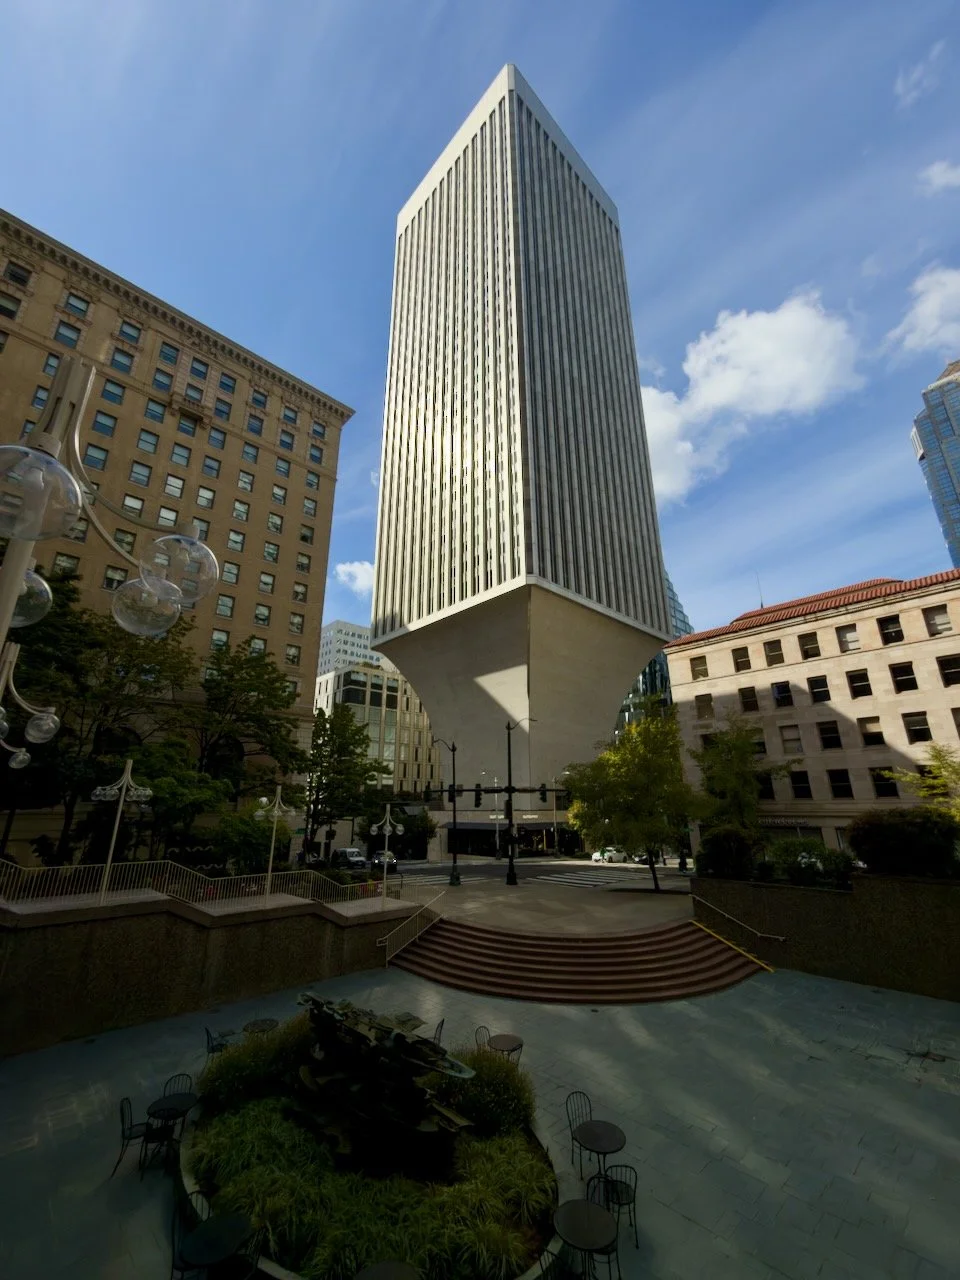
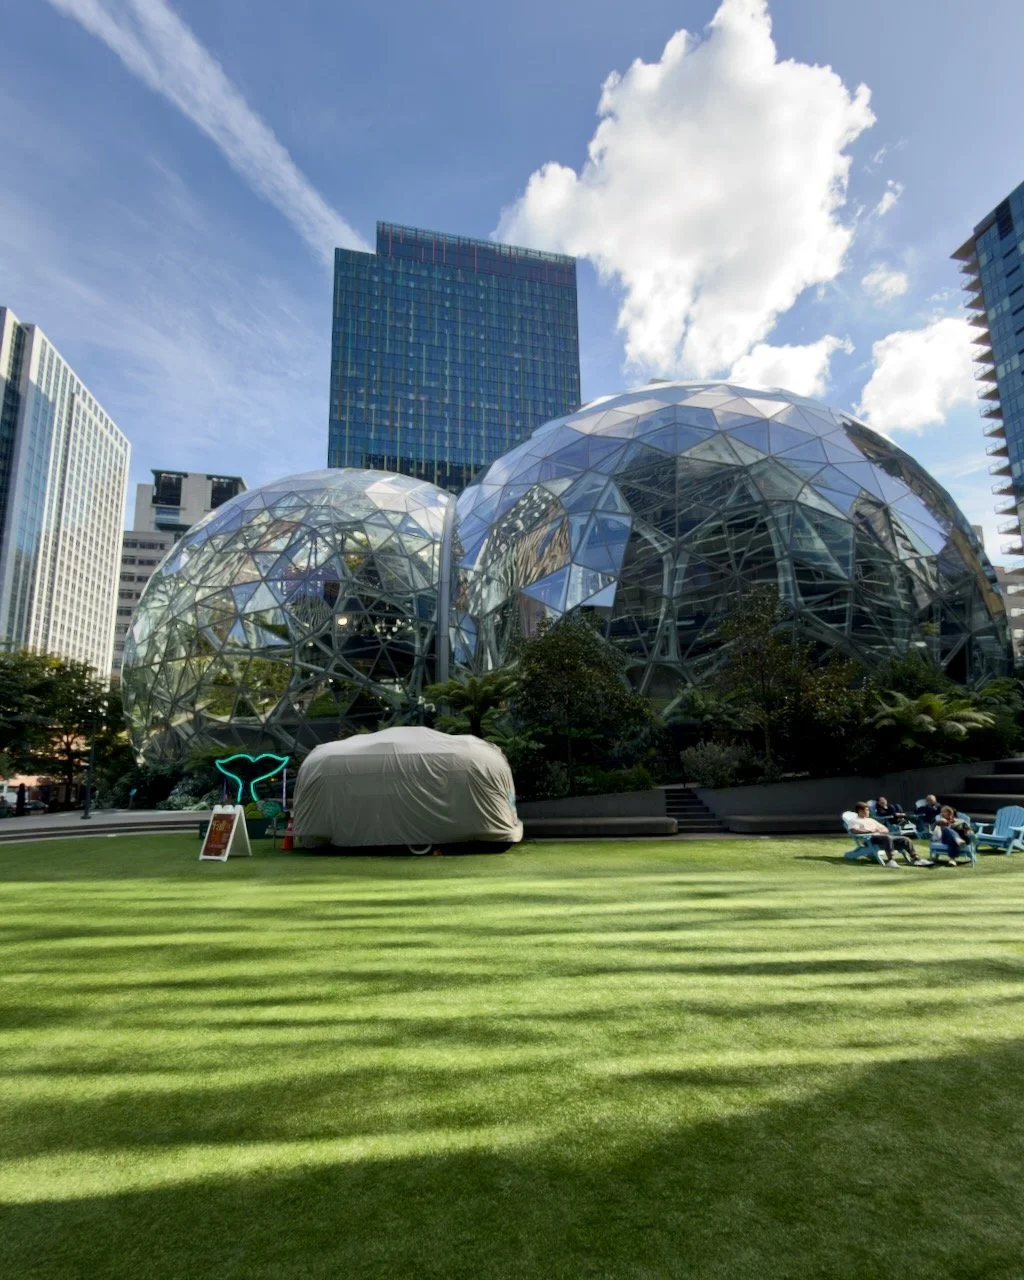
If you want to see Seattle through a local photographer's eyes, book a photo walk with Alan Durnwirth. I took one with him, and I highly recommend it. Alan is a Seattle based architectural photographer with a background in design and a real passion for the city's history and construction. That shows the moment you start walking with him. Our walk lasted three hours and took us all over the city, and it was awesome. Three hours sounds like a lot, but it flew by. We photographed the downtown metro stations, the Central Library, the IBM Building, the Amazon buildings, the Space Needle, Olympic Sculpture Park, Pike Place Market, and more. What impressed me most was that Alan knew the best angle at every single stop. It was obvious he not only knows photography, he knows exactly where to stand. That is the knowledge that takes years to build and that no guidebook can give you.
Even as someone who teaches photography workshops myself, I learned from seeing the city through his eyes. A local guide saves you hours of scouting and gets you to the right place at the right time.
To book a walk, email Alan directly at adurnwirth@icloud.com. Website: https://www.adurnwirth.com/
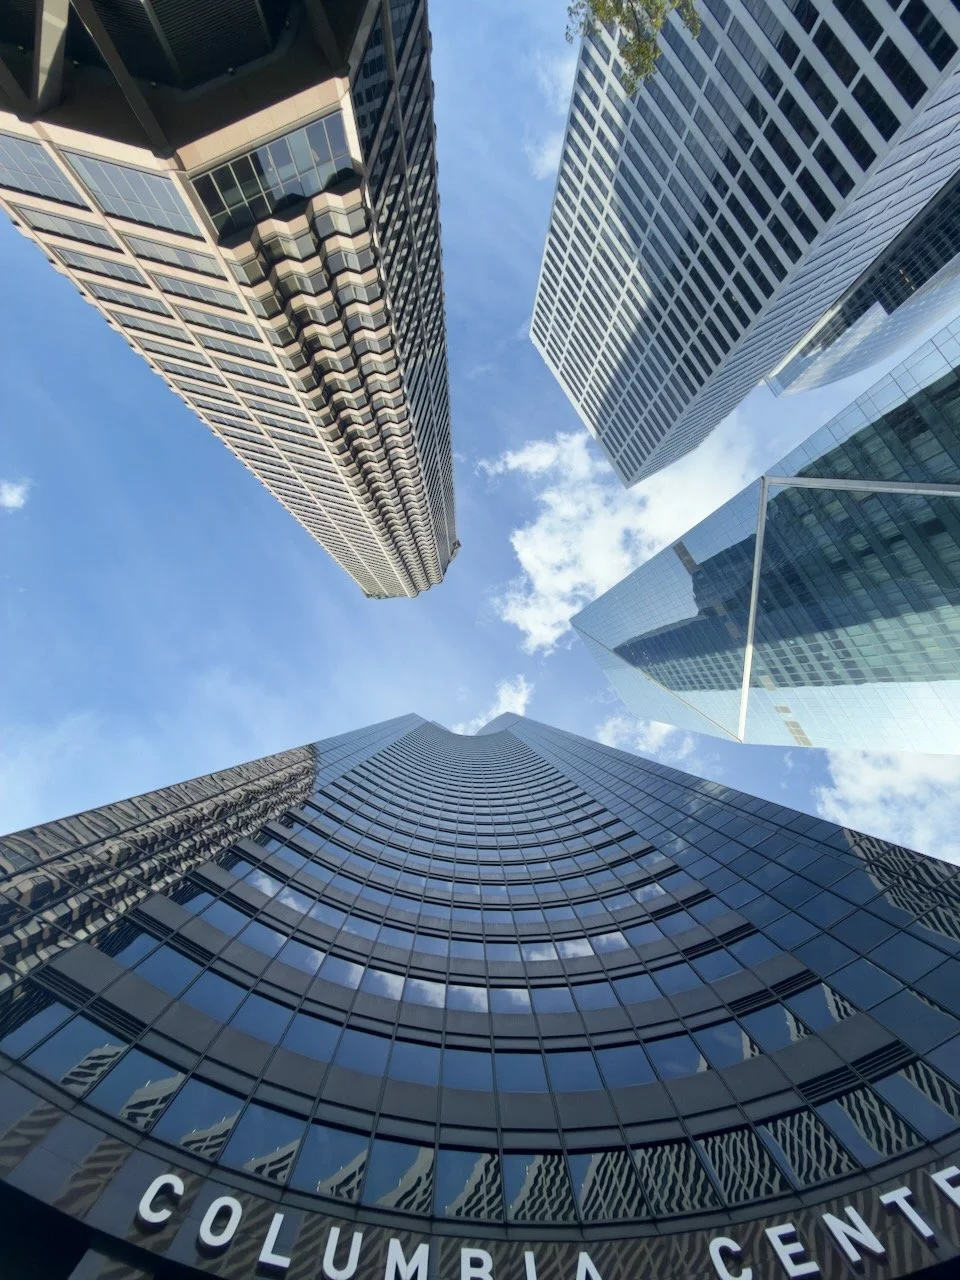
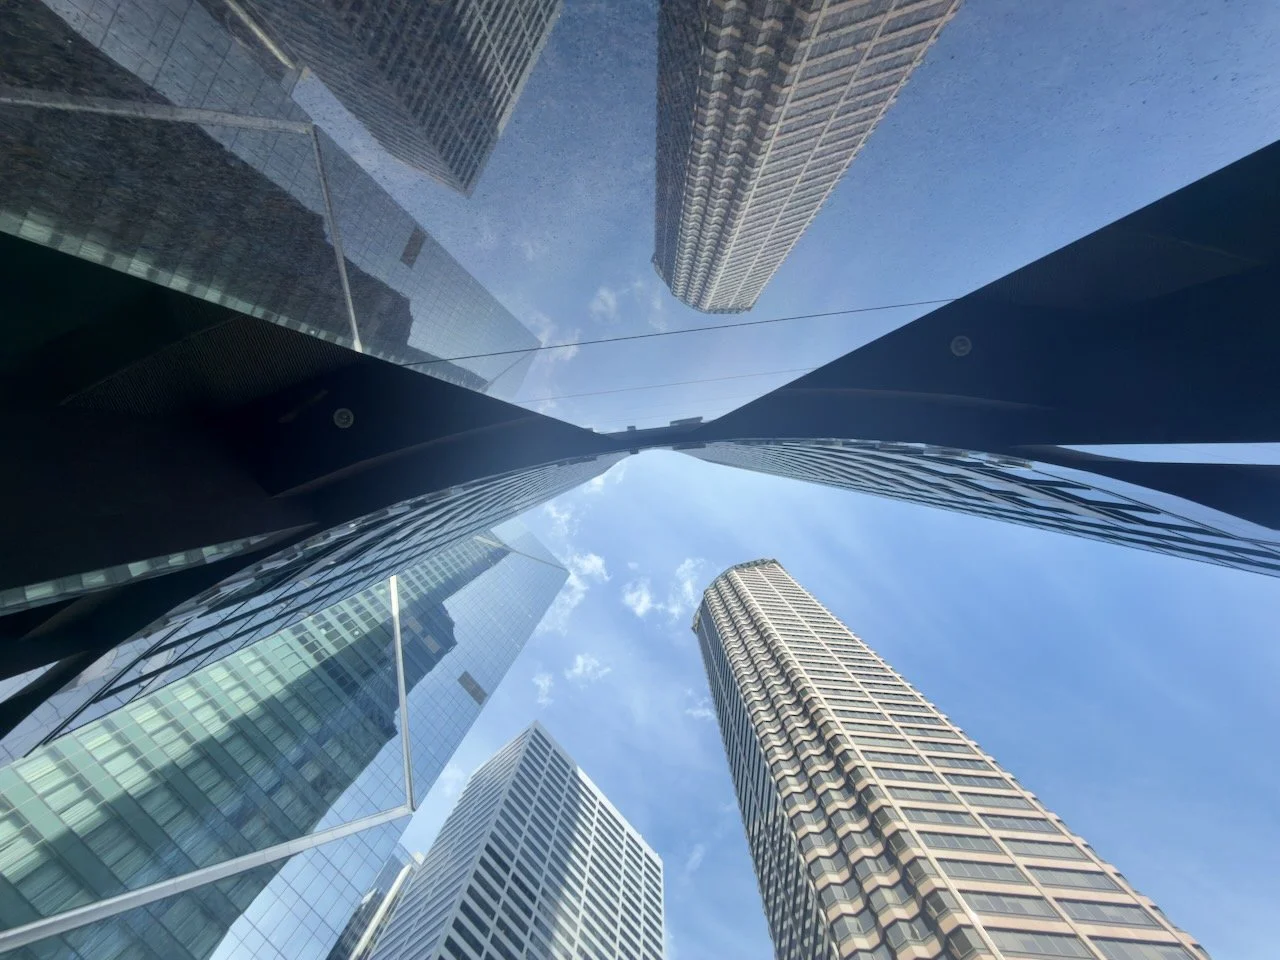
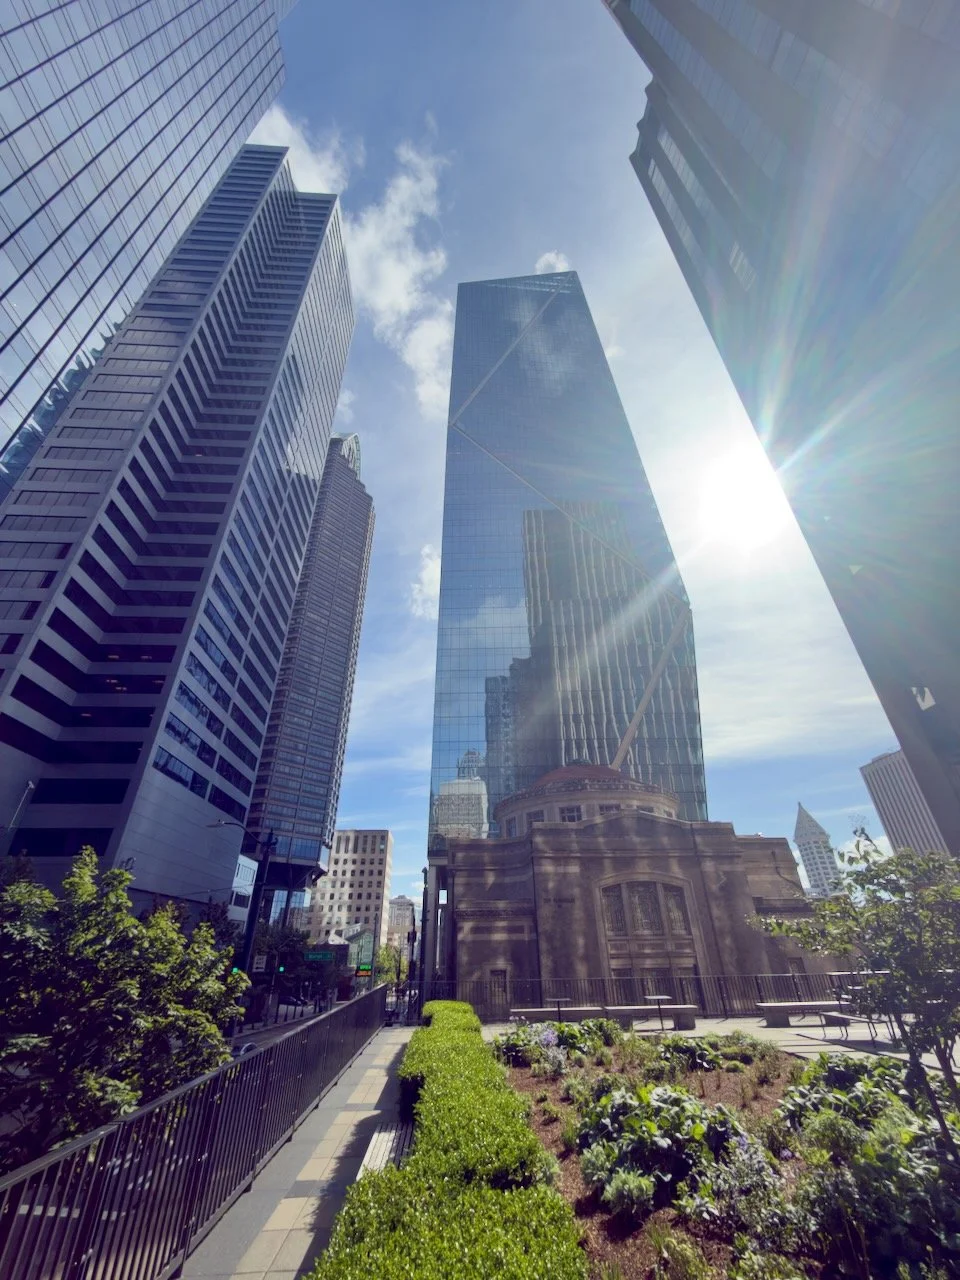
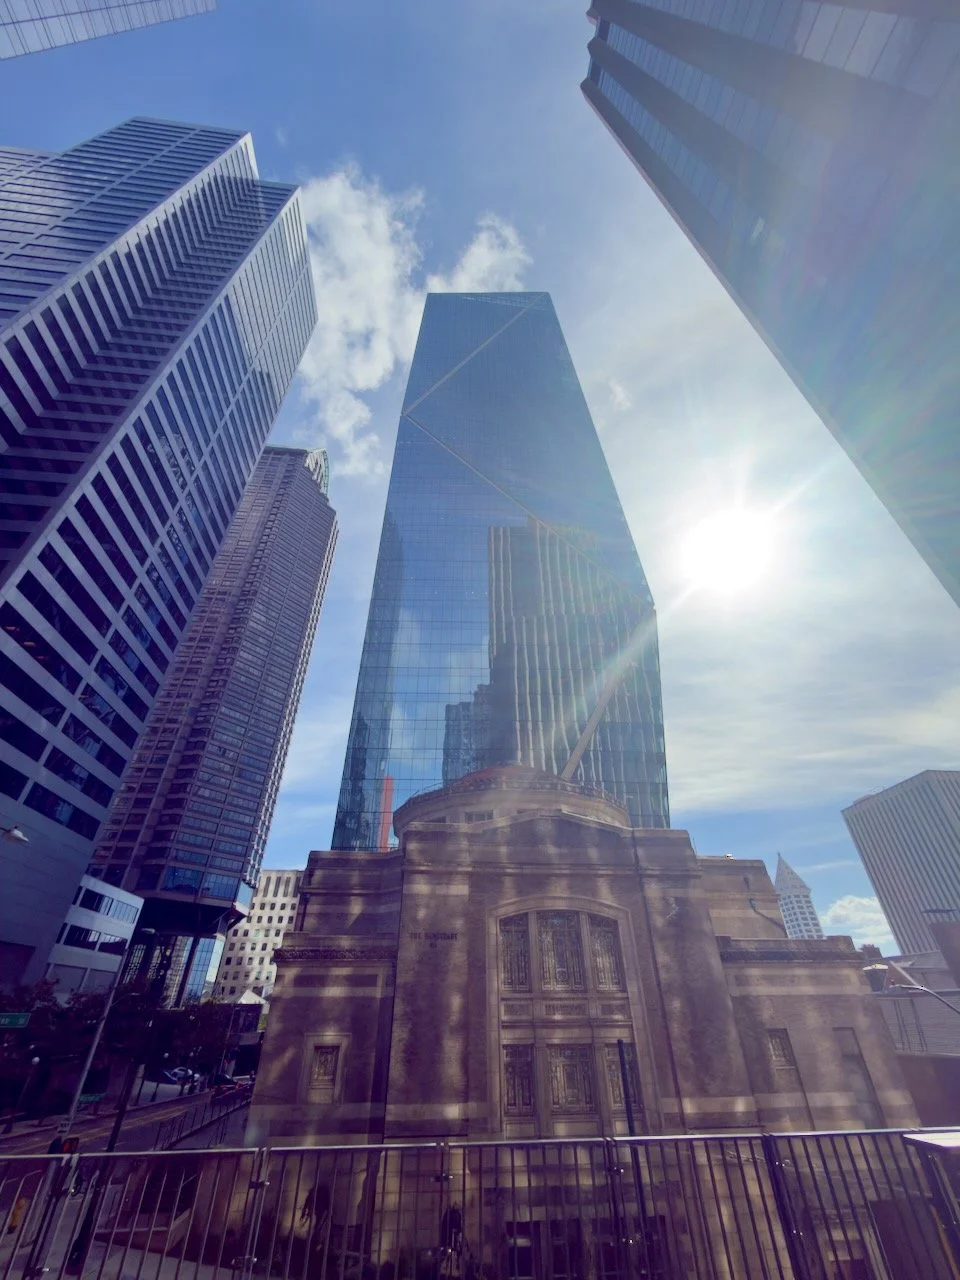
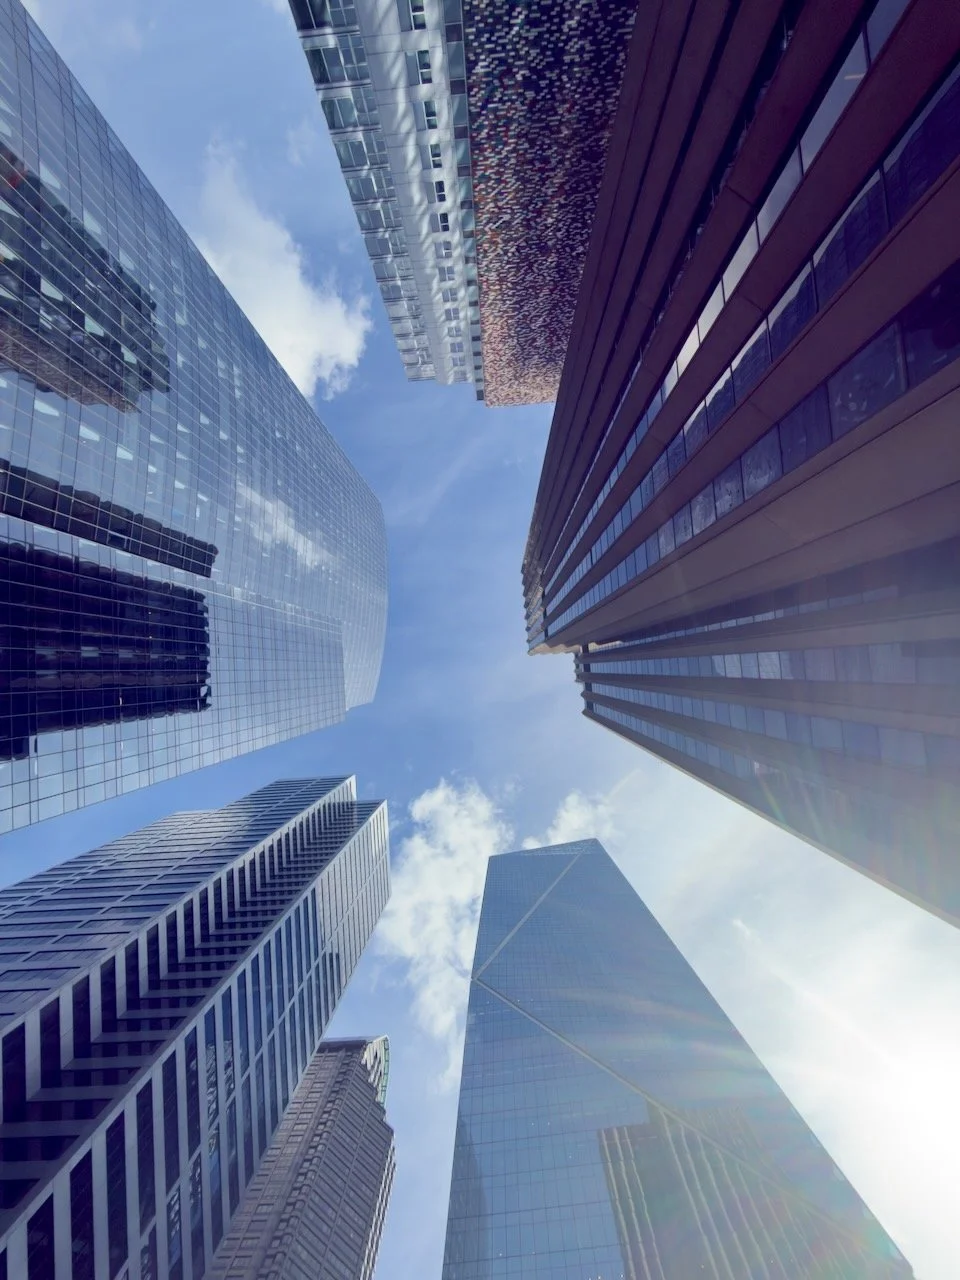
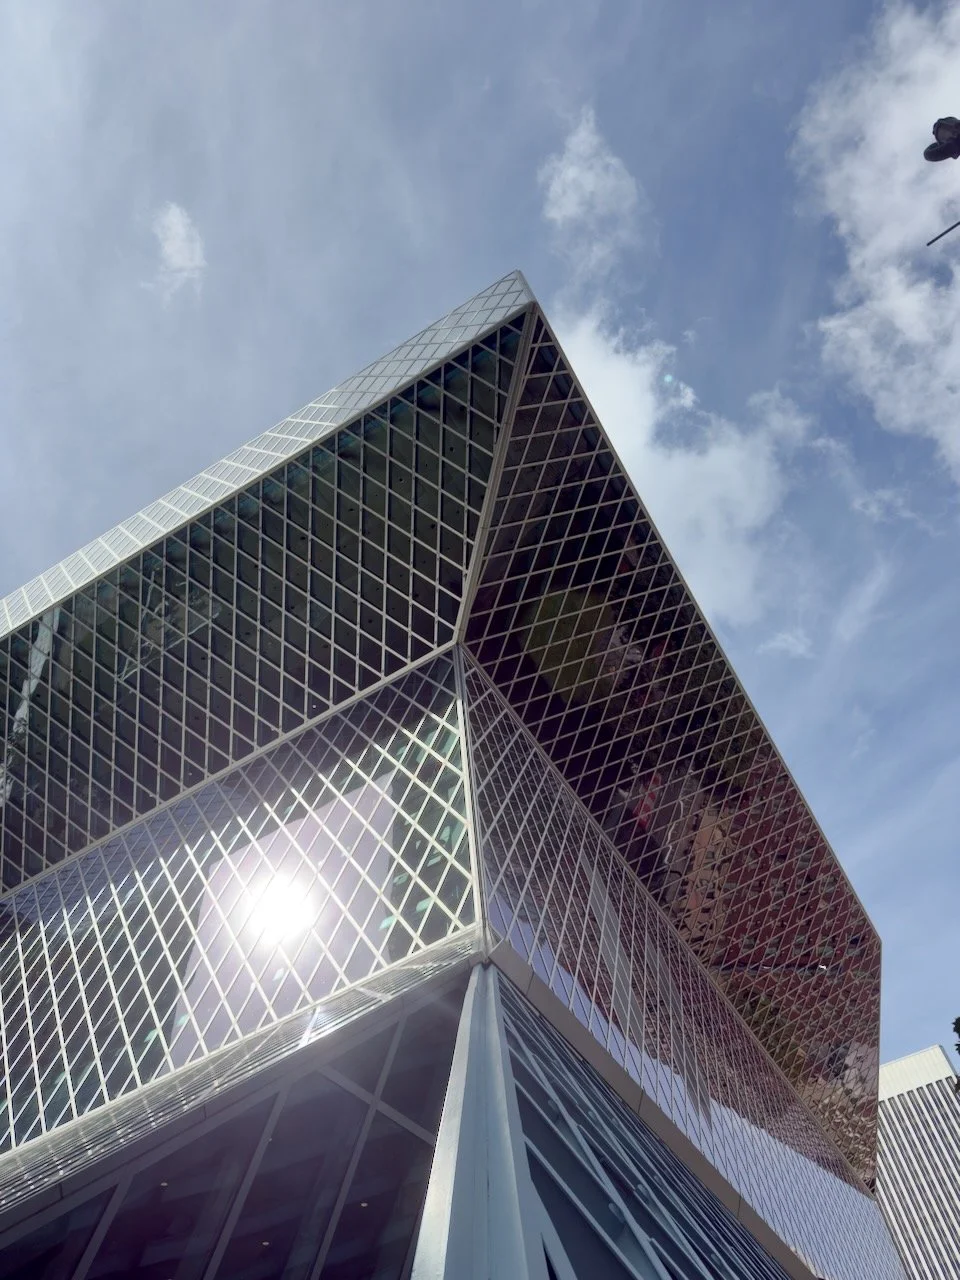
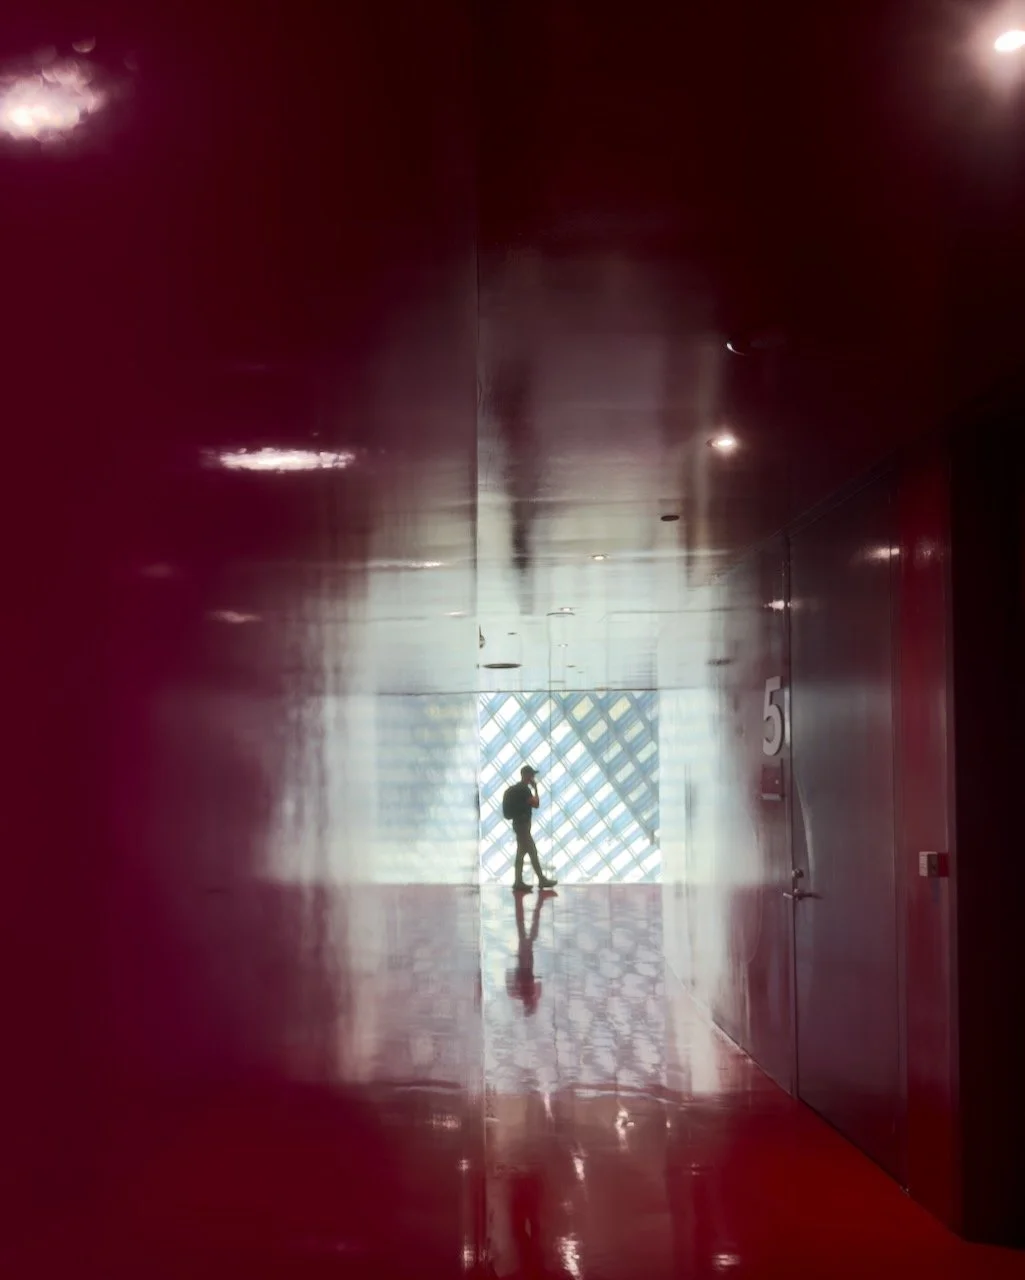
Street Art and Murals
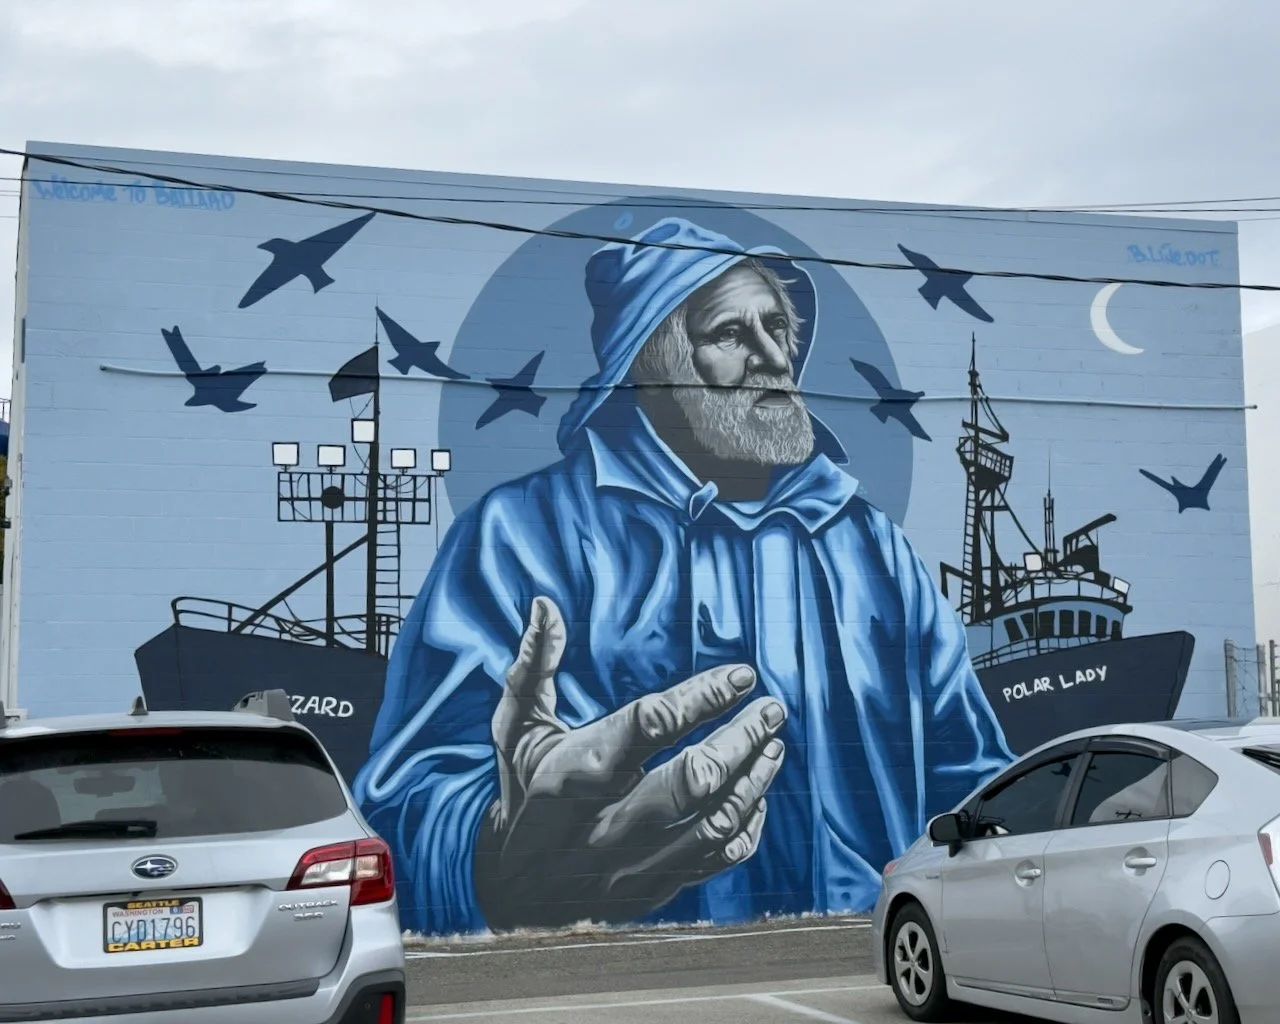
Seattle does not have the raw graffiti culture of cities like Berlin or Mexico City, but it has more street art than most visitors expect. We explored two areas of the city for it.
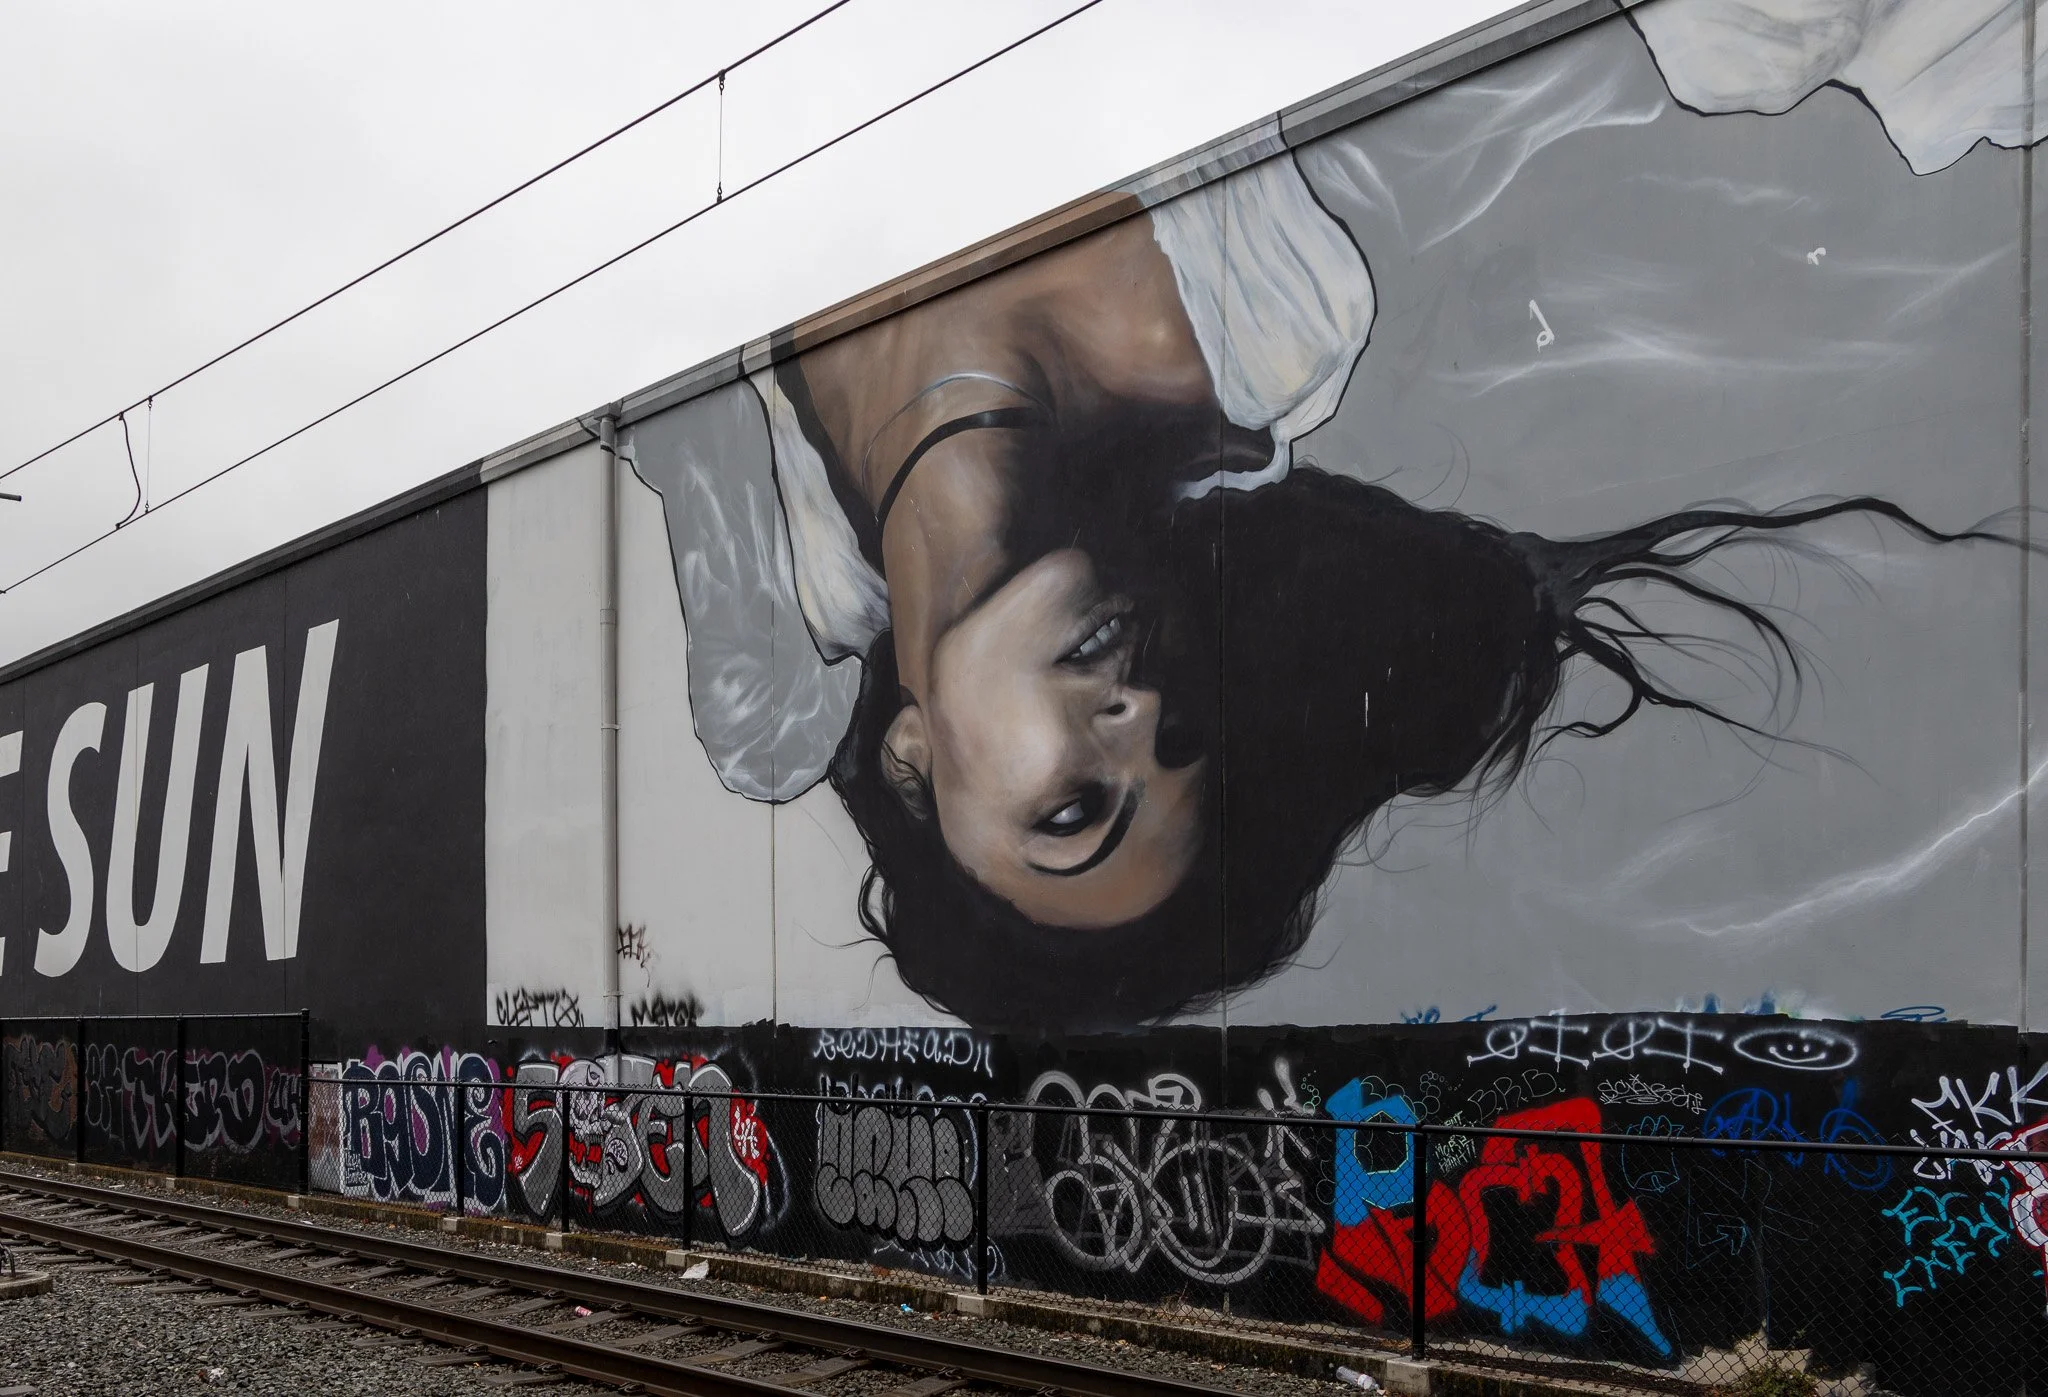
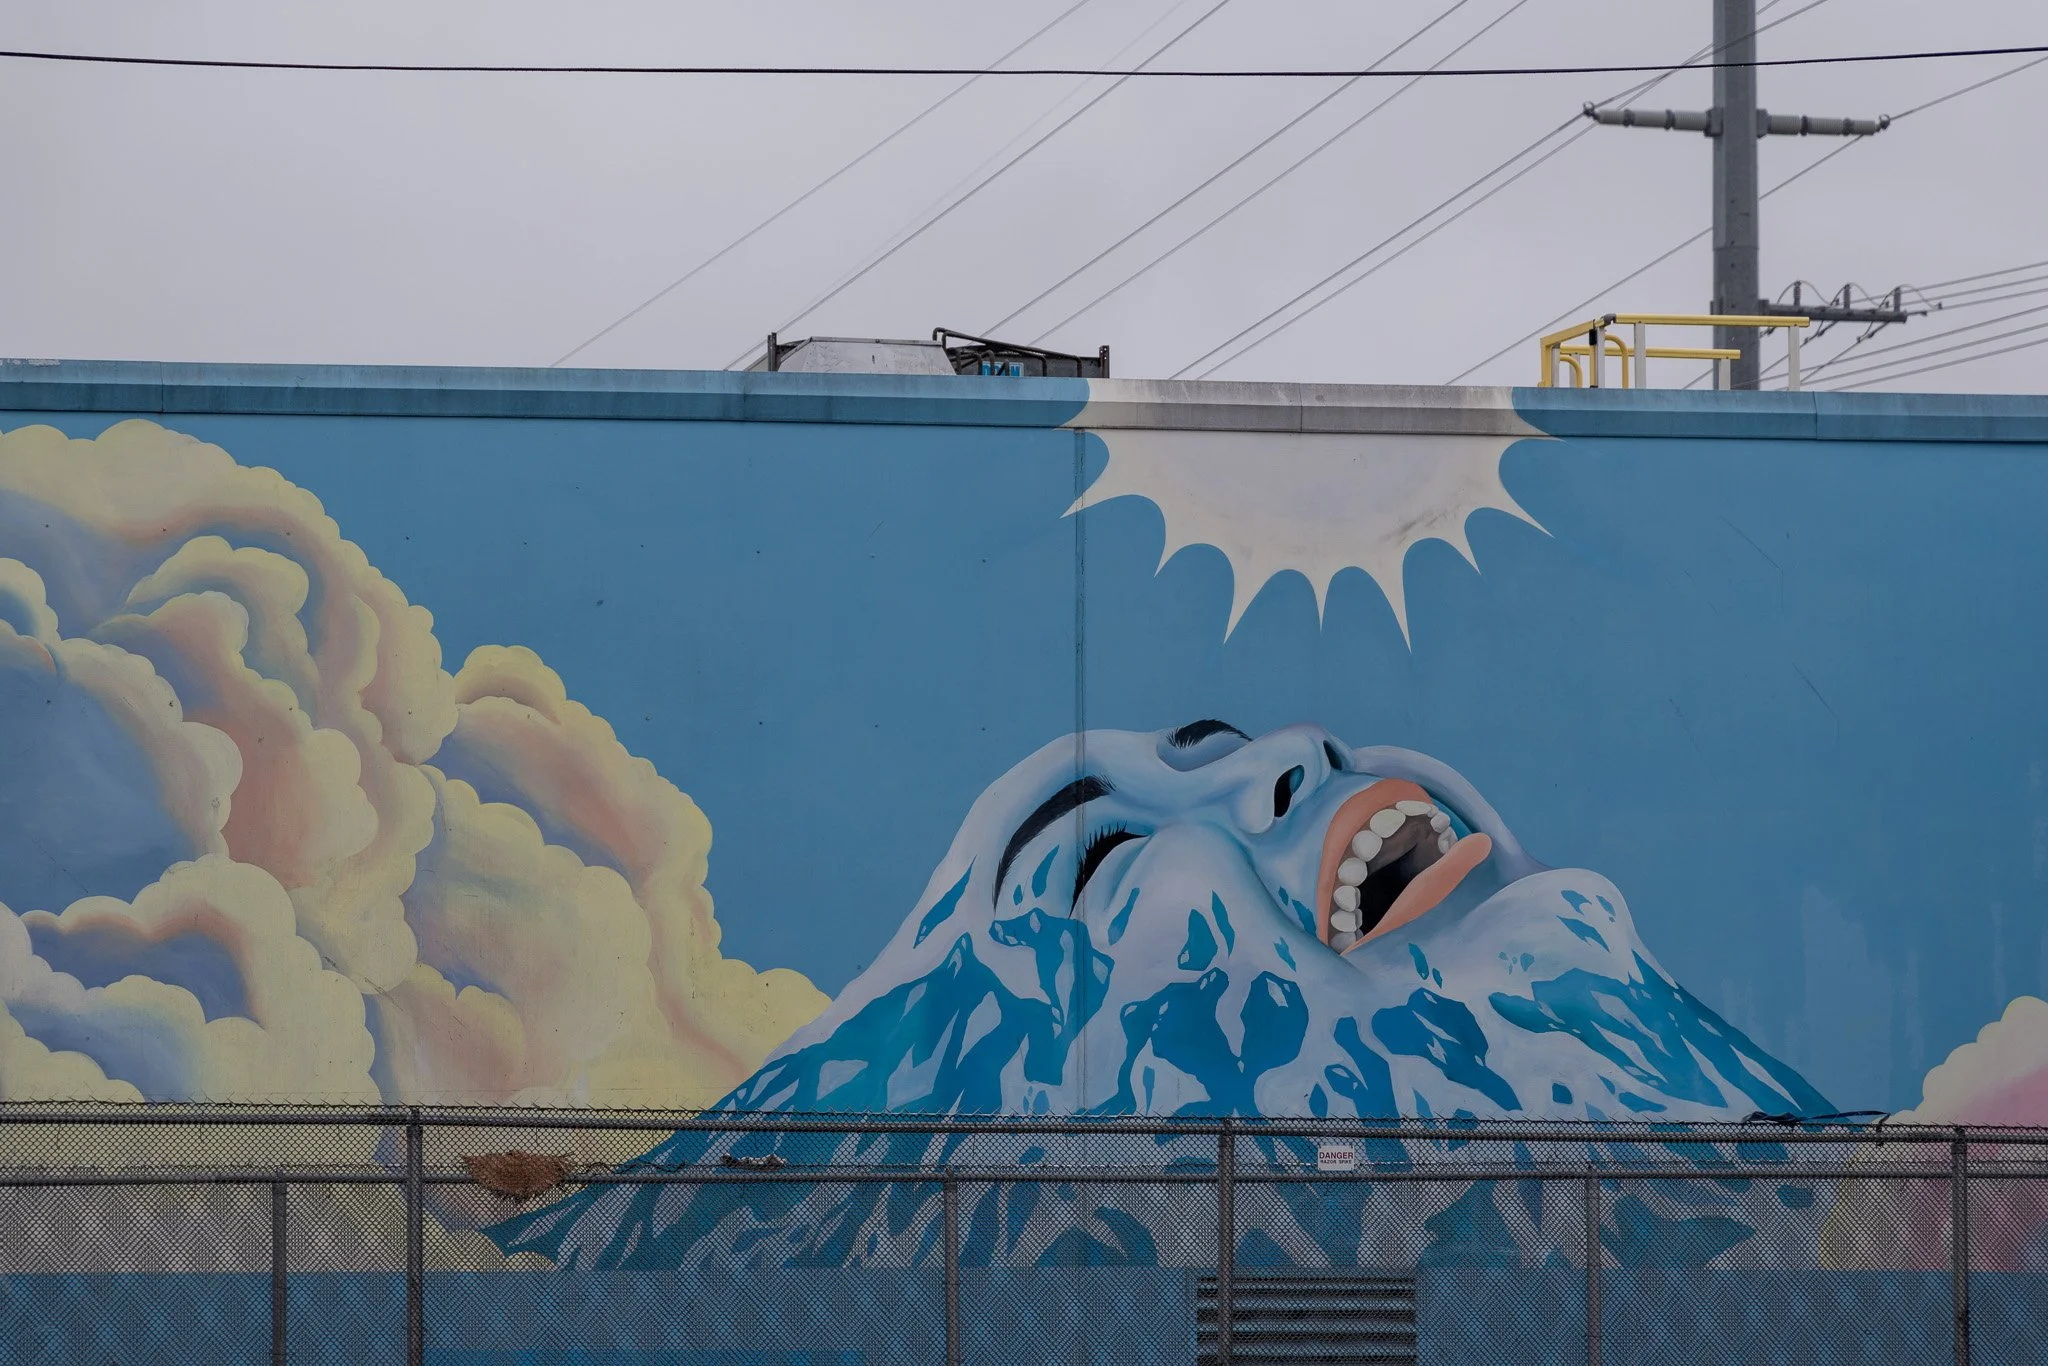
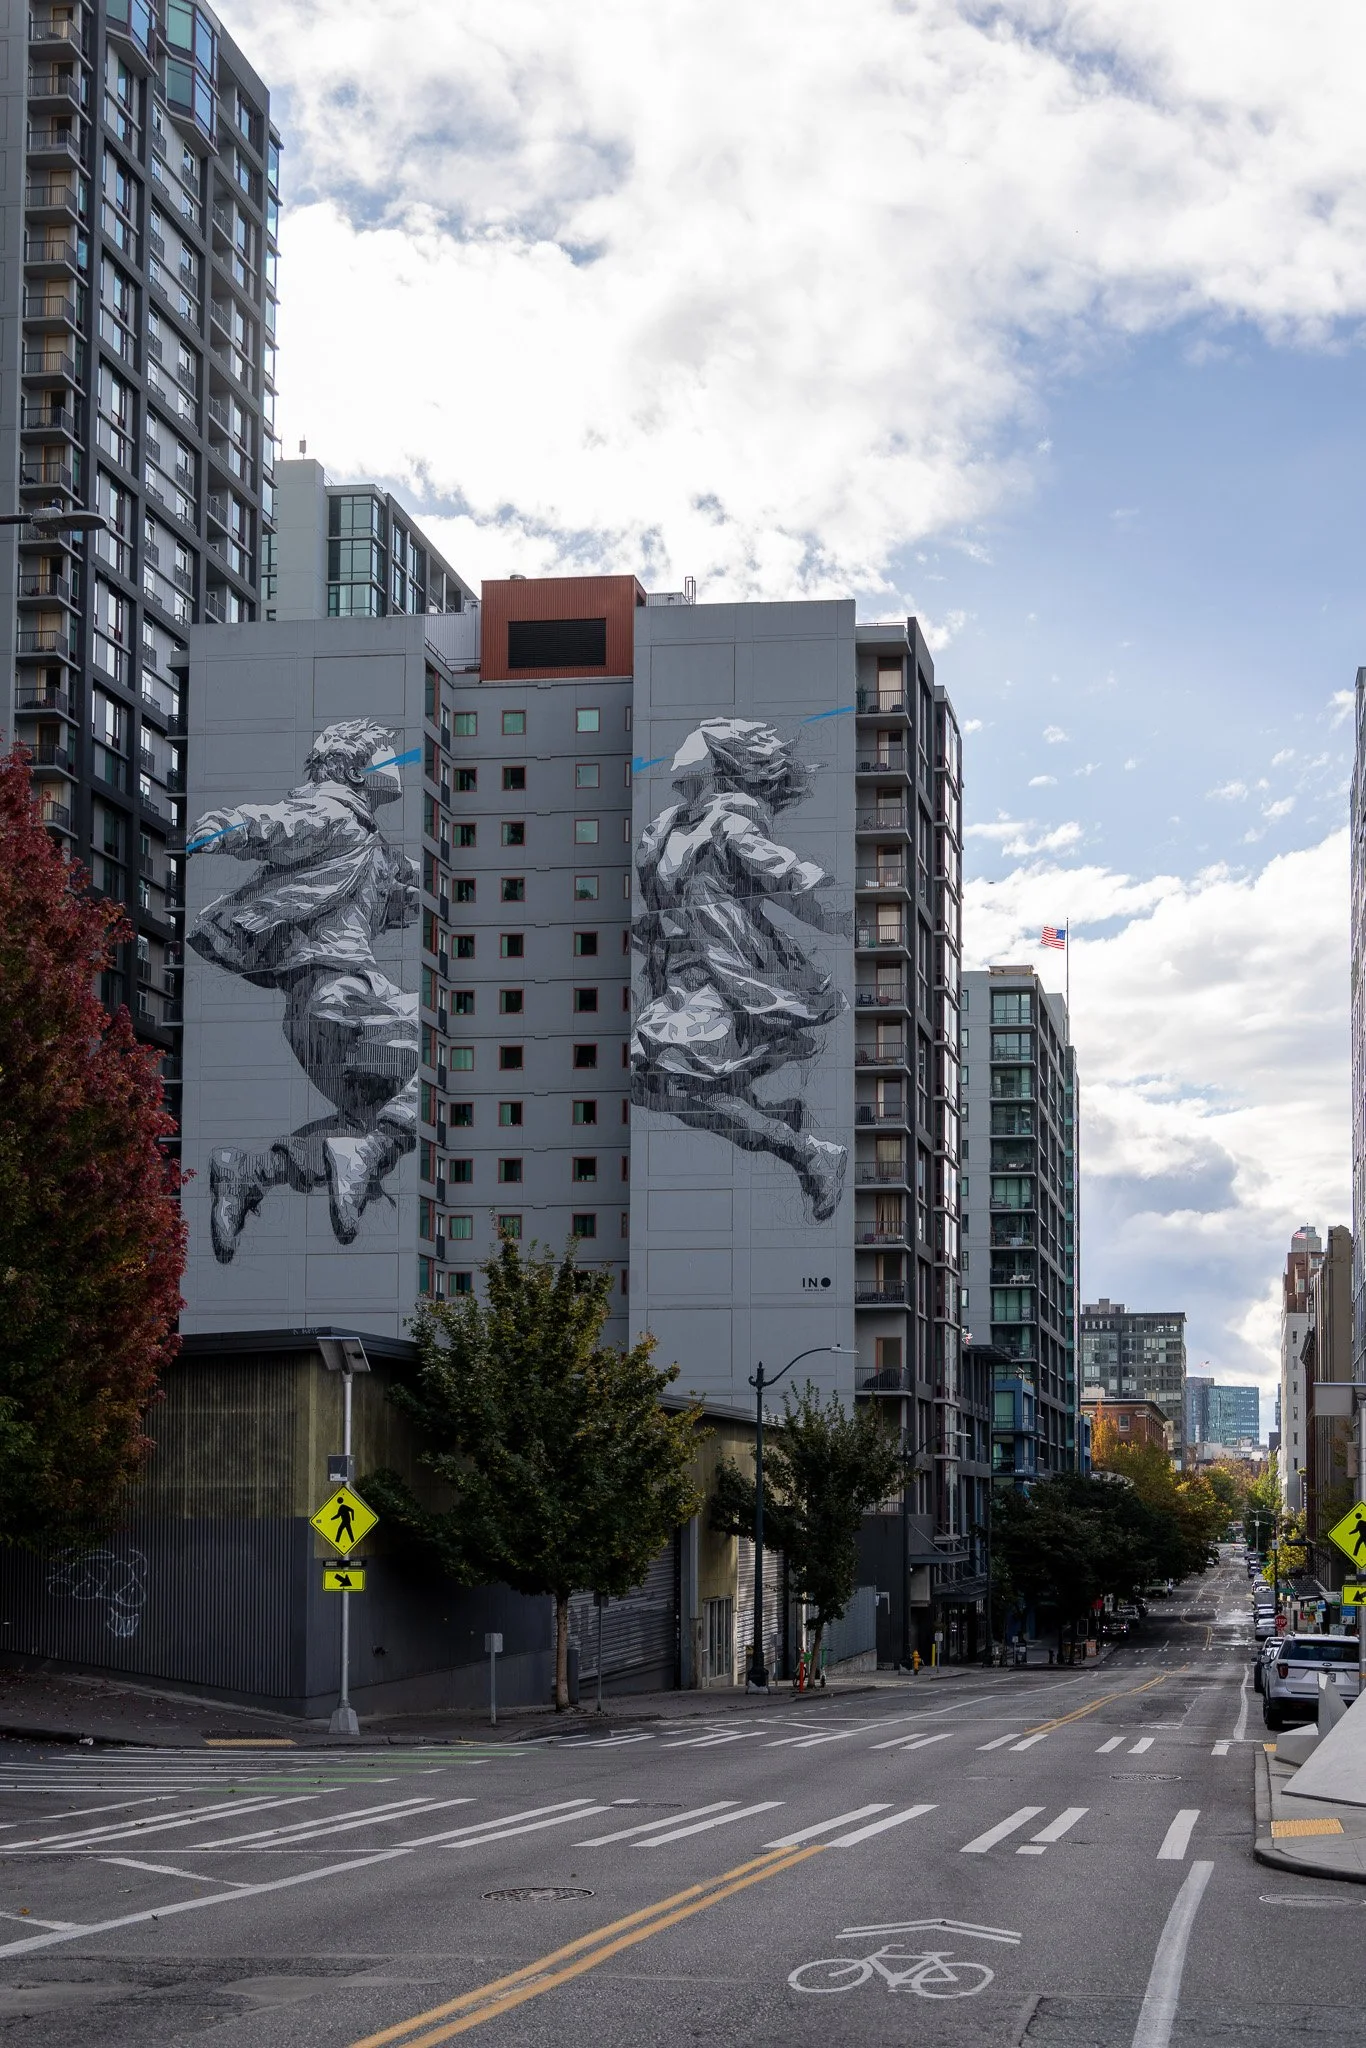
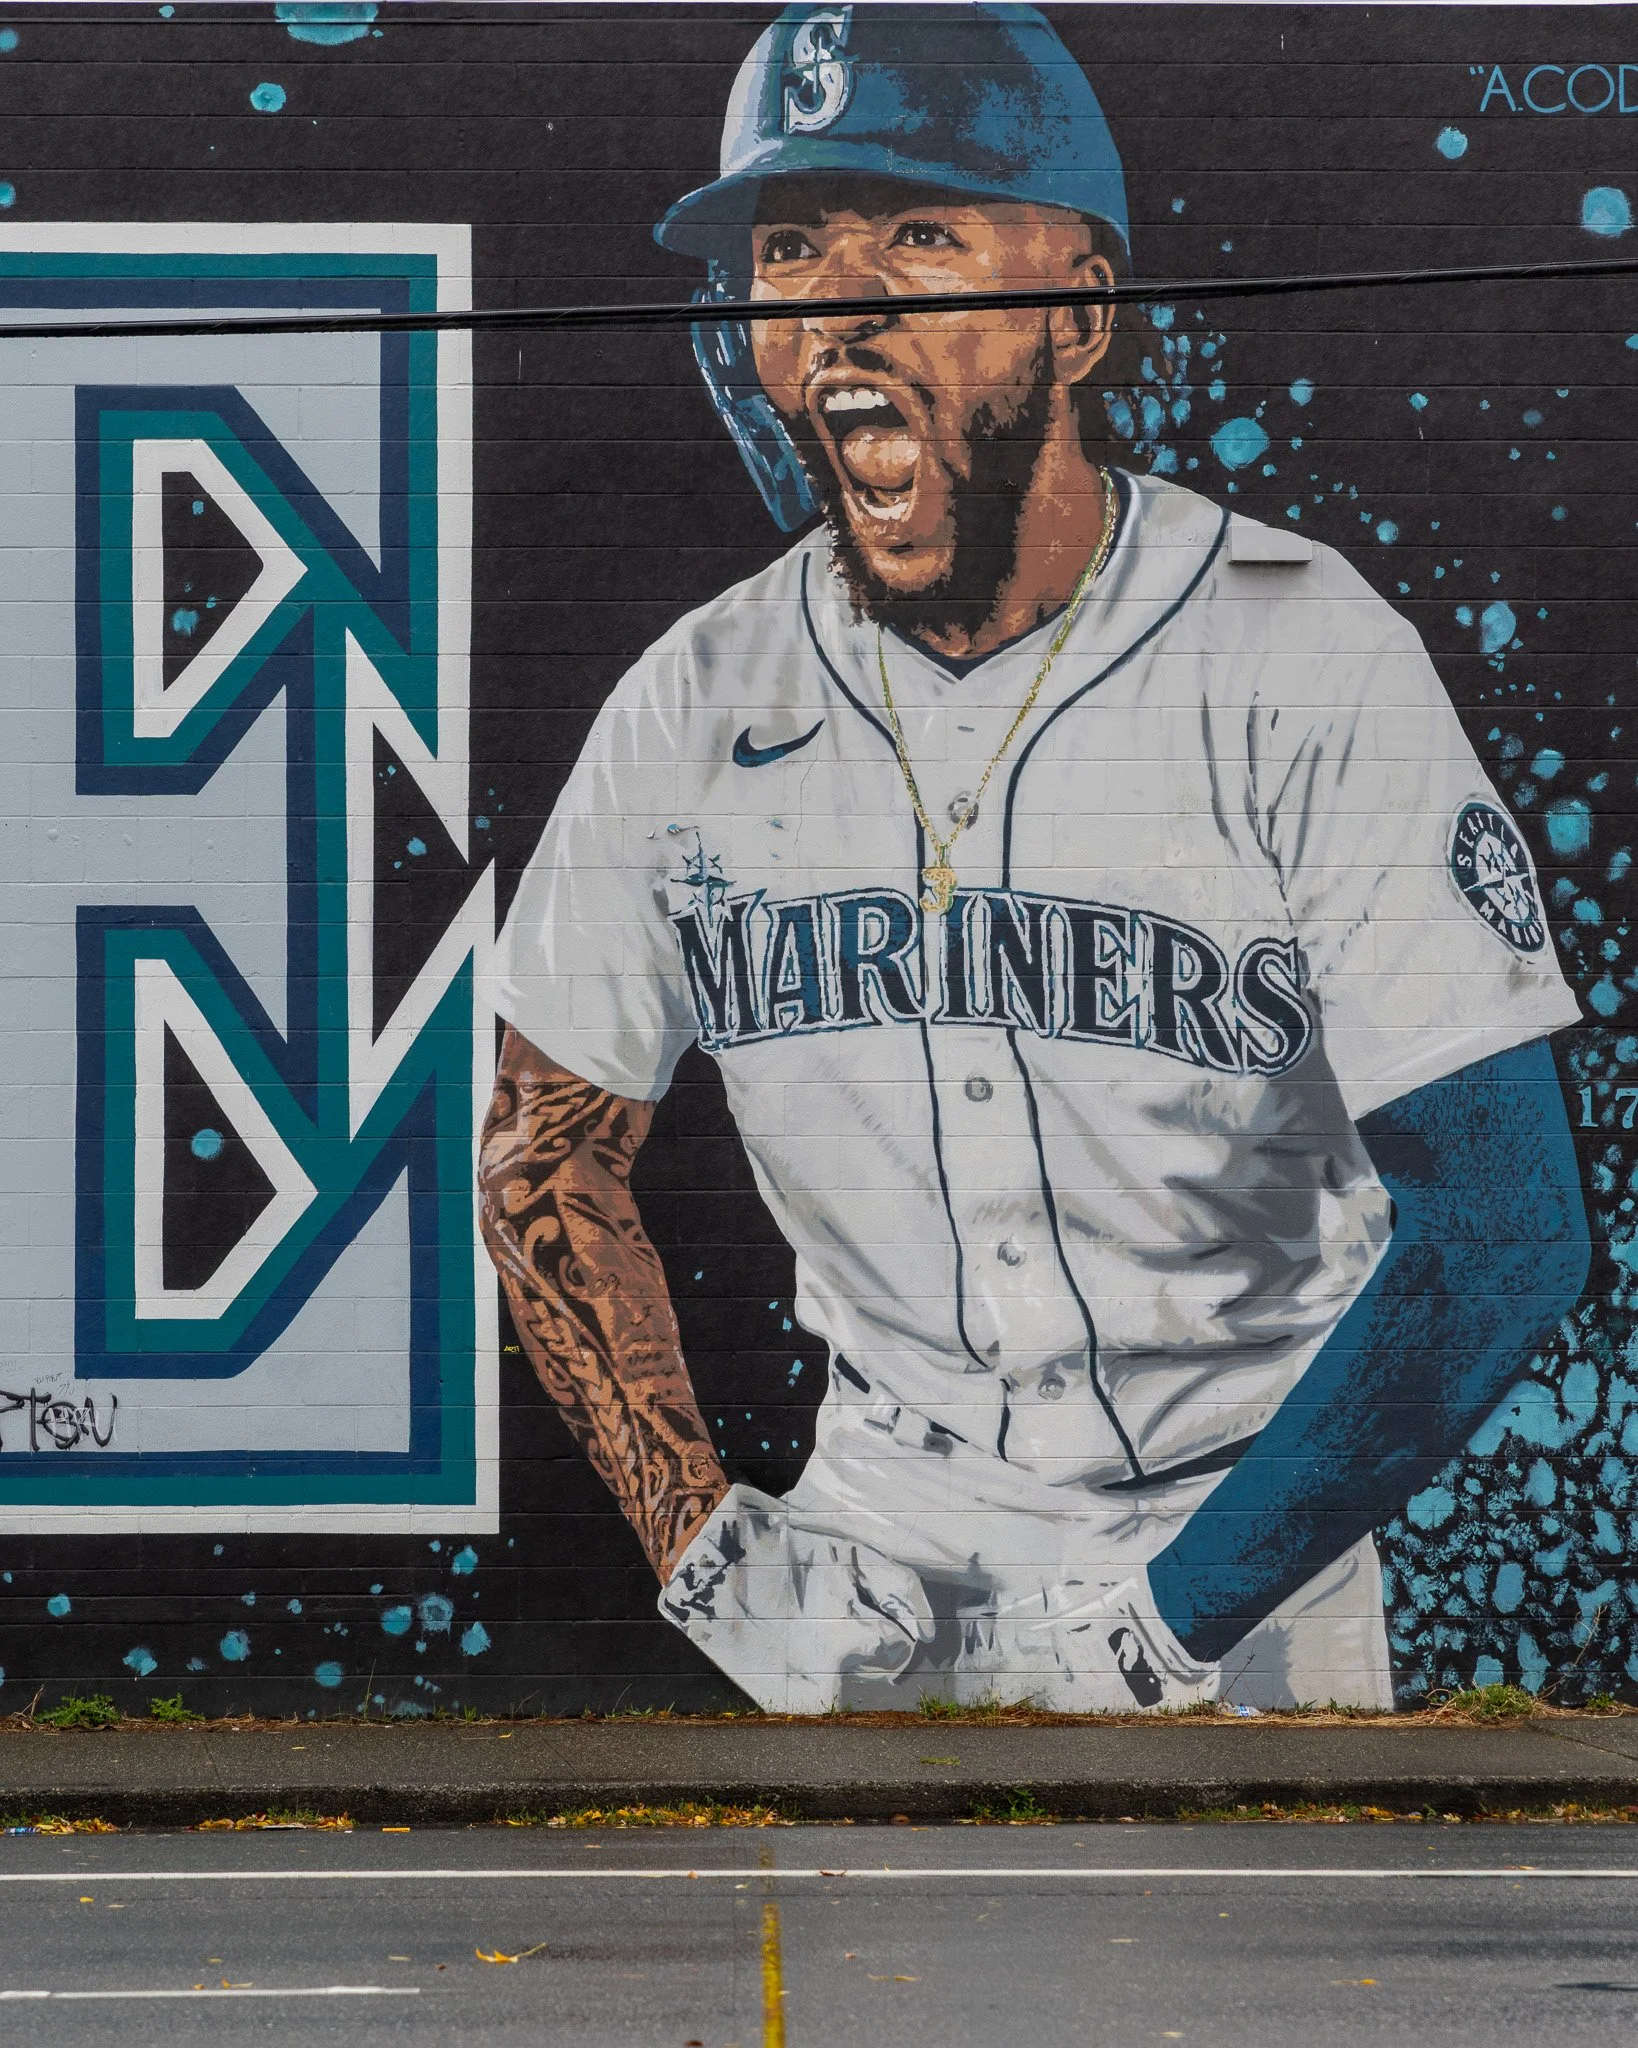
SODO Track
Just south of the stadiums, the SODO Track runs for about two miles along the busway and light rail line through Seattle's industrial SODO district. Between 2016 and 2018, dozens of artists from around the world painted more than 50 murals on the backs of warehouses facing the tracks, all around the theme of motion, speed, and progress. The big surprise is that you cannot see most of them from the main streets. The murals face the transit line, so you have to walk the busway corridor to find them.
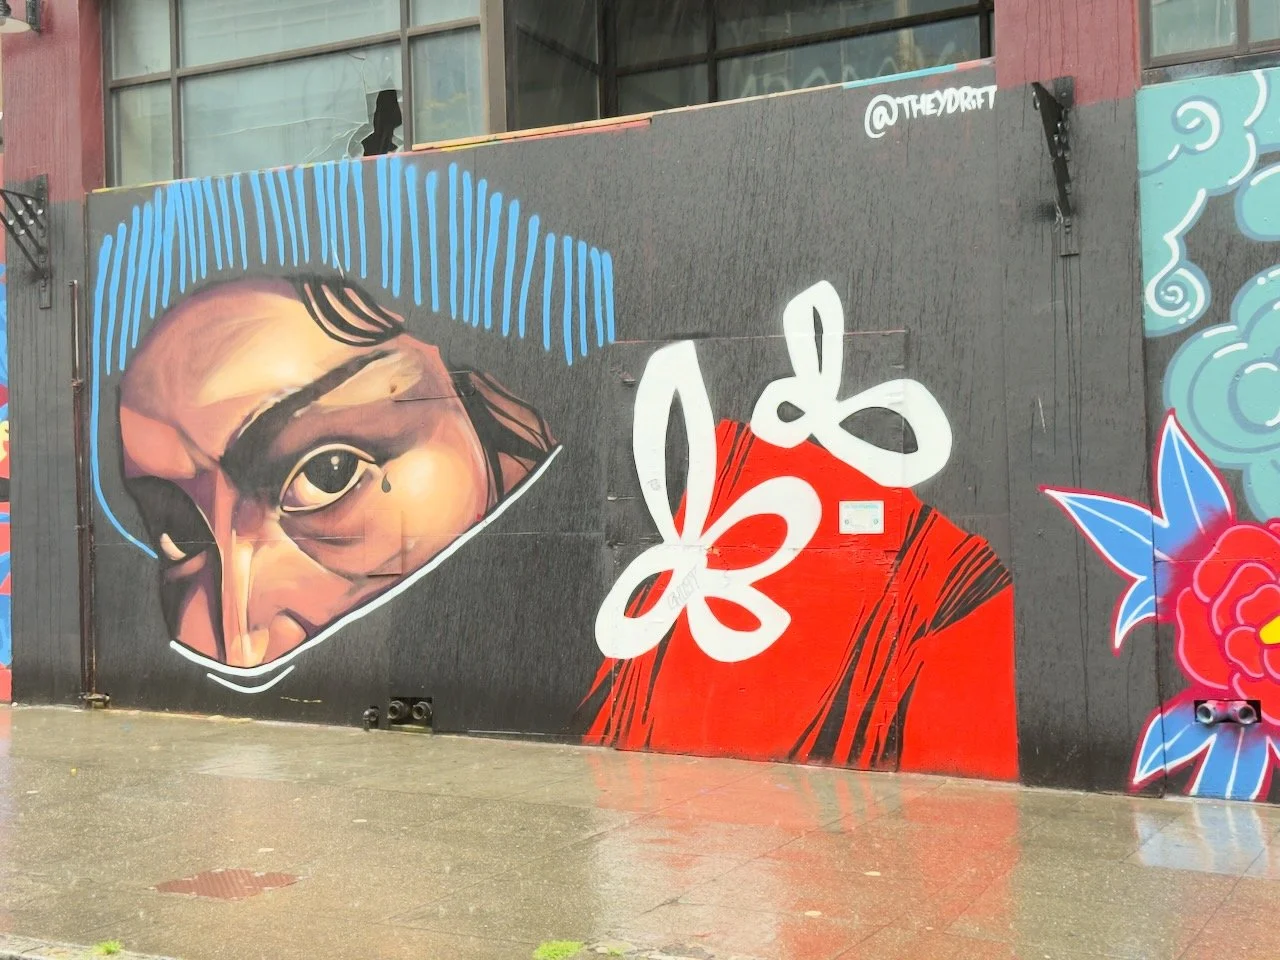
I will be honest with you: it is good, not great. There are a lot of pieces, and some of them are excellent, but it does not match the energy of the best street art cities in the world. If you love murals, it is worth an hour. If you are short on time, skip it and spend that hour at Kerry Park or the waterfront.
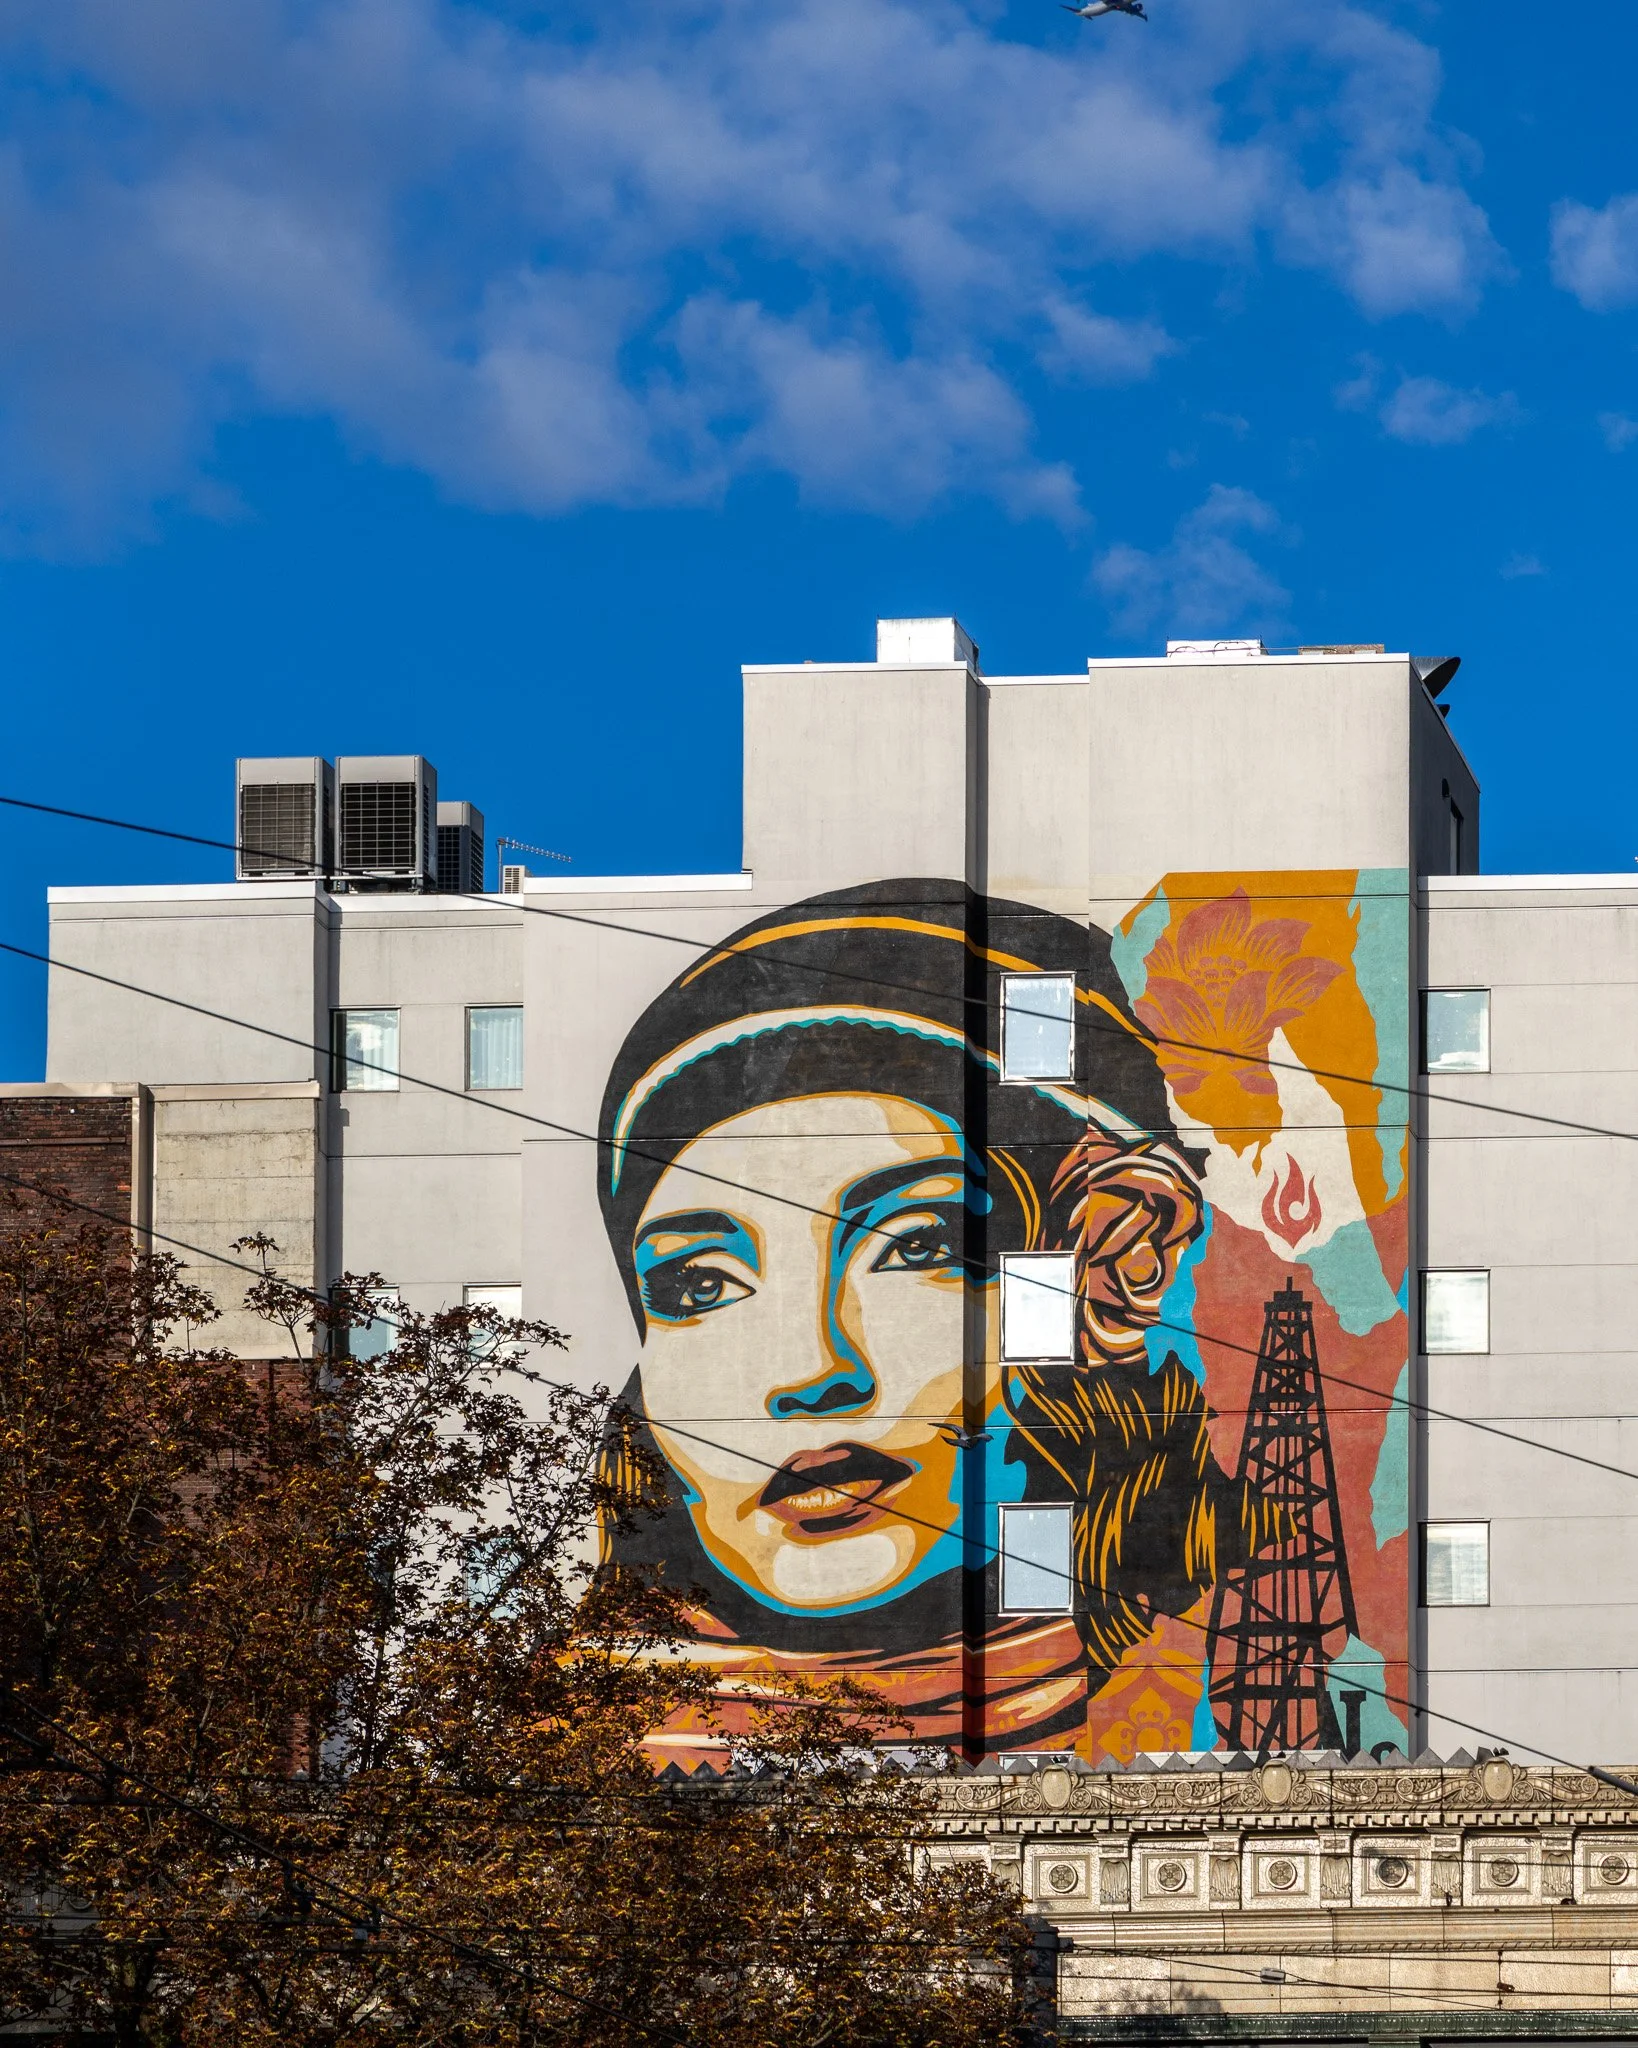
📷 Pro Tip: Go on a weekday morning or late afternoon, when side light brings out the texture of the paint and the brick. A 24 to 70mm covers most of the murals, and a 16 to 35mm helps with the large walls when you cannot step back far enough. Include a passing bus or light rail train for a sense of motion, which fits the theme of the whole corridor. Stay on the sidewalks and paths, watch for buses, and never step onto the rail tracks. On iPhone, use the 2x setting to avoid the distortion of the ultrawide on flat walls.
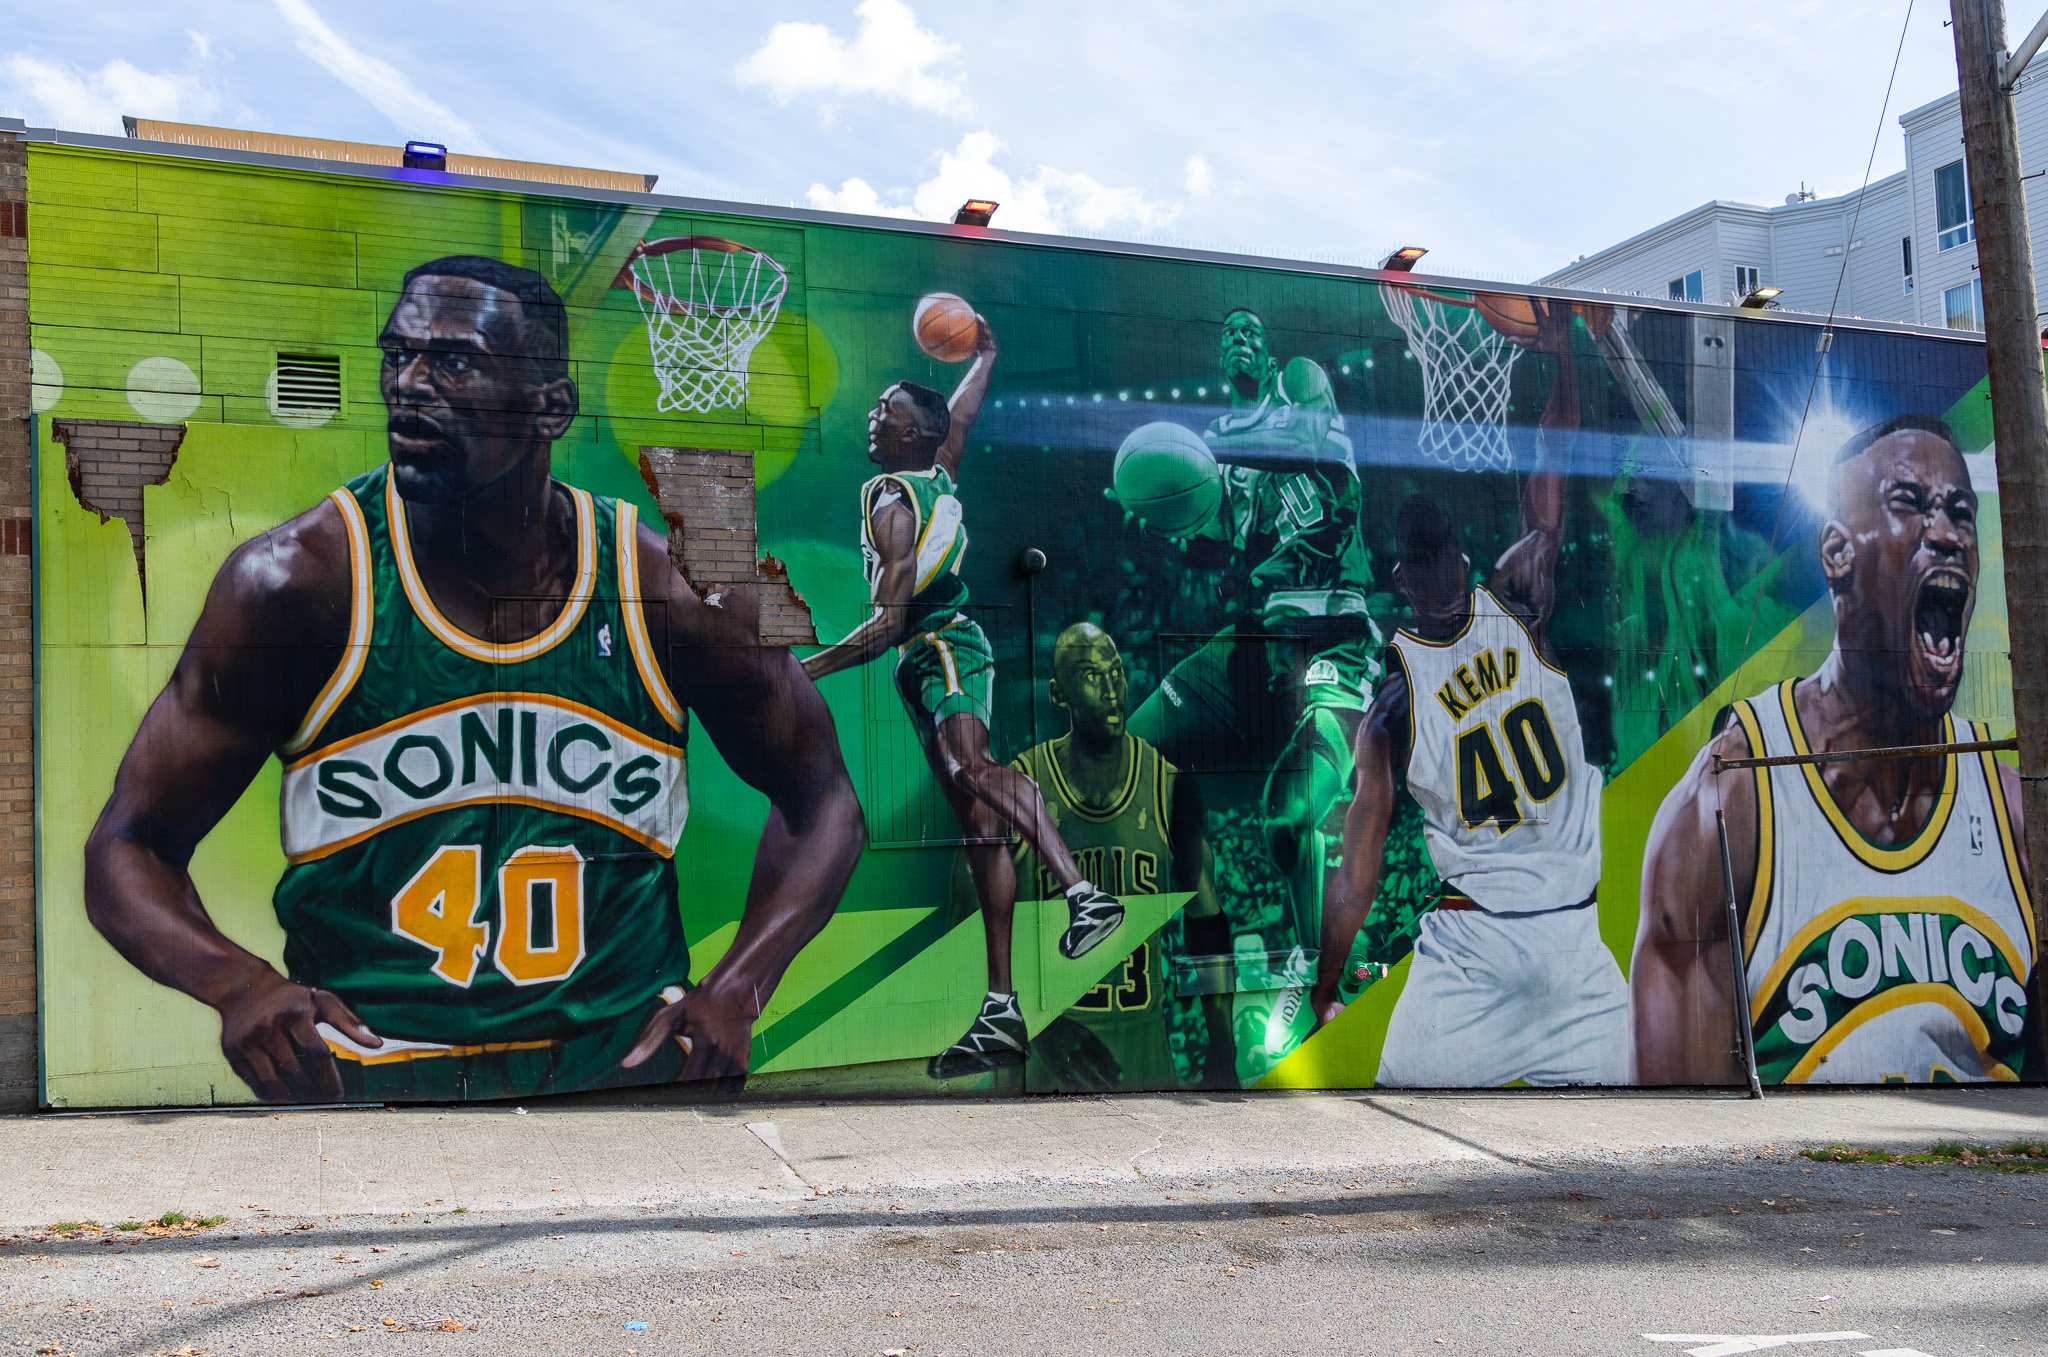
Best time: Weekday mornings or late afternoon. Access: Free. A short rideshare south from Pioneer Square.
Georgetown
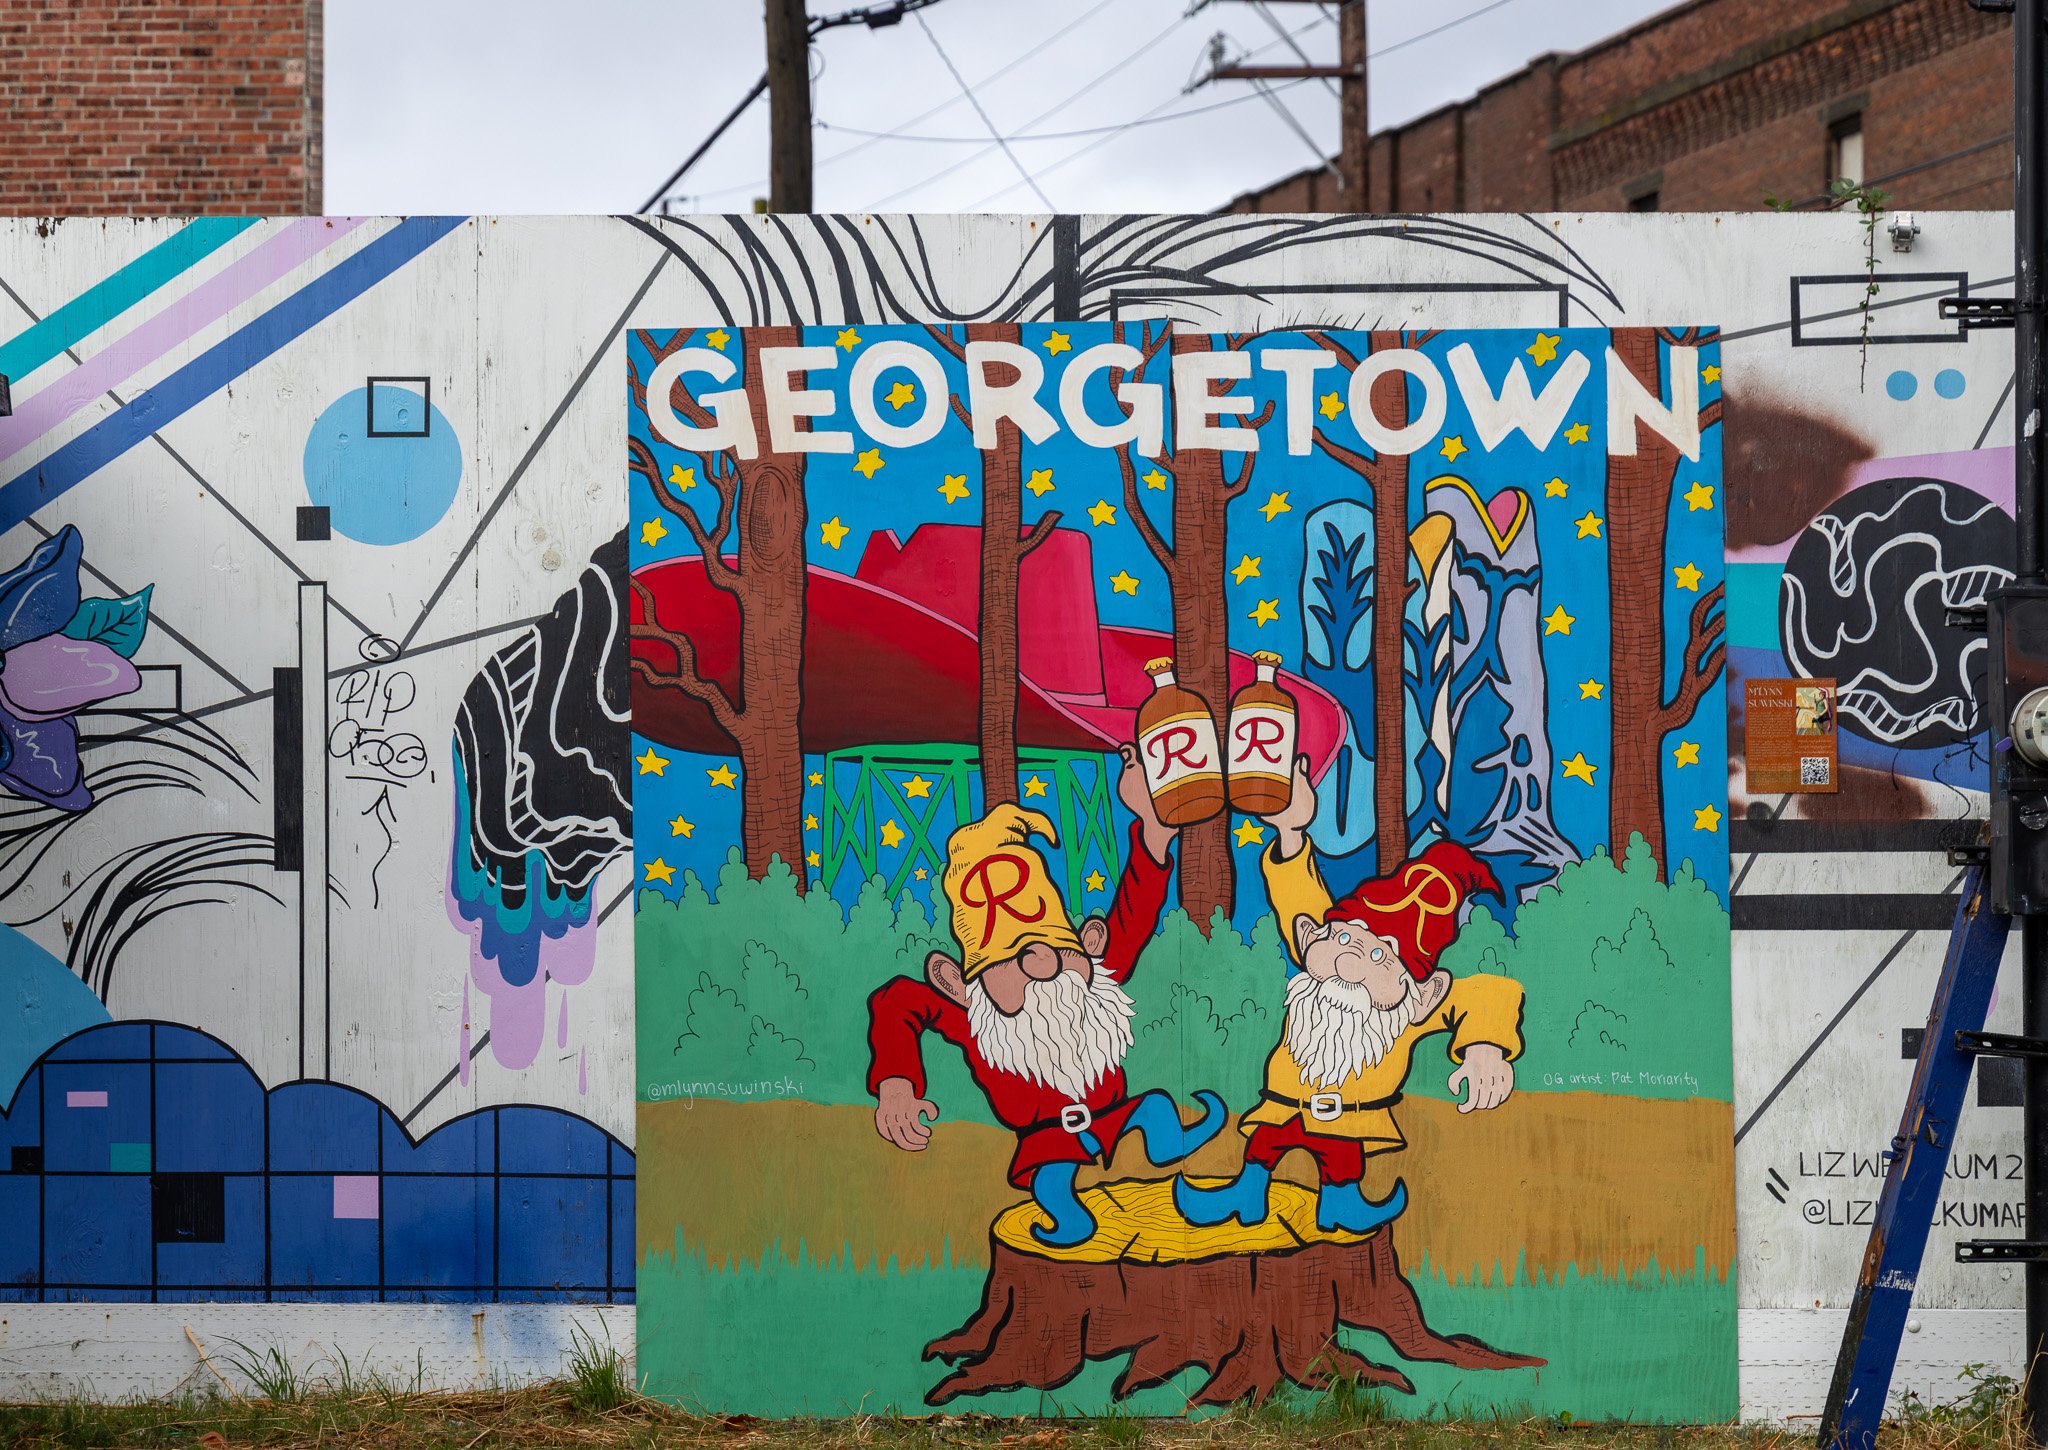
Georgetown is my favorite discovery of this trip. It sits just south of SODO, right next to Boeing Field, where planes come and go overhead. This is Seattle's oldest neighborhood, and it still feels like a working industrial district with an artist's sense of humor. You find funky cafes, independent shops, old record stores, and pubs in brick buildings, with graffiti and murals on the walls in between. It is a fun part of the city, and it feels nothing like downtown.
We drove through this time, and I would go back specifically to photograph the graffiti, which is good. Unlike SODO Track, this is closer to real street culture, and that makes it better for street photography.
While you are there, find Hat 'n' Boots in Oxbow Park. The giant cowboy hat and boots were built in the 1950s for a Western themed gas station, and locals saved them. It is the most playful photo in Seattle. Fantagraphics Bookstore and Gallery and Georgetown Records sit side by side, so music and comic fans can easily lose an afternoon here.
📷 Pro Tip: Park once and walk. Most of the good walls are on the side streets off Airport Way South, and you miss them from a car. Bring a 35mm for street scenes with the graffiti as a backdrop, and a 70 to 200mm to catch planes passing low over the rooftops. If you visit on the second Saturday of the month, Georgetown Art Attack opens local galleries and studios to the public from midday into the evening, and the streets fill with people. Ask before photographing anyone at work in the shops or studios.
Best time: Afternoon into evening, especially on the second Saturday of the month. Access: Free. About 10 minutes by rideshare or car south of downtown.
Festivals and Events in Seattle
Cherry Blossoms at the University of Washington Quad (Late March to Early April) Mature cherry trees fill the Quad between brick Gothic buildings. The blossoms draw big crowds, so go at sunrise on a weekday. Stay on the paths and never pull branches down for a photo.
Northwest Folklife Festival (Memorial Day Weekend, Late May) A free music and arts festival at Seattle Center with dancers, buskers, and performers from dozens of cultures. Great for street and performance photography. Ask before close portraits, and tip the buskers you photograph.
Seattle Pride Parade (Late June) One of the largest Pride celebrations on the West Coast, with a parade through downtown and events at Seattle Center. Expect color, costumes, and a joyful crowd. Ask before photographing individuals up close, and respect anyone who waves you off.
Seafair (July and Early August) Seattle's summer festival runs for weeks, with a torchlight parade and hydroplane races on Lake Washington. The highlight for photographers is the Blue Angels air show over Lake Washington. Use a 100 to 400mm or 70 to 200mm with a fast shutter, and find a spot early along the lake.
Bumbershoot (Labor Day Weekend, Late August or Early September) A long running music and arts festival at Seattle Center with the Space Needle as the backdrop. Great for concert and crowd photography. Check the festival's camera policy before you bring interchangeable lenses.
Seattle Travel and Photography FAQ
How many days do you need in Seattle? Three to four days is perfect. That gives you time for Pike Place Market, Kerry Park, Seattle Center, the waterfront, and a couple of neighborhoods like Ballard or Georgetown, without rushing. Add a fifth day for Mount Rainier or a ferry to Bainbridge Island.
Is Seattle safe for tourists? The city felt very safe to us, and everyone we met was kind. Like many large American cities, Seattle has a visible homeless population, especially downtown and in Pioneer Square. Use normal big city common sense, especially after dark, and you will be fine.
What is the best time of year to photograph Seattle? July through September gives you the driest weather, long evenings, and the best chance to see Mount Rainier. Late March and April bring cherry blossoms and dramatic skies. Winter is grey and wet, but it is great for moody street photography.
Where is the best place to stay in Seattle for photography? Downtown or Pioneer Square. Both let you walk to the waterfront, the ferry terminal, and Pike Place Market. We stayed at Populus Seattle in Pioneer Square and loved it. Staying right at Pike Place is convenient, but the area is very loud at night.
Do you need a car in Seattle? Not for downtown. We walked to most places and used Uber, which was easy. A rental car was really helpful for Georgetown, SODO, and Ballard, and you will want one for day trips to Mount Rainier or Olympic National Park.
Where can you photograph Mount Rainier from Seattle? Kerry Park is the classic spot, with the Space Needle and downtown in front of the mountain. Bring a 70 to 200mm lens to compress the view. The mountain only shows on clear days, so check the forecast and go when locals say the mountain is out.
Can you fly a drone in Seattle? Mostly no. Drones are banned in all Seattle city parks, and much of the city sits in controlled airspace near Sea Tac Airport and Boeing Field. Mount Rainier and Olympic National Parks ban drones completely. Check the FAA's B4UFLY app before any flight.
Is Pike Place Market worth visiting? Yes, twice if you can. Go early in the morning to photograph the vendors setting up, then come back at sunset for beautiful light and great people photos. Stop at Ghost Alley Espresso for your first coffee and Freya for a croissant.
Final Thoughts
One evening, we photographed Pike Place Market at sunset. The light turned warm, the street filled with people, and every face seemed to catch the glow. That is the Seattle I will remember.
We really enjoyed Seattle. What I liked most was the mix of people. The tech crowd and the creative crowd share the same streets, and that blend gives the city its energy. You feel it in the library's bold architecture, in the graffiti of Georgetown, and in the record shops and cafes set between the warehouses. There is always something interesting to see.
The food matches that energy. The seafood is excellent, and the Japanese sushi and fish restaurants stand out. Our dinner at Sushi Kashiba was as good as sushi gets outside Japan. And for something casual, try Seattle style teriyaki, which a Japanese immigrant named Toshi Kasahara created here in 1976. And the coffee scene lives up to its legend. This is the city that gave the world Starbucks, but the real reward is the independent shops. Honestly, it is hard to find a bad cup here.
I also loved how green Seattle is. Parks and open space show up in almost every neighborhood, from the lawns of Gas Works to the gardens beside the Ballard Locks, and the water is never far away.
And the city is only the beginning. Olympic National Park sits across Puget Sound, with rainforests, wild coastline, and mountains. The nearest parts are roughly two and a half to three hours away by ferry and car, and I would love to come back and photograph it. This is a part of the country I want to explore much more.
Seattle does not hand you the shot. The mountain hides, the clouds shift, and the rain comes and goes. That is exactly what makes a good photograph here feel earned. Give the city a few days, stay flexible with the weather, and you will come home with pictures that feel like Seattle, not just pictures of it.
If you are planning a broader Pacific Northwest or West Coast trip, these guides pair naturally with this one:
My Photography & Travel Guide to the Oregon Coast Seattle makes the natural final stop after a drive up Highway 101. Sea stacks, lighthouses, and wild beaches, then a city skyline to close the trip.
My Photography & Travel Guide to Portland, Oregon About three hours south by car or train. Portland's Japanese Garden, Rose Test Garden, and food carts make an easy two day add on before or after Seattle.
My Photography & Travel Guide to Big Sur Keep going south and the Pacific coast gets even more dramatic. If you love the water and mountain views around Seattle, Big Sur's cliffs and coastal fog are the next chapter.
Want to improve your photography while exploring some incredible destinations? Join me on one of my photography workshops! You can find all the details, including upcoming destinations and dates, through the links below.
Let's Stay Connected!

🎓 Adobe Lightroom One-to-One Training
Master Post-Processing. Elevate Your Photography.
Post-processing is the final — and arguably most transformative — step in your photography workflow. Adobe Lightroom is an essential tool for today’s digital photographers, combining powerful editing tools with an intuitive system for organizing and showcasing your images professionally.
Whether you're just getting started or looking to refine your editing skills, I offer customized one-to-one Lightroom training designed to help you create images you’ll be proud to share.
---
💻 Why One-to-One Online Lightroom Training?
Over the years, I’ve found that personalized training is the most effective way to learn Lightroom. Unlike group sessions, a one-to-one format allows us to move at your pace, focus on your specific goals, and eliminate the frustration of mismatched experience levels.
Plus, with online sessions via Zoom, you can learn from the comfort of your home — no travel or accommodation needed. It's the most convenient, cost-effective, and time-efficient way to upgrade your editing game.
---
🧠 Tailored Topics to Match Your Goals
Our training is completely customizable, but here’s an outline of the modules we can cover — either in full or à la carte.
---
🔧 Lightroom Setup – Part 1: Getting Started
Set up Lightroom properly for long-term success. We’ll tackle the fundamentals to create an efficient, organized workflow:
- What Lightroom is (and isn’t)
- How the interface and modules work
- Setting preferences for your needs
- Understanding the Catalog and folder system
- Importing images efficiently
- Adding keywords during import
---
🗂 Lightroom Setup – Part 2: Organize Like a Pro
Build a storage system that grows with you:
- Folder structure tips and best practices
- Moving and renaming files within Lightroom
- Reviewing, rating, and filtering images
- Creating Smart Collections and Collection Sets
- Keywording strategies and metadata organization
---
🎨 Lightroom Editing – Part 1: Core Editing Skills
Master the Develop module and create consistent, polished images:
- Global adjustments in the Basic panel
- White balance, contrast, vibrance, and saturation
- Cropping and converting to black & white
- HSL panel tuning
- Sharpening and noise reduction
- Creating and saving presets
- Exporting for print, web, or social media
---
✨ Lightroom Editing – Part 2: Advanced Techniques
Take your editing to the next level with creative, selective tools:
- Radial and Gradient filters
- The Adjustment Brush
- Advanced masking and luminosity adjustments
- Enhancing portraits (skin, eyes, teeth)
- Spot removal and basic cloning
- Merging for HDR and panoramas
---
💼 Session Details & Pricing (USD)
Tailored One-to-One Lightroom Tuition:
- Single Session (2 hours): $199
Before our session, we’ll have a brief consultation to customize your training plan and ensure it meets your exact needs.
---
Ready to take control of your editing workflow and bring out the best in your images?
Let’s work together to turn your vision into vivid, powerful photos.
📩 Get in touch to schedule your personalized Lightroom session.

Discovering the World Through My Lens
Some photographers chase destinations. Others chase light. This book is about both.
Discovering the World Through My Lens is a visual journey across five continents and dozens of countries, shot over a lifetime of travel by Washington DC-based photographer and author Vito L. Tanzi. From the red dunes of Namibia to the canals of Venice, the Dolomites to the deserts of the UAE, the streets of Lisbon to the rainforests of Costa Rica, each image was made by someone who was actually there, on foot, early in the morning, waiting for the light.
This is not a catalog of famous landmarks. It is a record of what happens when a photographer slows down, pays attention, and stays long enough for the extraordinary to appear.
50 photographs. 30 destinations. Five continents. Every image presented full page with nothing between you and the photograph.
Paris. Iceland. Tanzania. Singapore. The Lofoten Islands. Tuscany. Antelope Canyon. Monument Valley. And much more.
If you have ever wanted to see the world differently, this is where to start.