The Best Places to Travel & Photograph in the Fall
The Fall makes me want to grab my camera bag and get on a plane.
Maybe it is the light. It gets lower, warmer, and more interesting. Maybe it is the cooler mornings and smaller crowds. Or maybe it is knowing that some of the photographs you are hoping to make will only exist for a few weeks.
That is also what makes photographing fall a little tricky.
You can pick the perfect destination and still arrive ten days too early. Or ten days too late.
Arrive in Acadia after peak color and you may be looking at bare branches. Get to the Dolomites too early and the larches are still green.
So fall photography is not only about deciding where to go. You also have to figure out when to be there.
The five places on this list are here for a reason. Fall does not simply make them prettier. It changes the experience of photographing them.
And fall does not always mean red and orange leaves.
In the Dolomites, it means golden larches beneath enormous limestone peaks. In Lofoten, Norway, it means the return of dark skies, fewer visitors, dramatic Arctic weather, and the possibility of photographing the northern lights.
These are five places I would seriously consider if I were planning a fall photography trip.
A note on this list: every destination here earned its spot because fall genuinely transforms it, not because I already had a guide written for it. Quality first. If a place didn't clear that bar, it's not here, no matter how photogenic it is in other seasons.
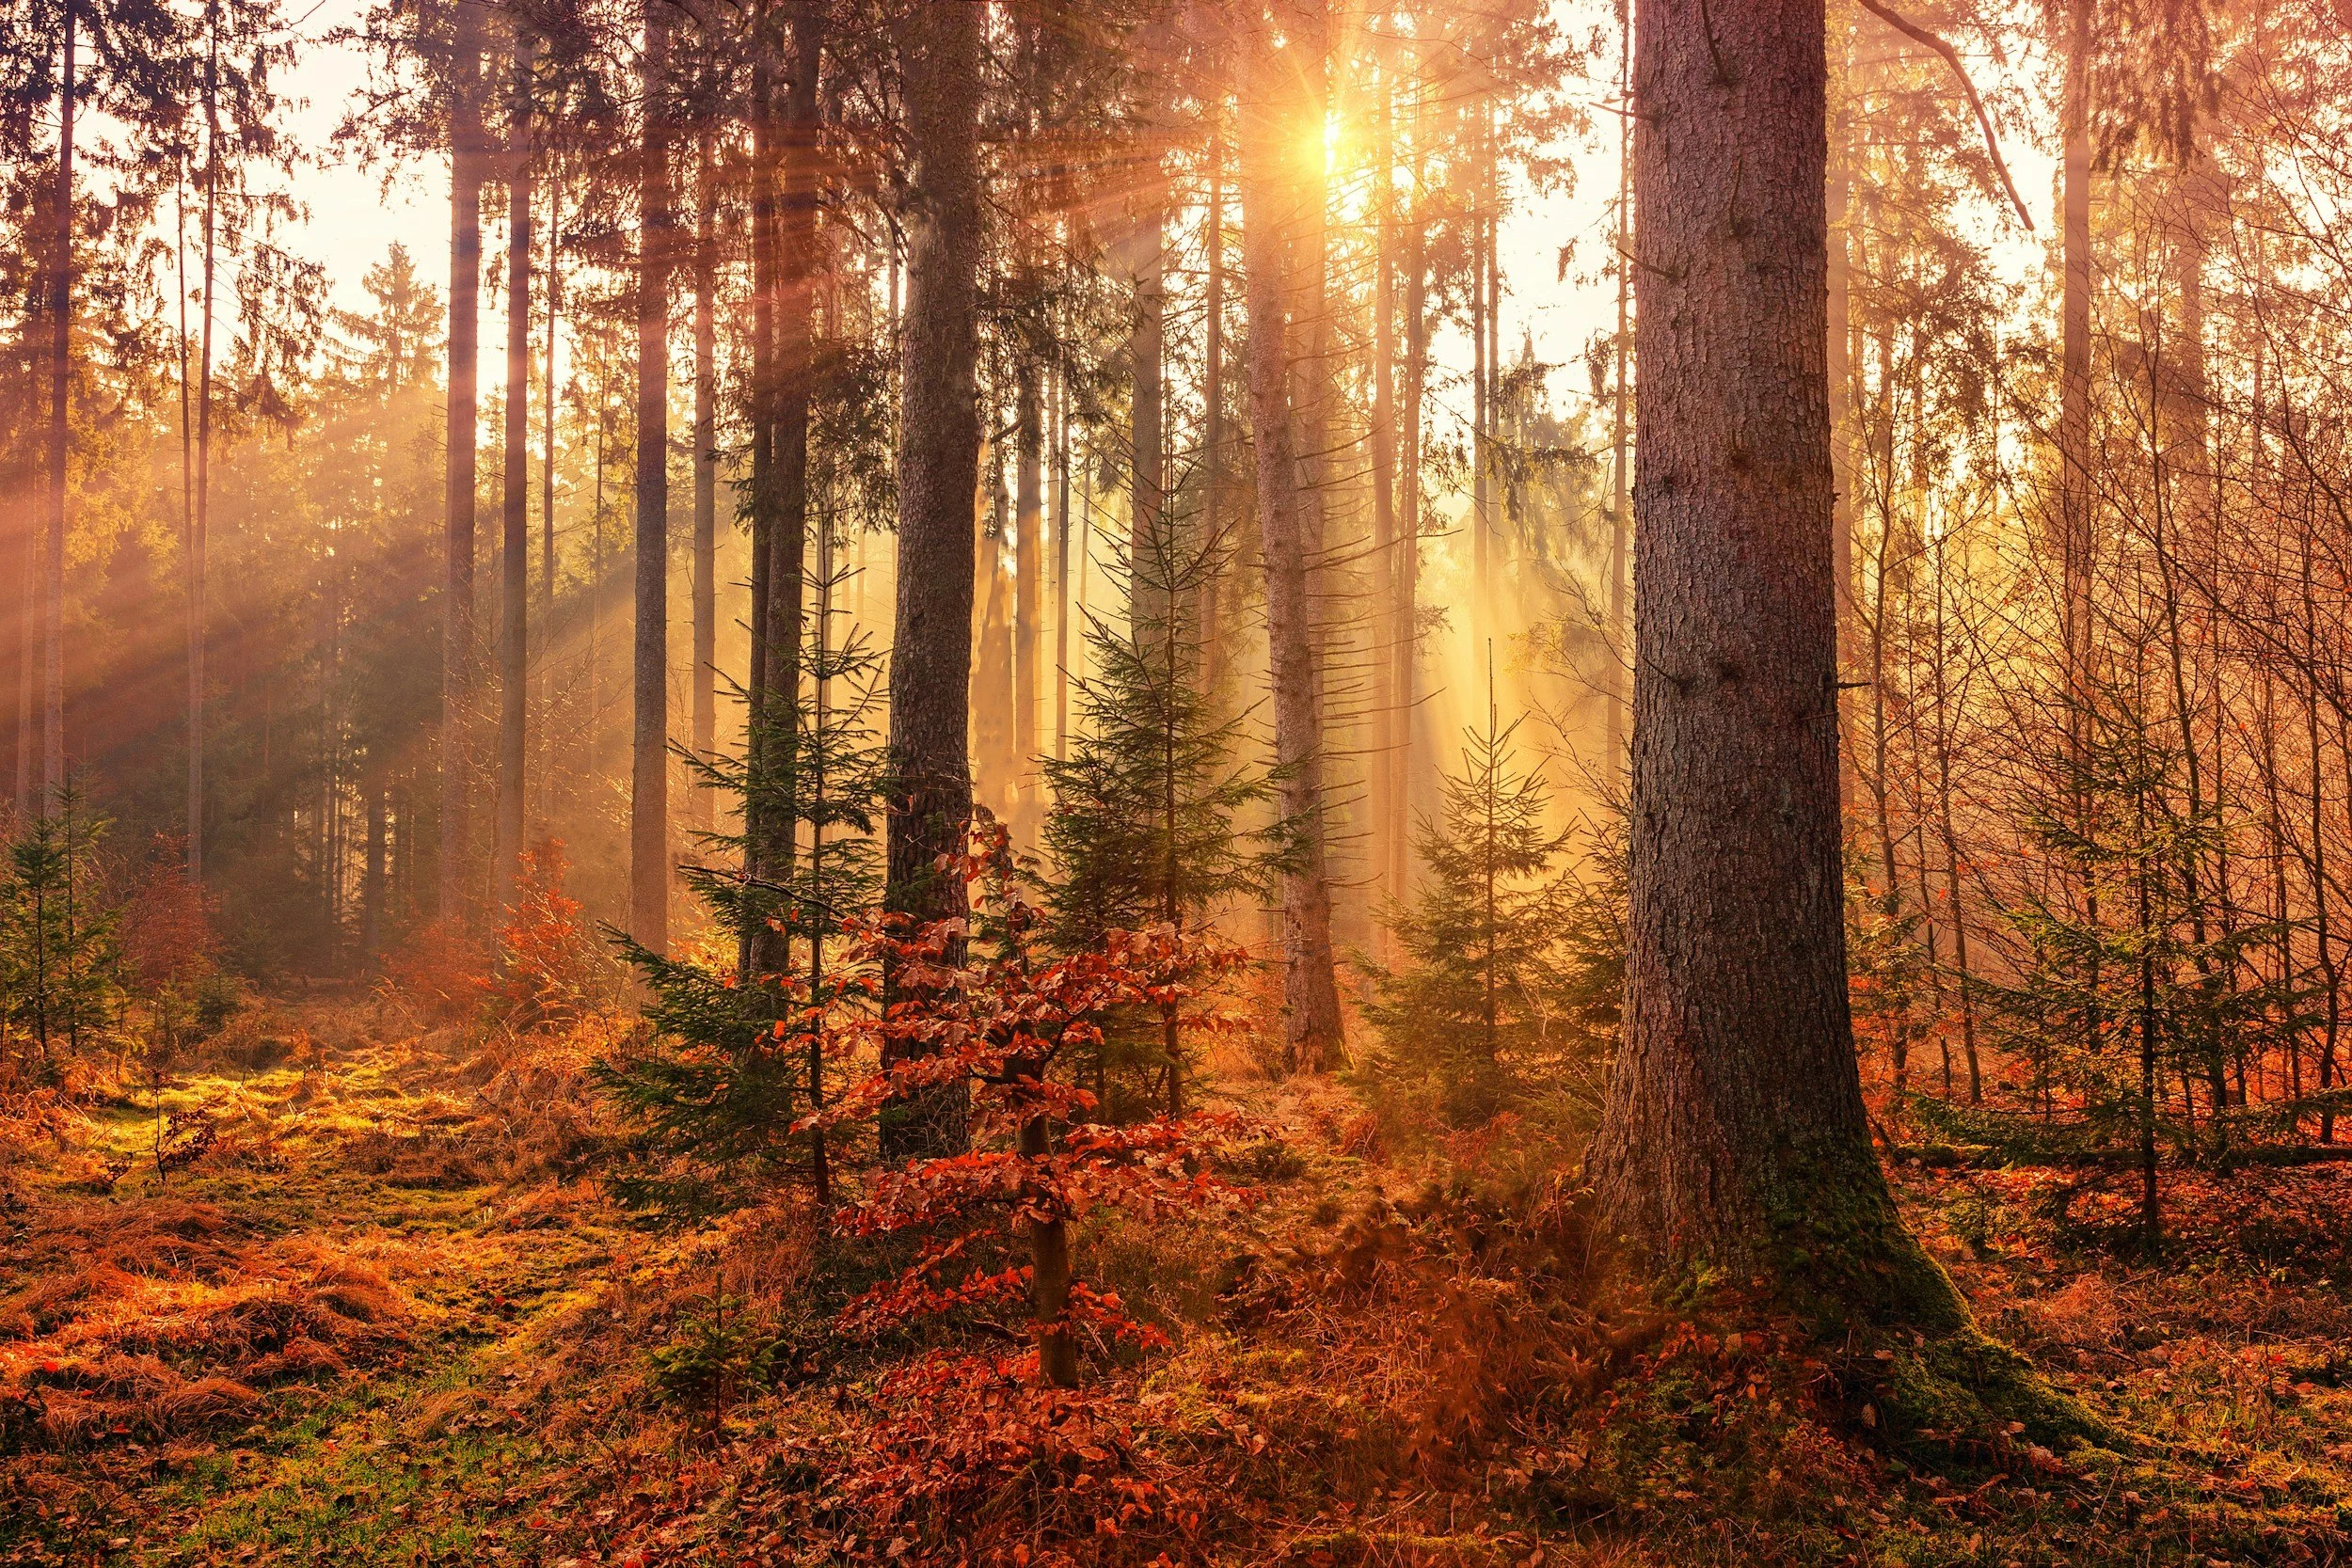
By Jordan Pond in Acadia
Acadia National Park, Maine
Acadia is beautiful year-round, but fall offers something most foliage destinations cannot.
You get autumn color and the Atlantic Ocean in the same photograph.
Sugar maples and birch turn red, orange, and gold almost all the way to Maine's granite coastline. Most famous fall destinations are inland. Here, hardwood forest meets open ocean.
For a landscape photographer, that opens up all kinds of possibilities.
What I Would Photograph
Sand Beach and Otter Cliffs are wonderful places to combine the fall color with granite and surf.
Jordan Pond gives you something completely different. On a calm morning, you can photograph reflections in the water with the rounded peaks of the Bubbles behind them.
Then there is Cadillac Mountain.
From higher up, you can see the color spread across Mount Desert Island and work with layers rather than individual trees.
The temptation in Acadia is to run from famous location to famous location.
Try not to.
Walk around. Move away from the obvious viewpoint. Look behind you. Some of my favorite photographs at popular locations happen after I stop looking for the composition everyone else has already photographed.

When I Would Shoot
Sunrise on Cadillac Mountain is worth the early alarm.
And yes, photographers spend a ridiculous amount of their lives getting up while normal people are still asleep.
But this is one of those mornings when it can pay off.
During part of the fall, Acadia is famously among the first places in the continental United States to see sunrise. September and October also tend to have less of the fog that can interfere with Cadillac Mountain sunrises during summer.
Later in the day, I would look toward Sand Beach or Bass Harbor Head Light for sunset.
Midday light can become pretty harsh on Acadia's granite, so I would use those hours to scout, drive, hike, eat, or find compositions for later rather than trying to force a landscape photograph in bad light.

Jesup Trail
What I Would Bring
A polarizer is very useful here.
It can reduce glare on wet granite and foliage and help control reflections from the water.
A 24 to 70mm lens would probably spend a lot of time on my camera, but I would definitely bring a 70 to 200mm as well.
The longer lens lets you isolate patches of color and compress layers of hills instead of making every photograph an enormous wide angle landscape.
If you are photographing with an iPhone around Otter Cliffs, pay attention to the contrast between dark granite and bright water. Use exposure lock on the darker granite before shooting toward the water and watch those highlights carefully.
A Few Things to Know Before You Go
Cadillac Summit Road requires a timed vehicle reservation through late October.
During peak foliage weeks, those reservations can disappear quickly. This is something I would book early rather than discovering it after I had already planned the entire trip.
Peak color around Acadia typically arrives during the second or third week of October, although coastal Maine often peaks slightly later than locations farther inland.
Do not assume a foliage report from northern Maine tells you exactly what is happening in Acadia.
Check current conditions as your trip approaches.
Weekday mornings are also dramatically quieter than weekend afternoons, and Bar Harbor accommodations can fill up early during peak foliage.
One other tip.
Almost everyone photographs Jordan Pond from roughly the same section of the main path.
Keep walking.
Go another fifteen minutes around the loop, and you can still get the beautiful reflections, but often without twelve tripods competing for the same composition.
I've been back to Acadia more than once chasing this exact week of color. My full Acadia National Park photography guide covers the trails, the tide timing at the coastal spots, and where to base yourself in Bar Harbor.

From the top of Cadillac Mountain at Sunrise
The White Mountains, New Hampshire
The White Mountains contain some of the best fall color I have ever seen.
Full stop.
What makes this area so spectacular is not only the color. It is the elevation and the density of the forest.
You can look across ridge after ridge covered in red, orange, and gold, with the Kancamagus Highway running straight through the middle of it.
It is difficult to drive very far without wanting to pull over.
Get Out of the Car
The Kancamagus Highway is a beautiful drive, but the photographs get more interesting when you stop treating it like one.
Sabbaday Falls and Rocky Gorge let you combine moving water with autumn color.
Franconia Notch gives you something else I always look for in landscape photography: scale. Instead of photographing nothing but colorful trees, you can place them beneath granite peaks.
Then there are the overlooks along Route 112.
This is where your telephoto lens becomes incredibly useful.
A 70 to 200mm allows you to compress one mountain ridge against another and create layers of color disappearing into the distance.
A wide-angle lens can show you how big the landscape is.
The telephoto can sometimes give you a more interesting photograph.
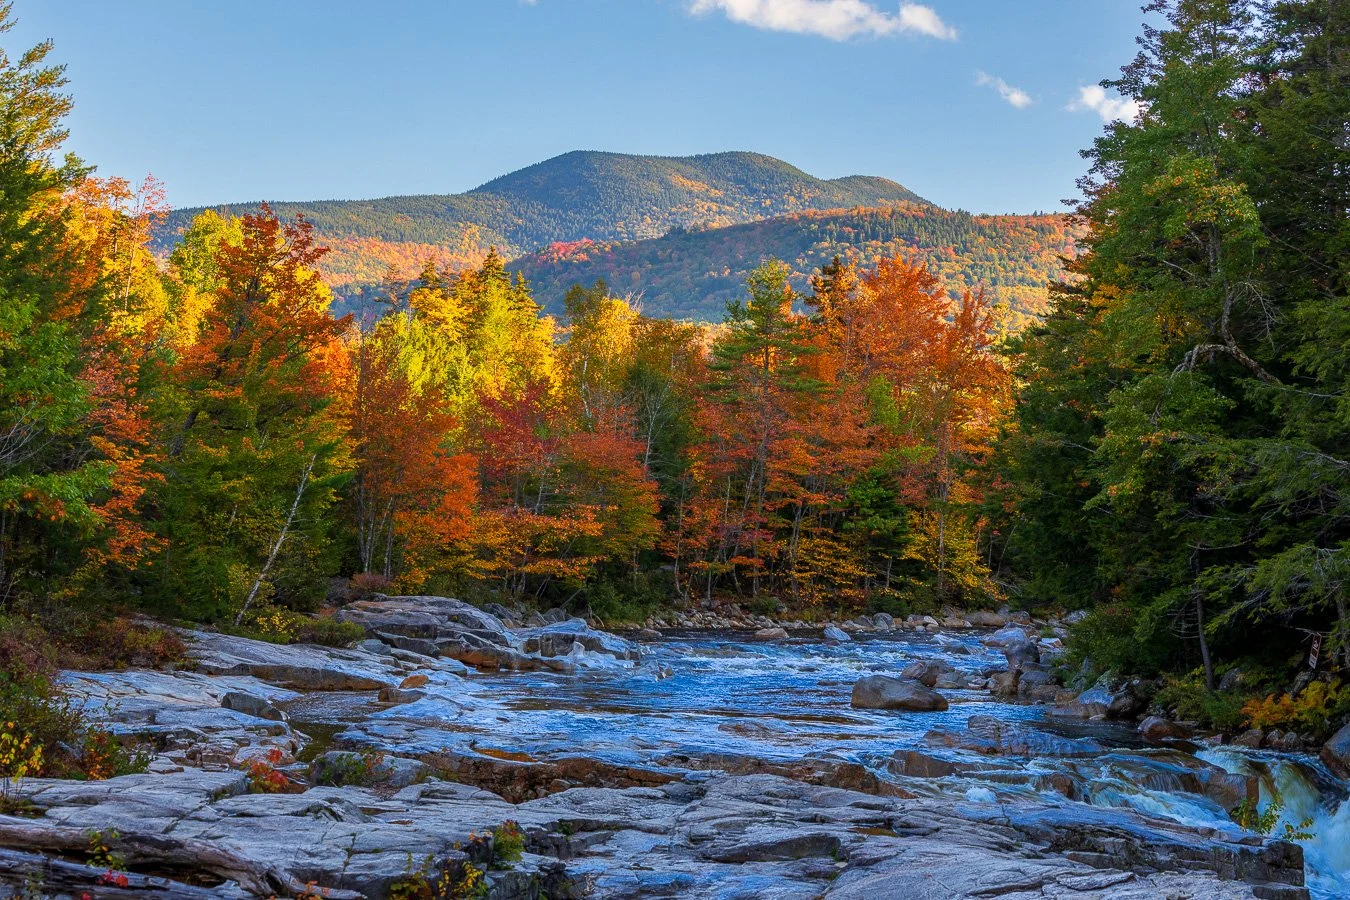
A River Off the Kanc
Chase the Weather
If you wake up and see fog, do not assume the morning is ruined.
Go find it.
Valley fog is common during fall, and if you can reach an overlook above the fog line shortly after sunrise, you may get patches of color and mountain ridges appearing through the clouds.
Those are the mornings I want.
Sunset works well on the western-facing ridges along the Kanc.
Midday is not my favorite time for the big vistas, but it can be useful for scouting turnouts or photographing waterfalls in open shade.
A Polarizer Makes a Difference Here
If the leaves or rocks are wet, a circular polarizer can reduce the sheen and bring back some of the color underneath.
It can also deepen the sky behind the ridgelines.
But watch the effect rather than automatically turning it to maximum strength. Removing every reflection can sometimes make foliage look strangely flat.
And resist the temptation to oversaturate your fall photographs later.
Nature is already doing plenty of work for you.
If you are shooting on an iPhone, the Kanc's colors are naturally strong enough that I would avoid pushing the processing too far. A more muted Photographic Style can sometimes look better than the punchier default rendering.
A Very Practical Warning
The Kancamagus Highway has almost no services along its 34.5 miles.
No gas stations.
No coffee stands.
And you'll want to stop constantly.
Fill up the car and get something to eat before you start.
Peak color around Franconia Notch, Lincoln, and the western Kanc usually falls around the second week of October, often near Columbus Day weekend. Color can start about a week earlier farther north and last a little longer toward the south and east.
But weather can shift that window by a week or more.
I would watch a live foliage tracker during the week before the trip rather than trusting a date somebody put on a calendar six months earlier.
Lodging in Lincoln and North Conway also books quickly around peak weekends.
One More Photography Tip
Many photographers drive the Kanc east to west in the morning.
That can put you shooting straight toward the sun.
Try driving in the opposite direction at sunrise. You may end up with the light coming from behind you and illuminating the fall color rather than turning the landscape into a silhouette.
If you're heading to New Hampshire, my White Mountains photography guide has the specific pullouts I actually stop at, not just the ones every list repeats.

Along the Kanc Highway
The Dolomites, Italy
I love the Dolomites in almost any season.
But fall changes them.
By mid September, the enormous summer crowds begin to disappear. The air gets colder. The light changes.
And then the larches turn gold.
Larches are unusual because they are conifers that actually lose their needles. Before they do, the trees can turn an incredible yellow and gold.
Put those trees beneath the pale limestone peaks of the Dolomites and you get a combination that very few mountain destinations can match.
Follow the Larches
Lago Federa is one of the places I would look first, especially if calm conditions give you reflections in the water.
The Armentara Meadows near Badia also place those golden larch forests directly beneath the mountains.
At Passo Giau, you can get higher above the trees and work with broader alpine landscapes, with fall color sitting down in the valleys.
But do not become so obsessed with the larches that you forget to look at the mountains.
The Dolomites have another trick.
At sunrise and sunset, the pale rock can turn pink, orange, and gold. The phenomenon is known as Enrosadira.
When the conditions cooperate, the mountains themselves seem to glow.
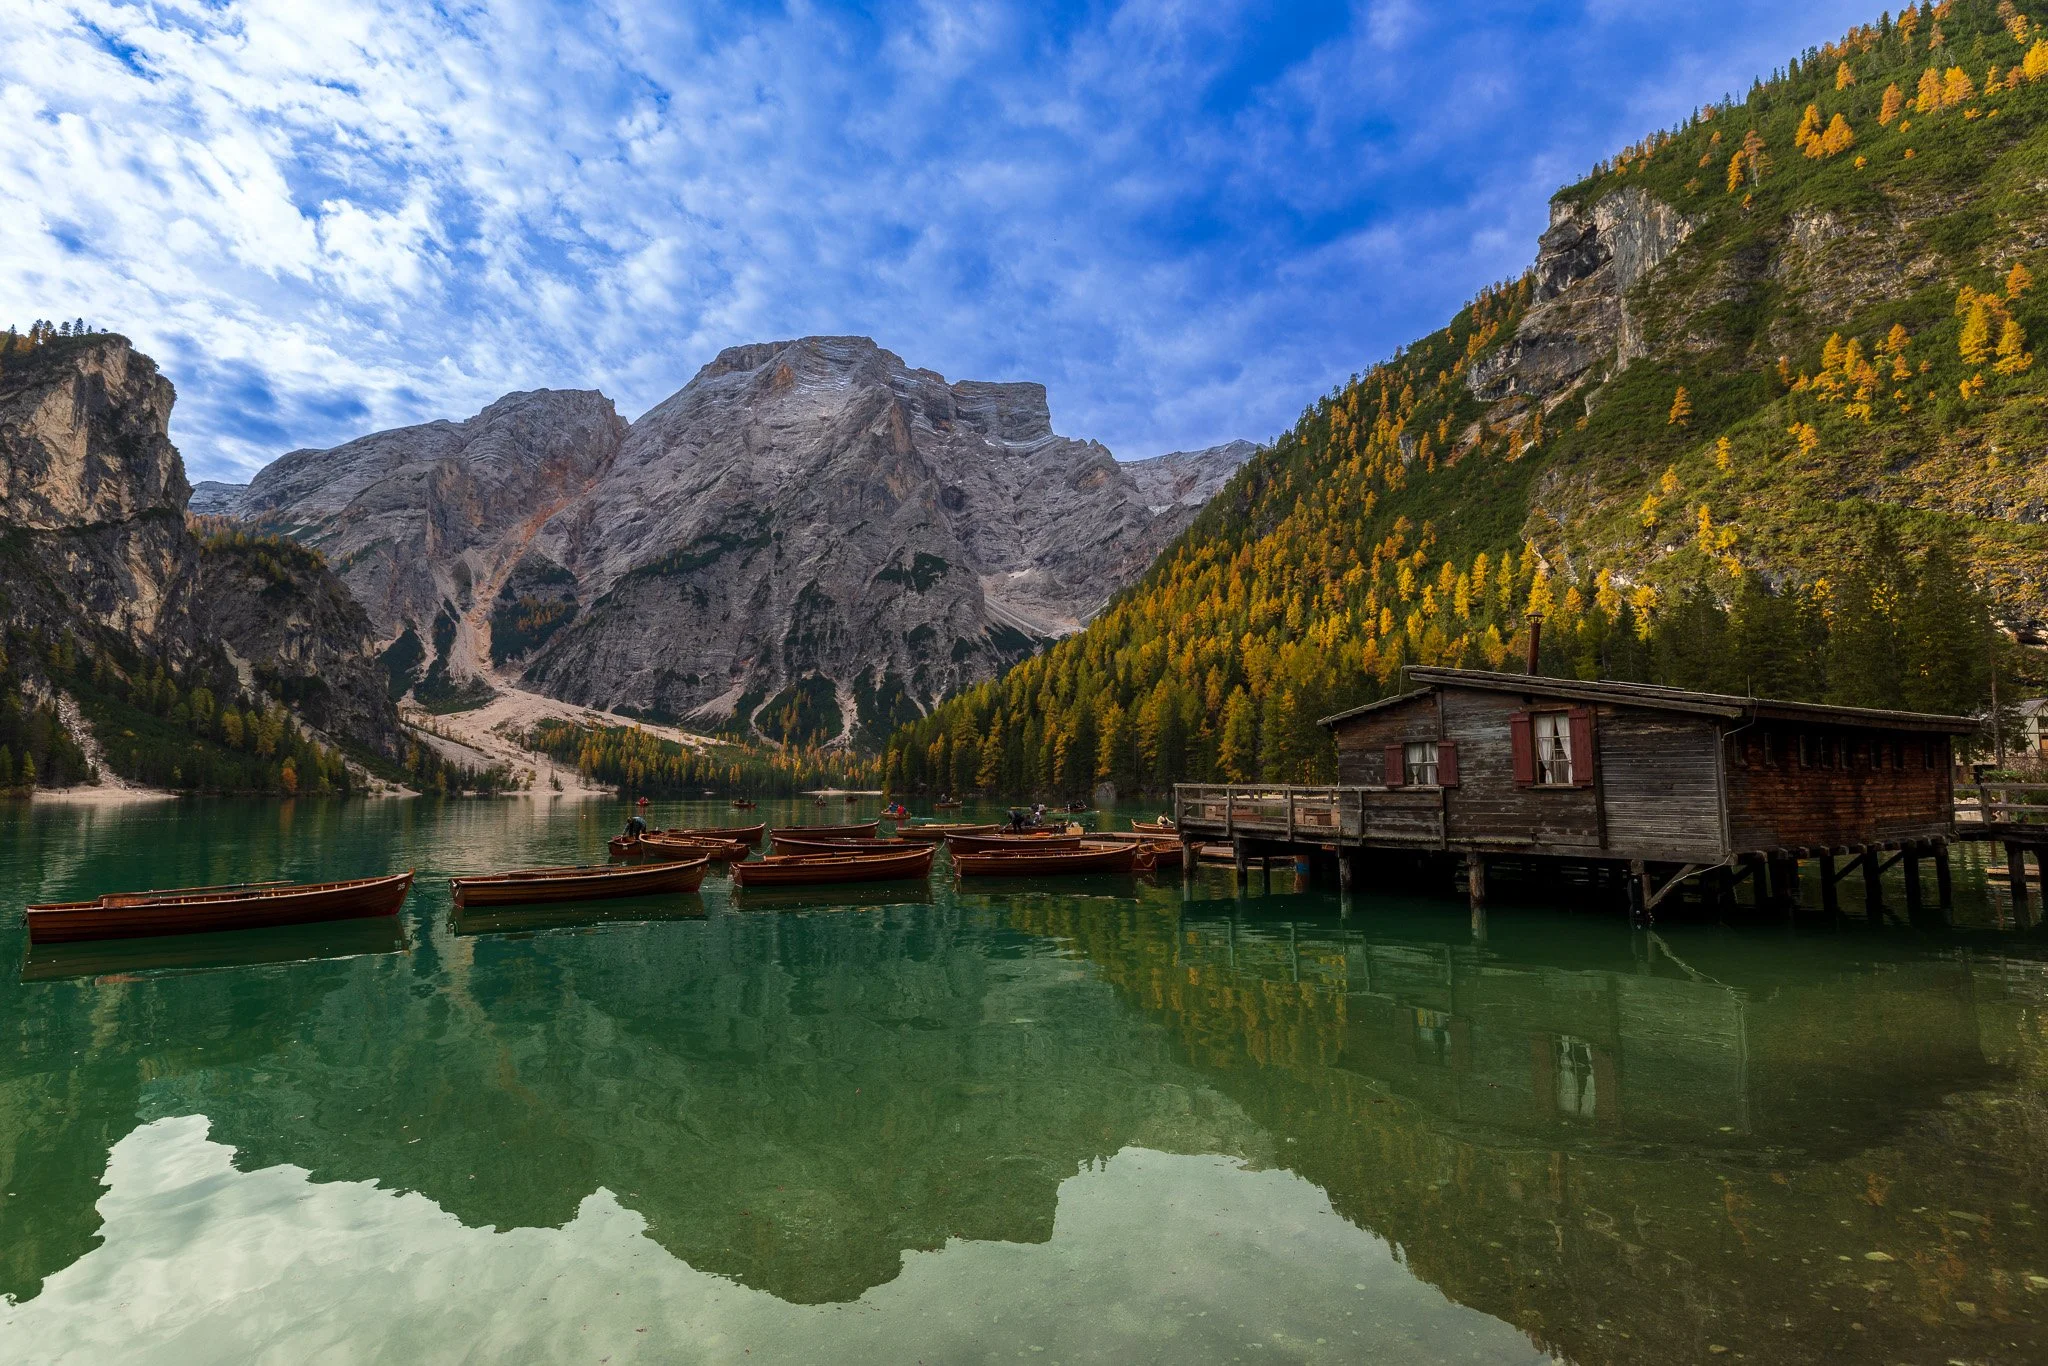
Lago di Braies
Build Your Days Around the Light
Sunrise and sunset are when I would concentrate on the mountain faces because that is when you have the best chance of seeing Enrosadira.
Early mornings can also produce fog and temperature inversions.
From a high pass like Passo Giau, you can occasionally find yourself looking at mountain peaks rising above a sea of clouds.
Midday tends to flatten the color and texture in the rock.
That is not necessarily a problem.
Use those hours to hike toward your evening location.
I would much rather photograph three places in excellent light than rush through twelve locations simply so I could say I had seen them.
The Gear I Would Carry
I would want both a wide or normal zoom and a longer lens.
The wider lens gives you those enormous mountain landscapes.
The telephoto lets you compress distant ridgelines, isolate peaks, and simplify the scene.
A polarizer can help cut haze on a clear day, but I would use it carefully when photographing Enrosadira. Too much polarization can mute the pink tones that you traveled there to photograph.
If you are shooting with an iPhone from a high pass, this is one situation where I would experiment with the ultra wide lens. Fog, peaks, and a huge alpine landscape can work beautifully with the wider field of view.
And look for backlight on the larches.
This matters.
Backlit larches can glow orange.
The exact same trees photographed from the front or sitting in shade can look dull and brown.
Before committing to a composition, move around and pay attention to where the sun is relative to the trees.
A few feet can completely change the photograph.
Fall Requires More Planning
Many cable cars and mountain refuges begin closing by late October or early November.
That means a viewpoint that might be relatively easy to reach during summer could require a much longer hike later in the season.
Check the actual lift schedules before building your itinerary around a location.
Larch color generally runs from late September through late October depending on elevation, with some of the strongest color often appearing from the last week of September into the first two weeks of October.
Higher elevations usually change first.
Cortina d'Ampezzo makes an excellent base, as do the valley towns around Val Gardena.
September generally brings more stable weather. October can give you more dramatic conditions, but you also increase the chances of an early snowfall closing a mountain pass.
Personally, dramatic weather does not scare me as a photographer.
Sometimes that is exactly what makes the photograph.
You just need enough flexibility in your schedule to work with it.
My Dolomites photography guide covers the passes, the huts still open in shoulder season, and how I plan a multi-day route around sunrise and sunset light rather than just hiking distance.

Along the Val Gardena
Vermont
If New Hampshire is about mountains covered in fall color, Vermont is about everything beneath them.
Old barns. Covered bridges. White church steeples. Winding roads disappearing through forests of red and gold.
This is the New England fall most of us have pictured in our heads long before we ever photograph it.
I have returned to Vermont several times in the fall, and what keeps bringing me back is not one famous viewpoint. It is how often you find yourself driving down some random road, seeing something out the window, and immediately looking for a safe place to pull over.
Some of my favorite Vermont photographs happened exactly that way.
Start in Stowe
Stowe gives you the bigger landscapes.
Smugglers’ Notch is one of my favorite places to photograph in the area. Route 108 twists through a narrow mountain pass surrounded by cliffs and dense forest, and in early October the road can feel like a tunnel of color.
Do not rush through it.
Stop. Walk around. Look for the road curving through the trees, cars disappearing into the foliage, and small sections of color that you can isolate with a longer lens.
I especially like the 70 to 200mm here.
Instead of trying to photograph the entire forest, use the telephoto to simplify the scene. A single section of red and orange trees against the rock can be much stronger than a giant photograph of everything.
The Stowe Community Church gives you one of Vermont's classic photographs, a white steeple surrounded by rolling hills and autumn color.
This is another place where the telephoto works beautifully because you can compress the church against the hillside behind it.
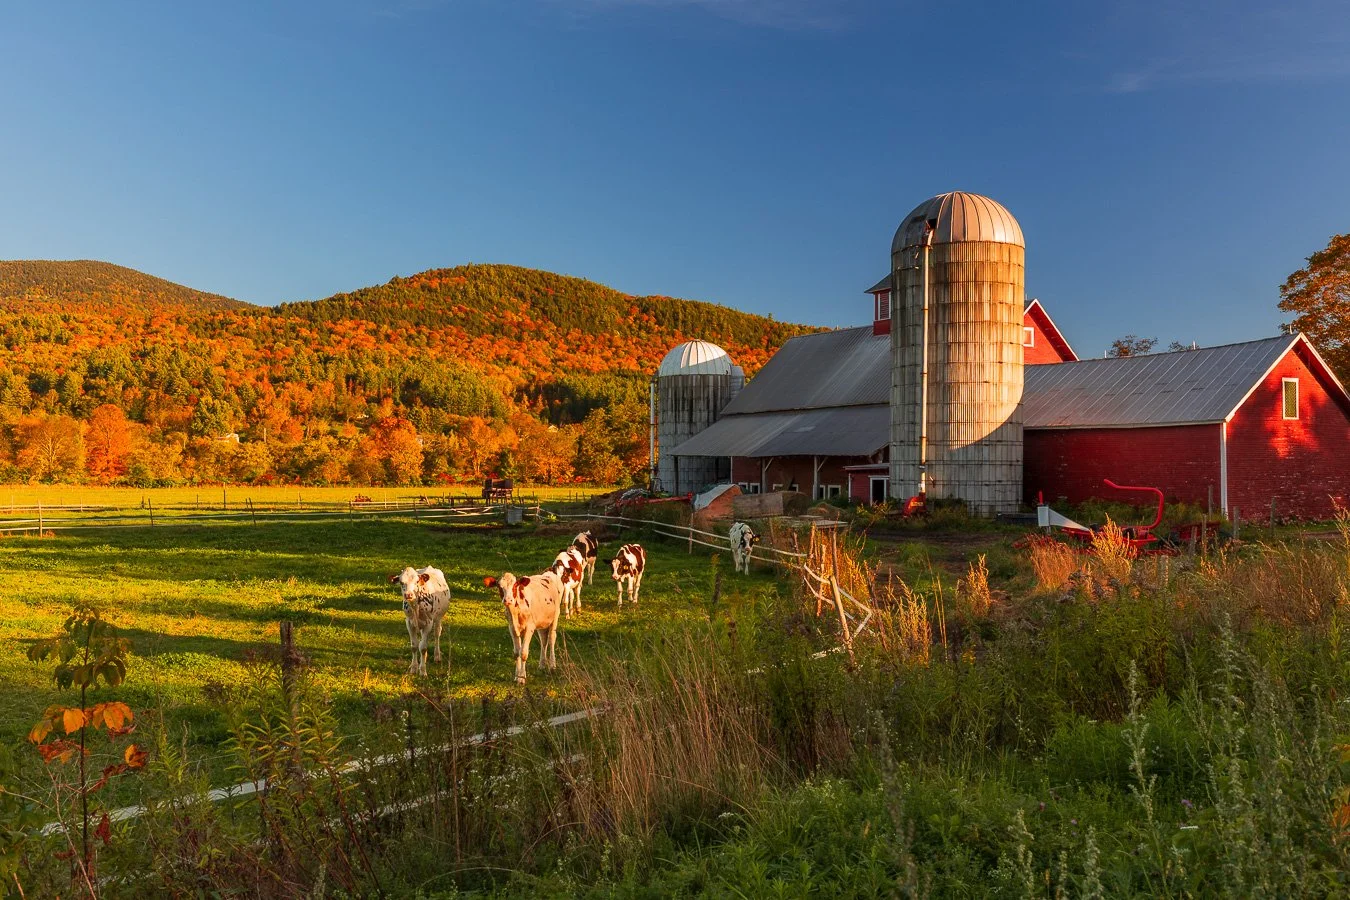
A Red Barn with the Fall Colors
Get Above the Color
Mount Mansfield gives you an entirely different perspective.
The Auto Toll Road climbs toward Vermont's highest peak and gives you broad views over the surrounding mountains and valleys. During fall, you can look across huge areas of forest changing color below you.
For the 2026 season, the Scenic Auto Toll Road is scheduled to remain open through October 18, weather permitting, with fall hours beginning September 26. Check the current operating schedule before building your morning around it.
If fog settles into the valleys below, even better.
Those are the conditions I would chase.
The combination of mist, mountain ridges, and layers of fall color can turn an already beautiful landscape into something much more atmospheric.

The Taftsville Covered Bridge
Then Slow Down in Woodstock
Woodstock is where Vermont starts feeling more intimate.
The landscape becomes less about huge mountain vistas and more about farms, villages, covered bridges, quiet roads, and reflections.
The Middle Covered Bridge sits right in town, crossing the Ottauquechee River. In fall, the surrounding trees can reflect beautifully in the water.
Then get out of Woodstock and start driving.
Jenne Farm gives you the classic Vermont combination of red barns, rolling fields, and autumn hillsides.
Kent Pond and Lake Bomoseen are completely different again. On a calm morning, the water can turn into a mirror.
Lake Bomoseen is actually one of my favorite places in this part of Vermont. Early morning fog combined with reflections and fall color gives you endless ways to build a composition.
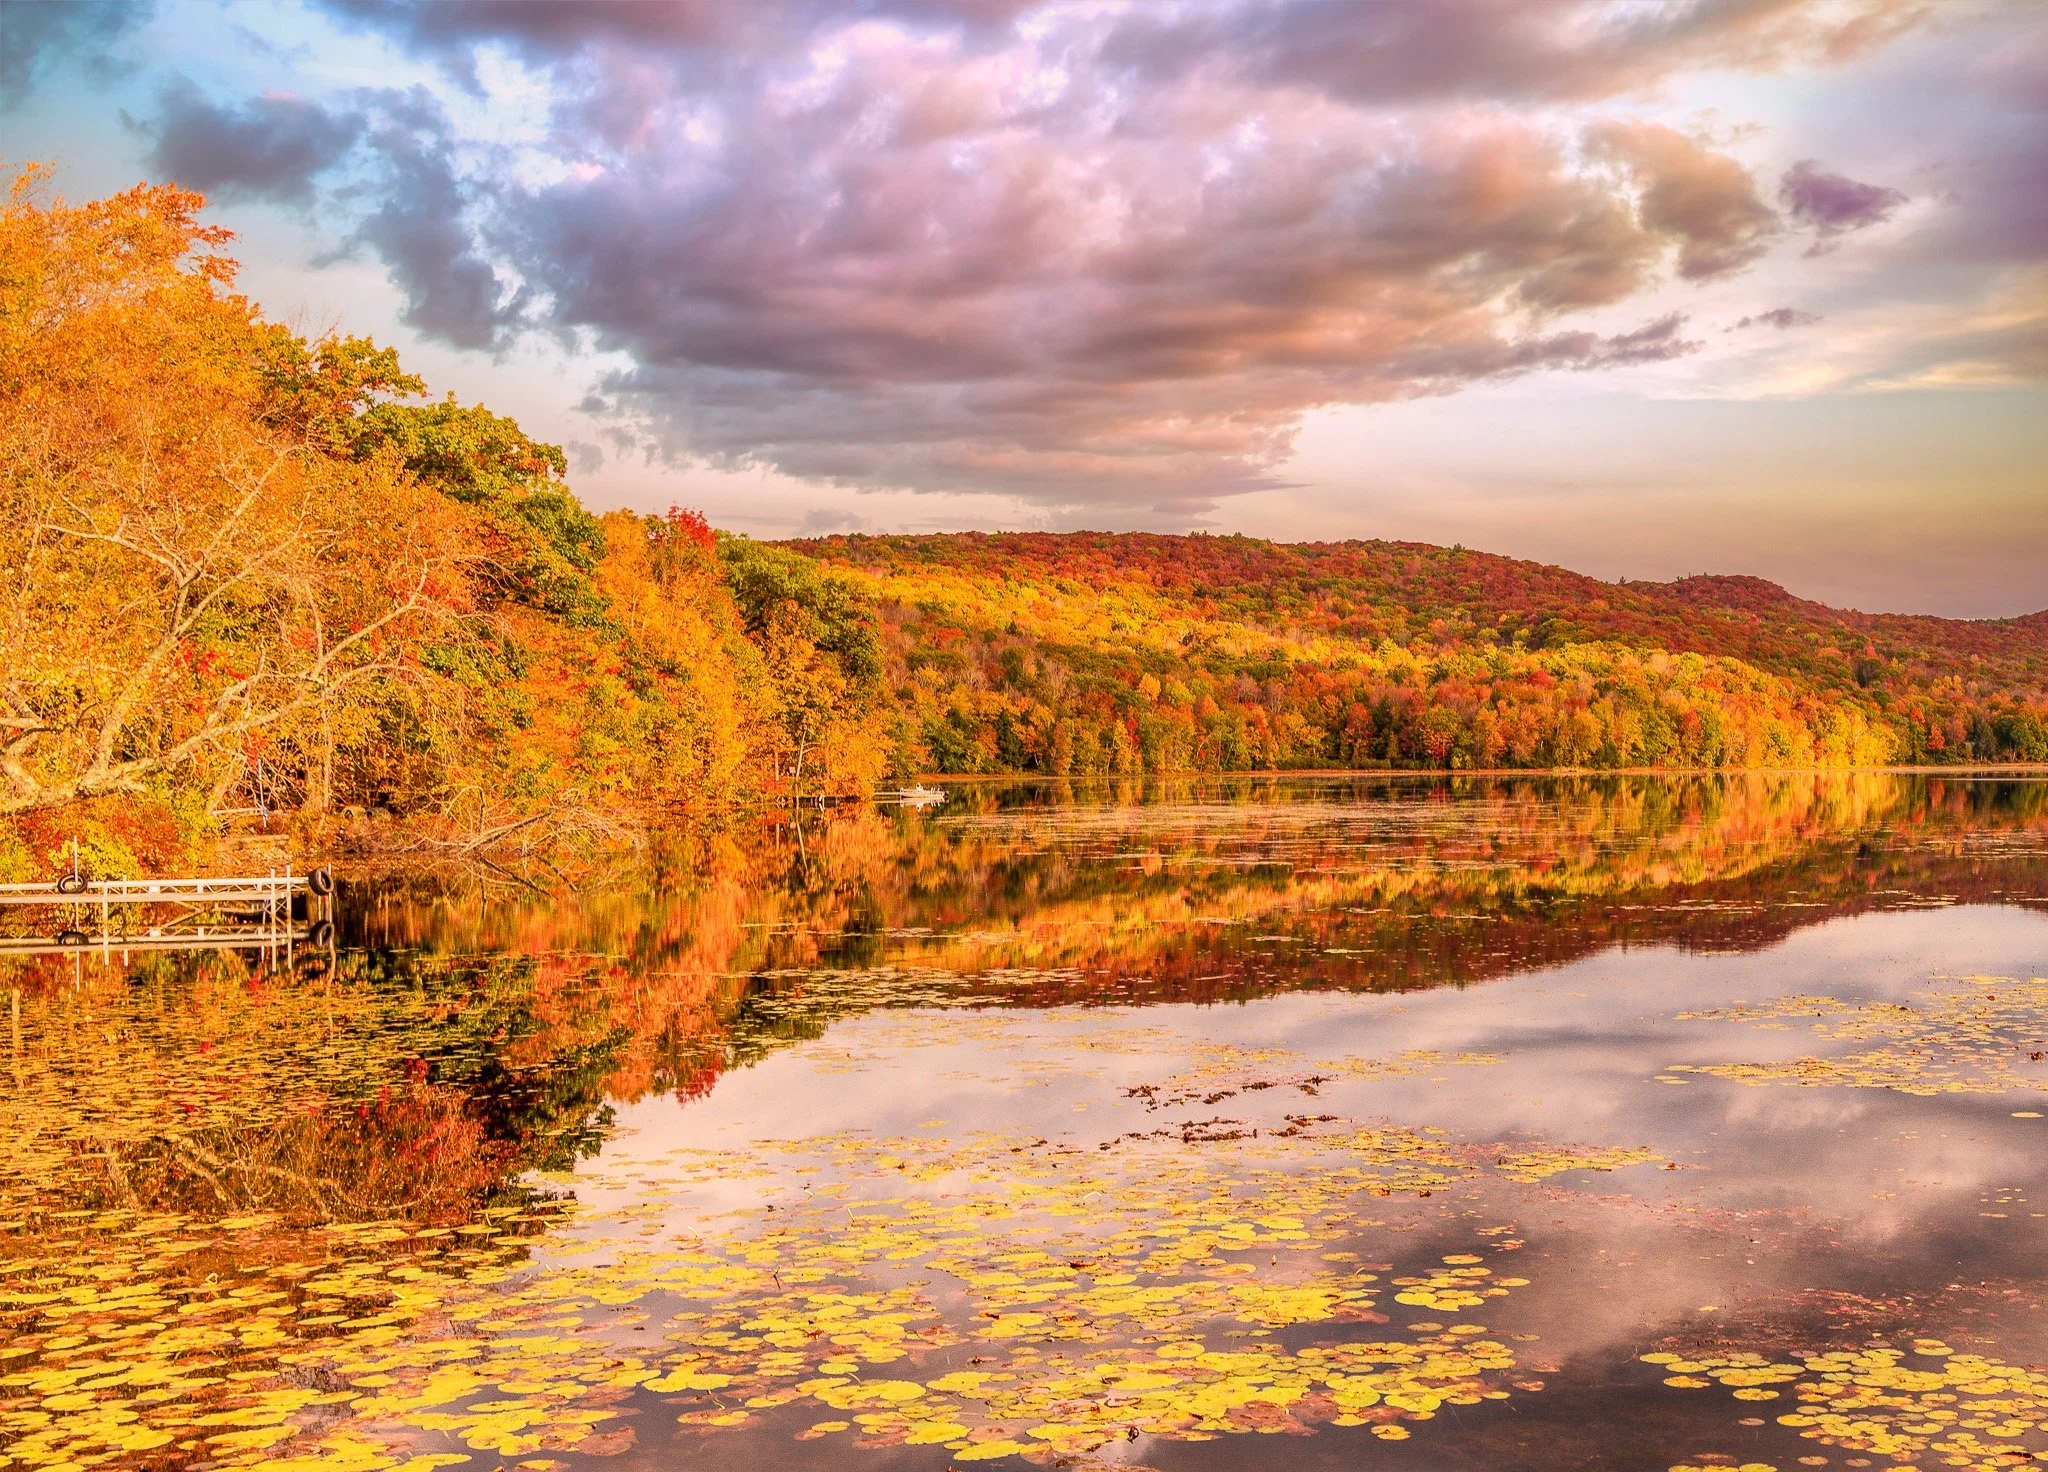
Lake Bomoseen
Take the Roads That Are Not on Your List
This may be the most important photography advice I can give you for Vermont.
Drive down the small roads.
Seriously.
Some of the best photographs I have made here were not locations I had researched beforehand.
I would turn onto a farmer's road and suddenly find an old barn surrounded by maples, a stone wall disappearing around a corner, or a dirt road glowing in late afternoon light.
That is where Vermont becomes really fun to photograph.
The famous locations are famous for a reason, but if you only drive from one Instagram spot to another, you are going to come home with the same photographs everyone else has.
Slow down.
Follow your curiosity.
And keep the camera somewhere you can actually reach it.
One Important Change for 2026
Be careful about building your itinerary around Sleepy Hollow Farm.
It has become so popular that local communities have restricted access during peak foliage because of traffic, trespassing, and safety issues. For fall 2026, Cloudland Road is scheduled to close to nonresident traffic beginning September 26.
That is actually another reason I would encourage you to explore the back roads instead.
There are countless beautiful farm scenes throughout Vermont that do not require standing beside fifty other photographers.
And you may come home with something genuinely your own.
When I Would Go
I would target late September through roughly the middle of October.
In Stowe, the first two weeks of October are often particularly strong, although peak color changes from year to year. Higher elevations typically turn first, followed by the valleys.
Do not book the entire trip around one supposedly perfect day.
Give yourself several days if you can.
One morning might bring blue skies.
The next might give you fog.
The following afternoon might give you rain, wet roads, and saturated leaves.
For photography, I would rather have that variety than four identical sunny days.
What I Would Bring
I would bring a wide-angle and a 70 to 200mm, but the telephoto might surprise you by becoming your favorite lens.
Use the wide lens for covered bridges, waterfalls, and scenes where the road or foreground helps lead the viewer into the photograph.
Use the telephoto for churches, barns, mountain layers, and small patches of color.
A polarizer is especially useful in Vermont.
Wet leaves can create a lot of glare, and the polarizer can bring some of that color back. It can also help with reflections on ponds and streams.
For waterfalls like Moss Glen Falls and Bingham Falls near Stowe, I would bring a tripod and an ND filter if you want that softer movement in the water.
But do not spend so much time worrying about equipment that you miss what is happening around you.
Vermont rewards photographers who wander.
Some of the best pictures may be the ones you never planned to take.
For more detailed locations, timing, hotels, restaurants, and photography tips, see my complete guides to Stowe, Vermont, and Woodstock, Vermont.
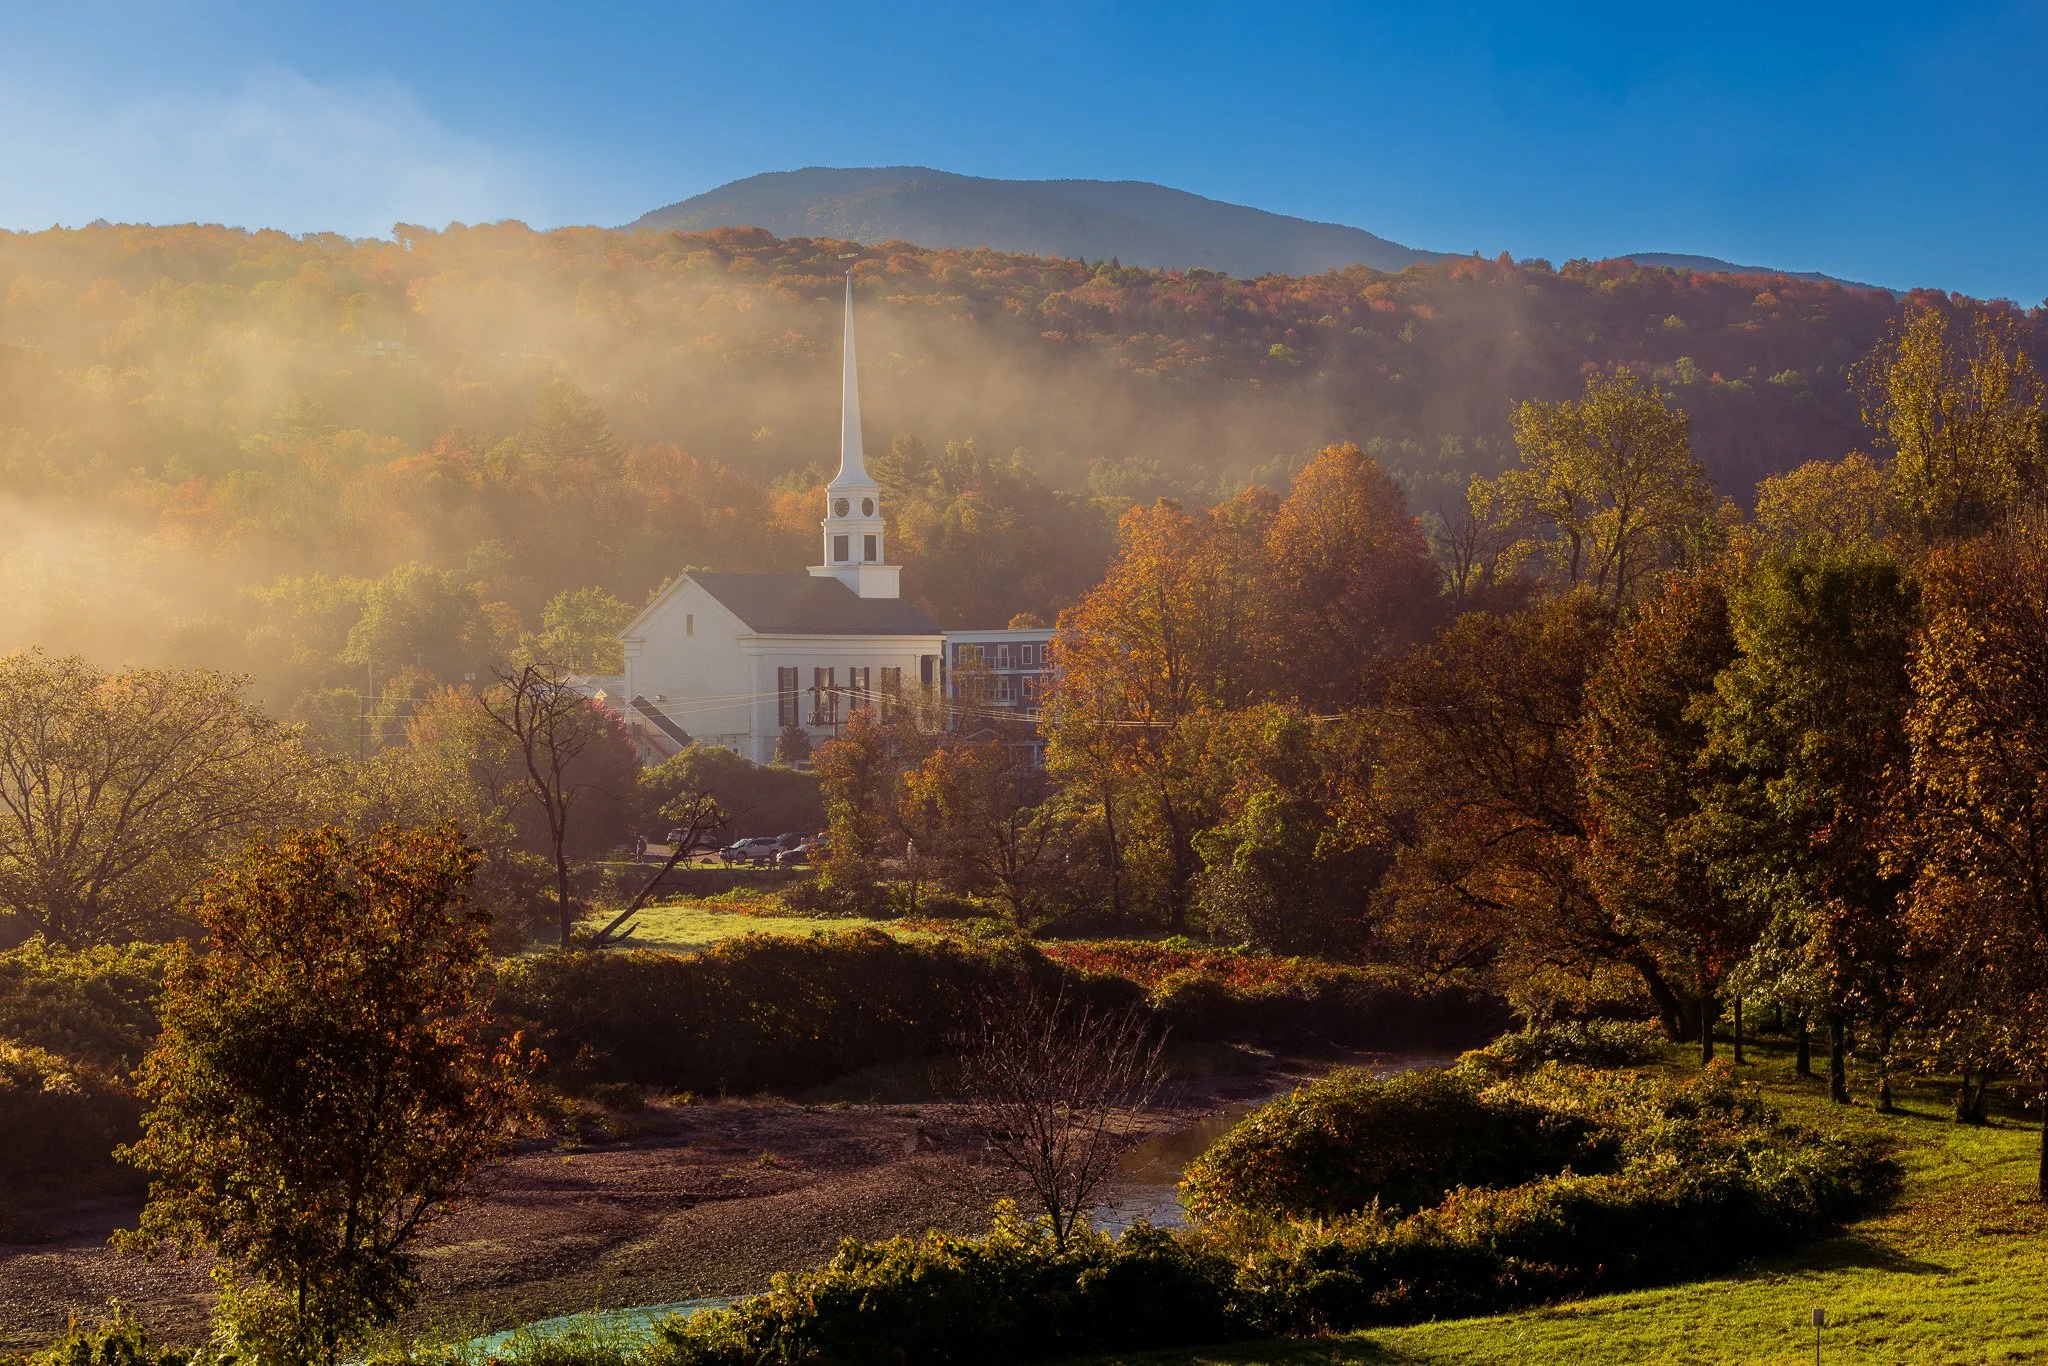
The Church in Stowe
Lofoten Islands, Norway
Lofoten might seem like the odd destination on this list.
That is one of the reasons I wanted to include it.
When most people hear “fall photography,” they immediately think about leaves.
But fall is really about change.
And the transition from summer into fall completely changes how you photograph Lofoten.
The endless daylight of summer disappears.
Dark nights return.
The crowds thin dramatically.
And you can start chasing the northern lights again.
Why Fall Is So Interesting Here
From around mid September onward, the nights become dark enough for aurora photography.
The period around the September equinox has also historically been associated with increased geomagnetic activity.
At the same time, you may still have some fall color on the lower slopes.
You are getting two very different photographic seasons overlapping one another.
The classic Lofoten aurora photograph combines those green lights with jagged mountains, water, and the red fishing cabins known as rorbuer.
Reine and Hamnøy are photographed constantly for a reason.
They are beautiful.
But I would also spend time around the beaches.
Haukland and Uttakleiv give you a relatively open northern horizon along with mountains, rocks, water, and foreground elements that can all become part of the composition.
During the day, the same peaks and fjords that attract photographers during the midnight sun season are still there.
There are simply fewer people standing beside you.

Photographing the Aurora
A fast wide angle lens is extremely useful.
I would want f2.8 or faster if possible.
You need to gather enough light without leaving the shutter open so long that all the structure in the northern lights turns into a green smear.
A sturdy tripod is not optional.
Bring spare batteries and keep them in an inside pocket.
Cold weather can drain mirrorless batteries surprisingly quickly.
And learn how to change your important camera settings in the dark before you arrive.
The middle of an Arctic night is not the ideal moment to discover that you cannot remember where ISO is hidden in your camera menu.
If you are using an iPhone, put it on a tripod or another completely stable surface and use Night Mode. Manually extend the exposure time when appropriate rather than relying entirely on the automatic setting.
One more thing.
Do not assume that photographing the northern lights automatically means using a thirty second exposure.
The aurora moves.
Sometimes very quickly.
A shorter exposure can preserve far more detail and structure.
Watch the Clouds More Than the Apps
People become obsessed with the Kp index.
I understand why.
But a huge aurora forecast is useless if you are standing underneath a solid layer of clouds.
I would take a Kp of 1 or 2 with a genuinely clear northern sky over a much stronger forecast hidden behind clouds.
Watch the cloud forecast just as closely as the aurora forecast.
Prime aurora viewing is often roughly between 9 PM and 2 AM, with 10 PM to 2 AM frequently considered one of the stronger windows.
During the day, sunrise and sunset again become your most useful photography periods. Unlike summer, when the days seem endless, autumn offers much more manageable golden-hour opportunities.
Give Yourself Time
Weather is the real limitation in Lofoten.
Not darkness.
The weather can change incredibly quickly.
I would build at least three to five nights into the trip if photographing the aurora matters to you.
If you travel all the way to northern Norway for one night and clouds roll in, there is not much you can do.
September and October are shoulder season, so you also benefit from fewer tourists and often lower accommodation prices than summer.
Many hiking trails remain accessible into late October, depending on conditions.
But make no mistake, this is the Arctic.
Bring proper layers and wind protection.
Lofoten does not gently ease into autumn the way many temperate destinations do.
I keep returning to Lofoten because it rewards patience. My Lofoten Islands photography guide covers the villages, beach access points, and the way I plan around weather windows rather than trying to force a rigid itinerary.

The Dragon’s Eye rock formation at Uttakleiv Beach, one of Lofoten’s most recognizable coastal compositions.
I go back to Lofoten specifically for this season. My Lofoten Islands photography guide breaks down the villages, the beach access points, and how I plan around weather windows rather than a fixed itinerary.

Jagged mountains, quiet fjords, and traditional fishing cabins in Norway’s Lofoten Islands.
Continue Planning Your Next Photography Adventure
Bergen, Norway — If Lofoten has you thinking about Norway, Bergen makes a natural pairing. My guide covers the colorful harbor district and how to work around the city's famously unpredictable weather.
Shenandoah National Park, Virginia — For a fall foliage destination closer to the East Coast without the New England crowds, Shenandoah's Skyline Drive is worth the detour. The guide covers overlook timing and the best ridgeline compositions.
Antelope Canyon & Horseshoe Bend, Utah — If Santa Fe's high desert light appealed to you, this guide covers the permit process and light timing for two of the Southwest's most photographed formations.
Interlaken, Switzerland — For more alpine photography beyond the Dolomites, Interlaken's guide covers the Swiss Alps in a different light and architectural context.
Copenhagen, Denmark — Another strong entry point into Scandinavian photography if the Lofoten trip has you wanting to extend into a city stop.
What Camera Gear Would I Bring for Fall Photography?
If I could only take one lens across all five destinations, I would probably choose something in the 24 to 70mm range.
It can handle the Maine coastline, New Hampshire overlooks, Dolomites landscapes, and Santa Fe's mix of architecture and mountains.
But if there is room in the bag, I would absolutely add a 70 to 200mm.
This may be the lens photographers underestimate most for landscape photography.
It lets you simplify a chaotic landscape, isolate patches of color, compress mountain layers, and create photographs that look completely different from the obvious wide-angle view.
It is particularly valuable in the White Mountains and Dolomites.
A polarizer would also be in my bag for four of these five locations.
It can reduce glare on wet foliage and granite and add contrast between golden trees and blue skies.
For the northern lights in Lofoten, take it off.
You want every bit of available light reaching your sensor.
What About a Drone?
A drone can open up interesting possibilities around coastlines and mountain passes because you can show the relationship between color and terrain in ways that are difficult from ground level.
But this is also where you need to do your homework.
Drone regulations change, and national parks and some alpine areas have significant restrictions.
Check the current local regulations for the exact place where you plan to fly before launching.
Do not assume that because you see somebody else's drone photograph online, you can legally make the same photograph today.
Do Not Underestimate the Cold
Cold weather matters at almost every location on this list.
Lofoten and the Dolomites especially deserve proper base layers and a windproof outer shell.
Bring extra camera batteries and keep them warm in an inside pocket when temperatures drop.
And remember that sunrise and sunset times can shift significantly over the course of a two-month fall season.
Do not rely on the time you found in somebody's blog post from last year.
Check the exact sunrise, sunset, and twilight times for your location and your dates.
The Most Important Fall Photography Tip
If I could give you only one piece of advice when planning a fall photography trip, it would be this:
Do not become obsessed with perfection.
Yes, timing matters.
Of course you want great color.
But wonderful photographs do not suddenly begin when a foliage website declares a destination “peak.”
A few green trees mixed with orange ones can give you contrast.
Fog can completely transform a mountain landscape.
Rain can saturate colors and create reflections.
An early snowstorm in the Dolomites can turn an ordinary autumn landscape into something unforgettable.
Look for conditions rather than perfection.
And when you arrive at one of these places, do not simply make the photograph you have already seen a thousand times on Instagram.
Walk farther.
Change your lens.
Move twenty feet.
Look behind you.
Wait for something to happen.
Try a composition that does not work.
Then try another one.
Find the photograph that made you stop and look in the first place.
Because the goal is not to come home with somebody else's famous photograph.
It is to come home with yours.
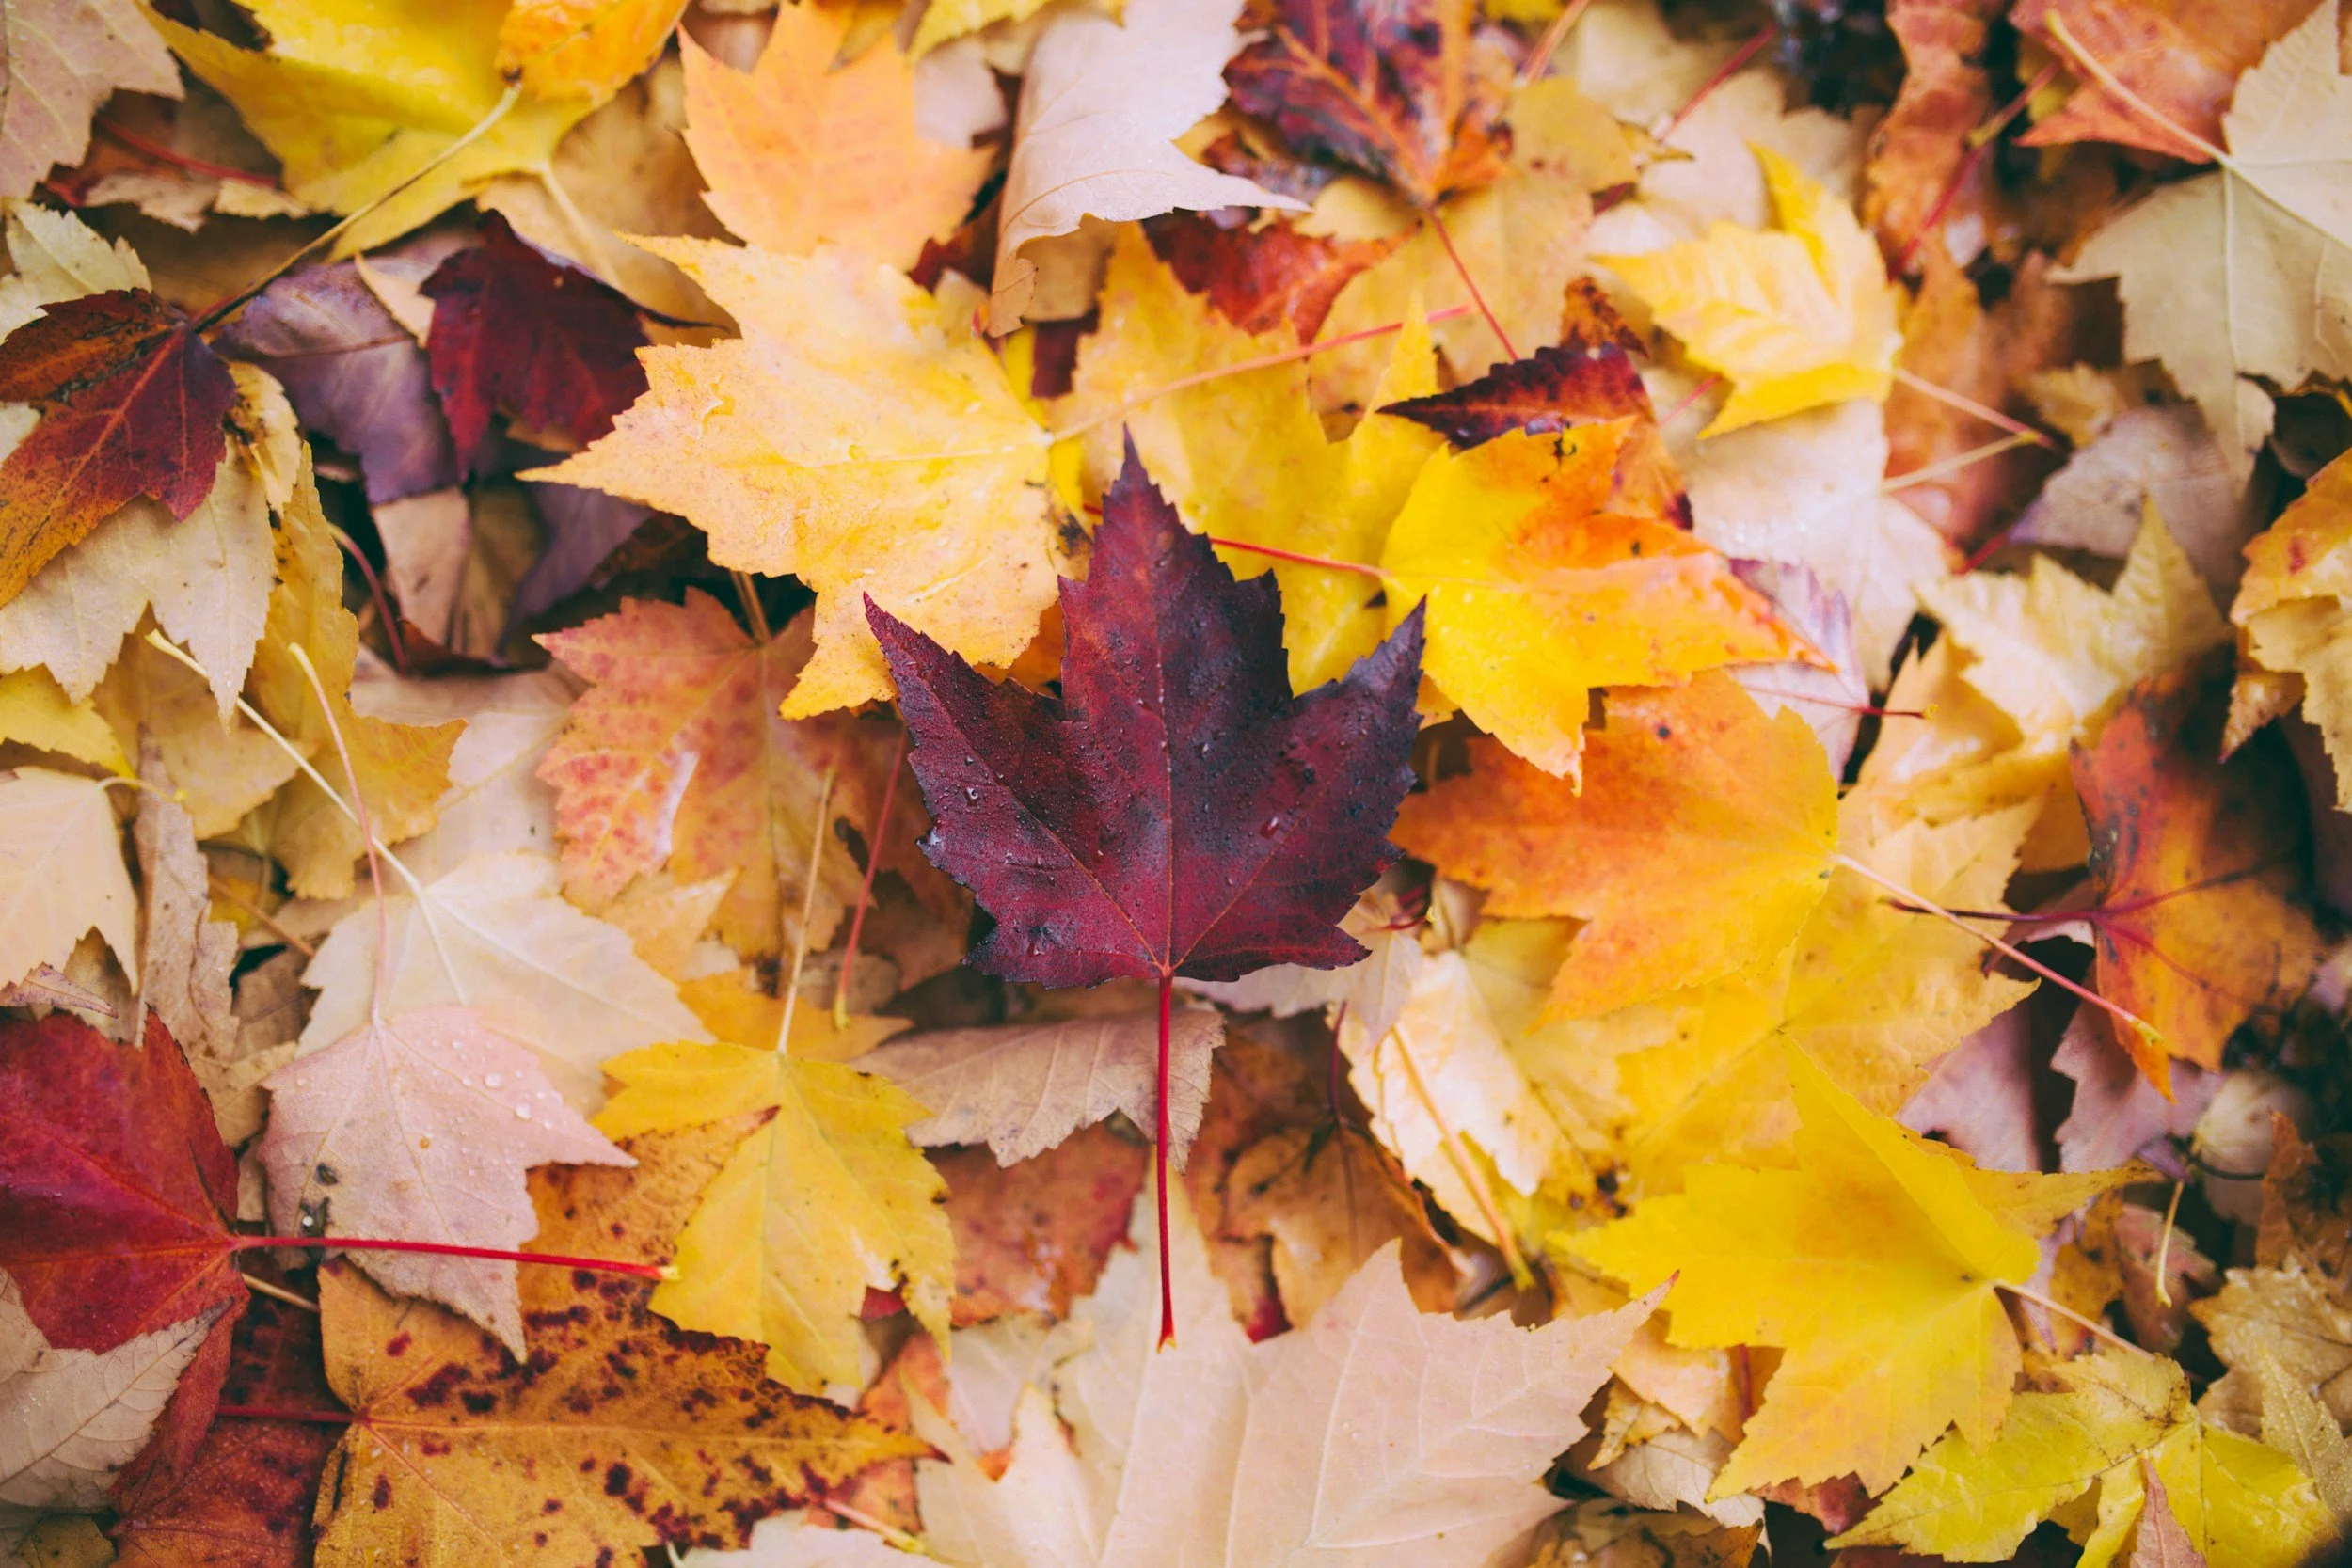
Washington DC in Georget
Frequently Asked Questions
What is the best month to see fall foliage in New England? Peak color in both Acadia and the White Mountains typically lands in the second or third week of October, though it varies year to year based on weather. Check a live regional foliage tracker the week before you travel rather than booking around a fixed calendar date.
When do the larch trees turn gold in the Dolomites? Larch color usually runs from late September through late October depending on elevation, with peak intensity most often falling in the last week of September through the first two weeks of October. Higher elevations turn first.
Is fall a good time to see the northern lights in Norway? Yes. September and October are genuinely strong aurora months in Lofoten, with the September equinox statistically associated with higher geomagnetic activity, on top of longer nights than summer and milder conditions than deep winter.
Do I need a permit to photograph in Acadia National Park? No permit is required for personal photography, but Cadillac Summit Road requires a timed vehicle reservation through late October during peak season, and it sells out, so book that ahead of your trip.
What lens should I bring for fall foliage photography? A mid-range zoom (24-70mm) covers most foliage compositions, but a telephoto (70-200mm) is what actually compresses distant ridgelines and ranked mountain layers, which is often the more distinctive fall image.
When do the aspens change color in Santa Fe? Peak color generally runs late September into mid-October at higher elevations like the Santa Fe ski basin, with lower-elevation spots like Hyde Memorial State Park peaking one to two weeks later.
Is the Kancamagus Highway open year-round? Yes, but services along the route are extremely limited, no gas stations for the full 34.5 miles, so fuel up and eat before you start driving, especially during fall when you'll want to stop often.
How many nights should I plan in Lofoten to see the aurora? Three to five nights meaningfully improves your odds, since clear skies, not darkness, are the real limiting factor. A single-night stop leaves you at the mercy of one night's weather.
Do I need a tripod for fall photography? For aurora work in Lofoten, yes, it's not optional. For daytime foliage and landscape work elsewhere on this list, a tripod helps with sharpness in low dawn and dusk light but isn't strictly required if you're shooting handheld in brighter conditions.
What's the biggest mistake photographers make planning a fall trip? Booking around a fixed date instead of a window. Foliage and aurora timing both shift year to year based on weather, so build a few days of flexibility into your itinerary rather than locking in one specific date months in advance.
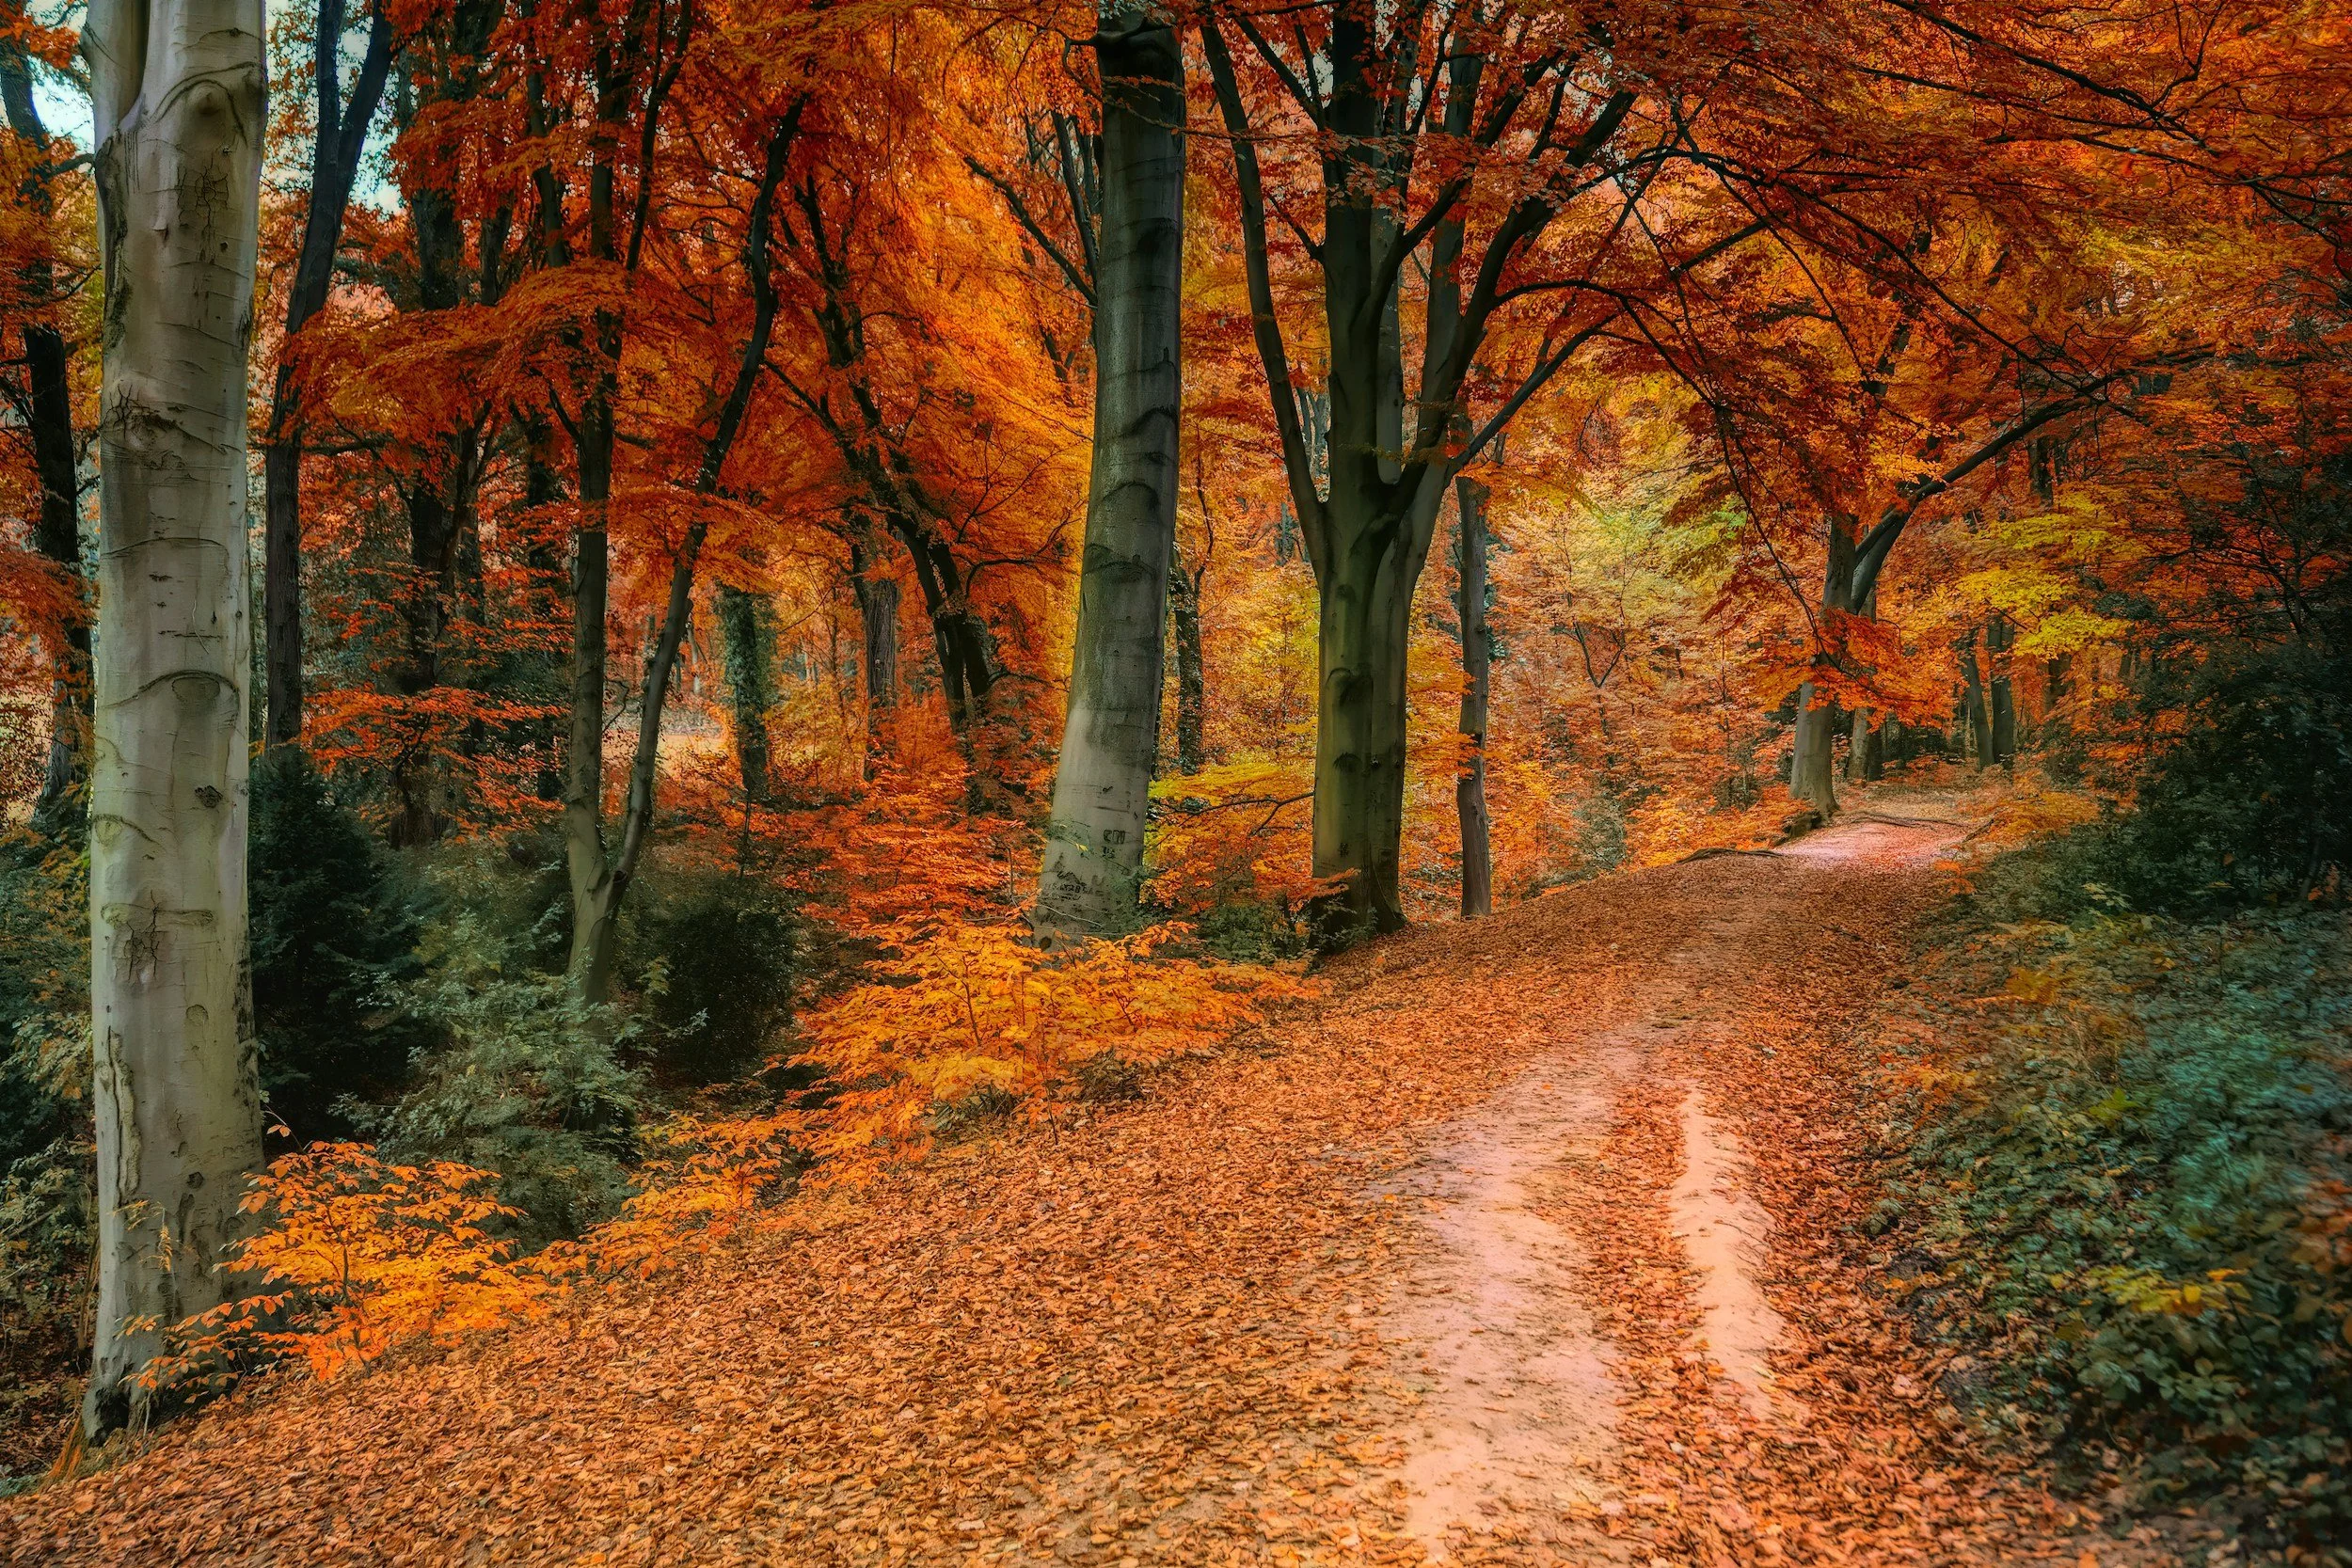
The Backroads of Vermont
Come Join Me in Paris for a workshop in Paris! Details below
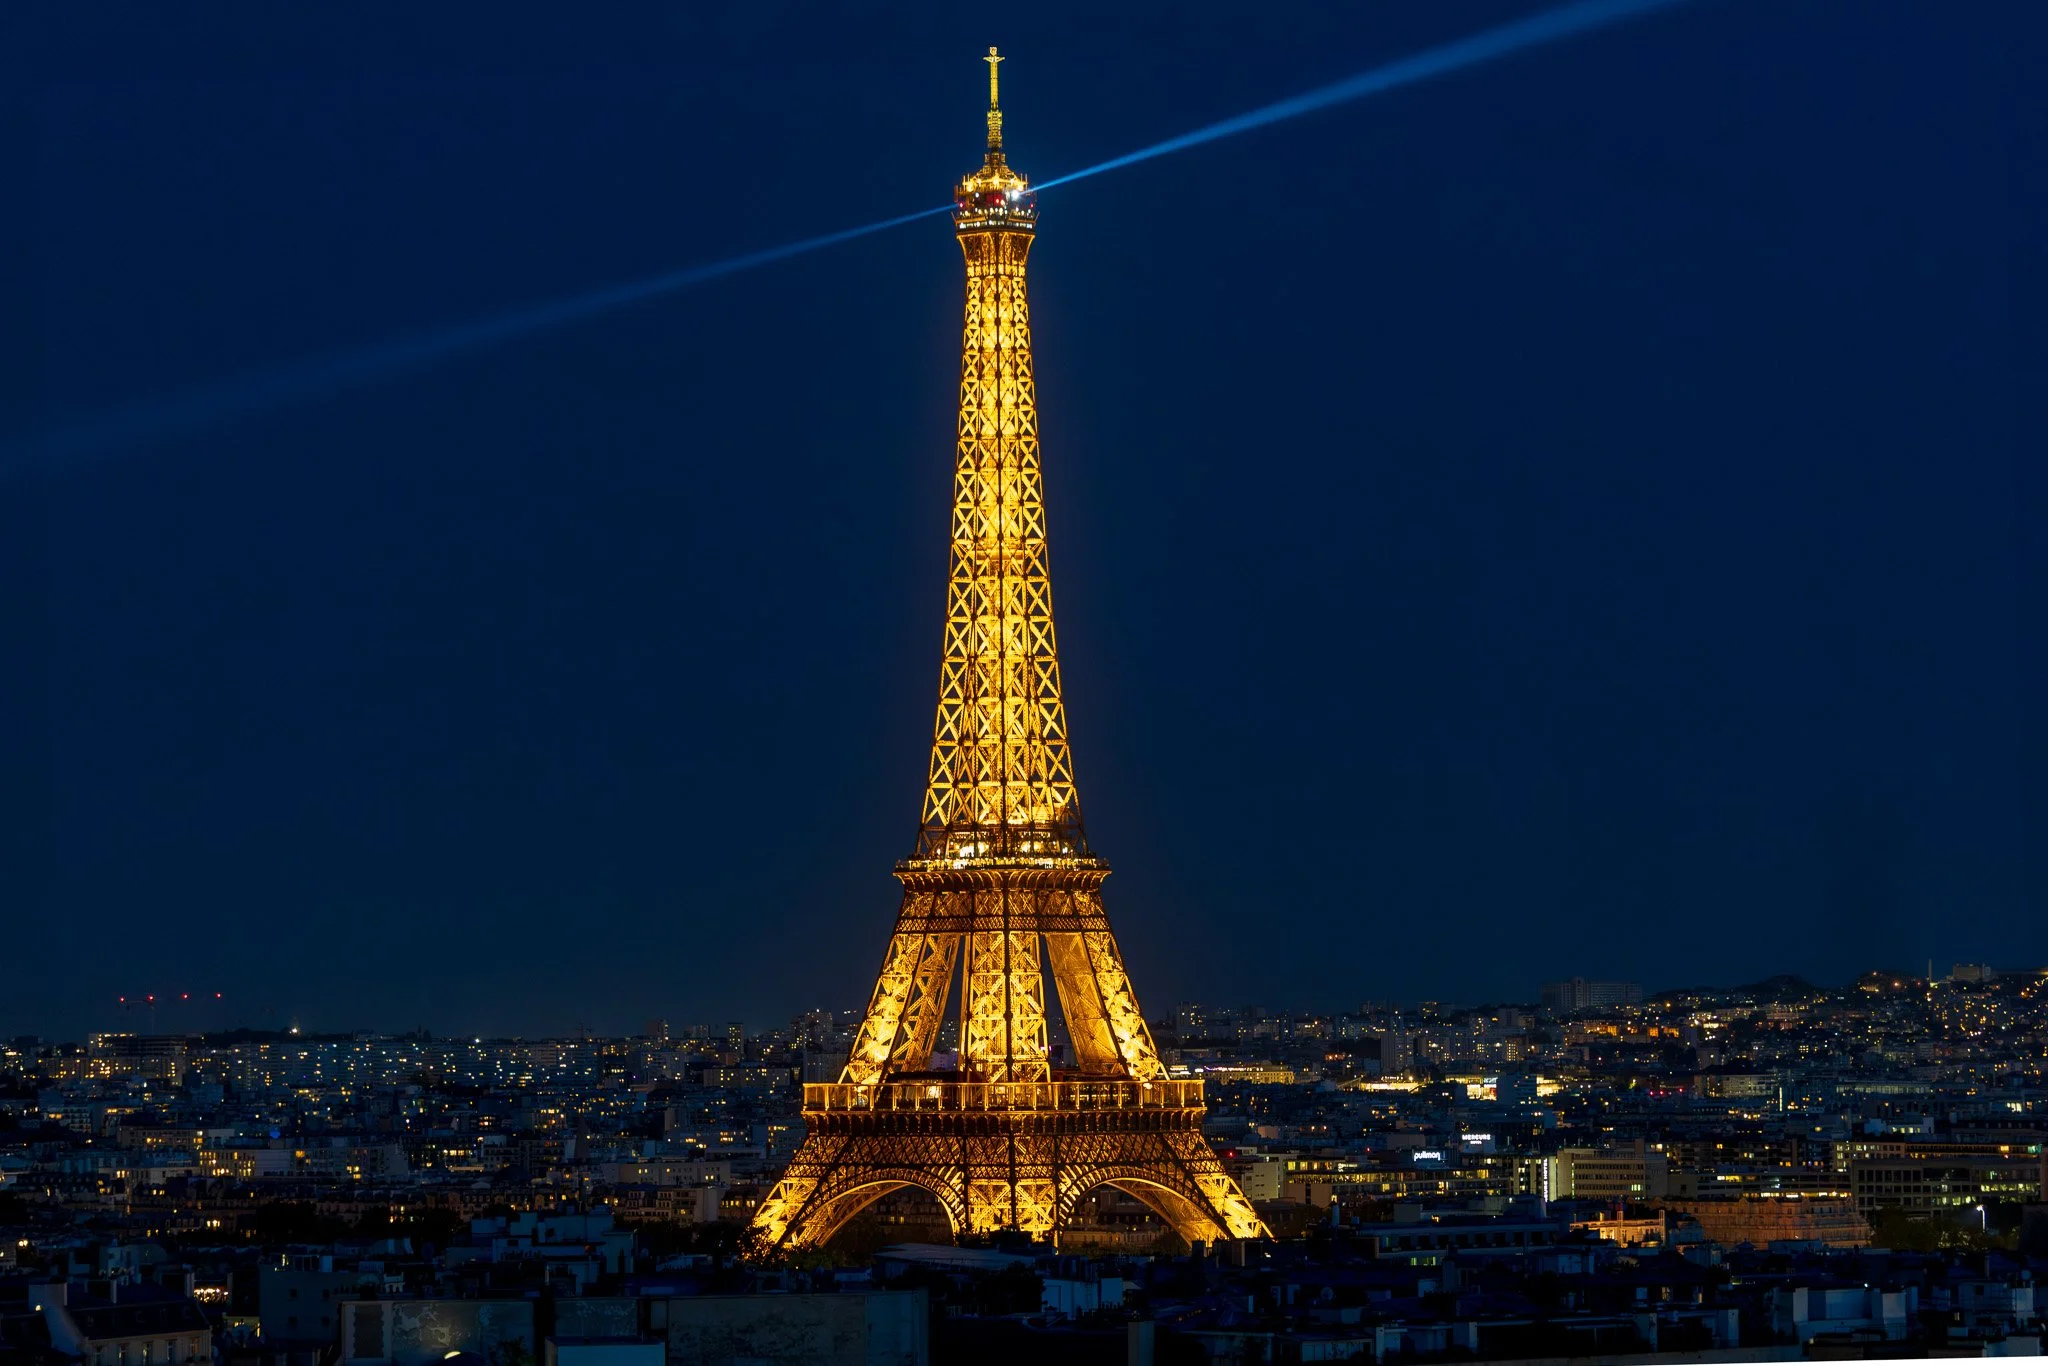
An Intimate 5-Day Photography Retreat
Come join me in Paris for a small-group, hands-on photography workshop in one of the most photogenic cities in the world, designed to genuinely improve how you see, shoot, and edit.
Limited to just 6 photographers, this workshop offers personal instruction and real-time feedback in the field. We will photograph many of Paris’s most iconic locations, along with hidden gems and quieter corners that reveal a different side of the city.
But this workshop is also about experiencing Paris itself. We will make time for French cuisine, neighborhood cafés, local culture, and those moments between shoots that are every bit as much a part of Paris as the photographs we create.
This all-inclusive workshop includes:
Airport Pick-up Upon Arrival
6 nights in a handpicked 4-star boutique hotel (Dames Des Arts). I have reserved the Signature Rooms
Daily breakfast and welcome dinner
All transportation within the workshop itinerary
Entry tickets to all scheduled locations
Rooftop access to the Arc de Triomphe for sunset and night photography
Personal instruction in a group of just 6 photographers
Two pre-trip Zoom sessions covering logistics, gear, and preparation
One post-workshop Zoom to share your favorite images from the trip
Capture the Timeless Beauty of Paris
From the golden light along the Seine to the cobblestone streets of Montmartre, Paris rewards photographers who know where to go and when to be there. Over five days, you will work through the city's most iconic locations at the right time of day, with guidance at every step.
This workshop is designed for photographers of all levels. You will leave with a strong portfolio, sharper technical skills, and real confidence in how you approach a city with your camera.
Before You Arrive | Pre-Trip Zoom Sessions
Your workshop experience starts well before you land in Paris. After you register, you can join two group Zoom calls designed to make sure you arrive confident, prepared, and ready to shoot from day one.
Zoom 1 | 60 Days Before Departure: We cover trip logistics, the daily schedule, what to pack, gear recommendations, and how to prepare your camera settings before you arrive. This is also a great time to meet your fellow participants and ask any questions you have.
Zoom 2 | 7 to 10 Days Before Departure: A final check-in before you board your flight. We go over any last-minute questions, confirm meeting point details, and do a quick weather check so you know exactly what to expect when you land.
Both sessions are recorded and shared with all registered participants.
Daily Schedule
Sunrise sessions are planned throughout the week. Participation is optional and weather-dependent, but these early outings often offer the most atmospheric light of the day.
A Note About the Schedule: This is our planned itinerary, but one of the advantages of a small group is the ability to stay flexible. Our schedule may change based on weather, light, local conditions, special events, or other factors. If better photographic opportunities arise, we may adjust locations or timing to make the most of our time in Paris.
Arrival Day | April 12: Welcome to Paris & Arc de Triomphe
Arrive, check in, and settle into Hôtel Dame des Arts. Take time to rest or explore the neighborhood before we begin.
4:00 PM | Workshop Introduction: We meet as a group to outline the week, cover logistics, discuss our approach to photographing Paris, and answer questions.
Group Dinner: A relaxed dinner together before our first shoot. This gives everyone a chance to get to know one another before we head out with our cameras.
Evening Photography | Arc de Triomphe & Champs Élysées: We will begin at the Arc de Triomphe and Champs Élysées, photographing one of Paris’s most iconic areas from golden hour through blue hour. This first session sets the tone for the week, working with available light, strong compositions, and precise timing.
Day 1 | April 13: Eiffel Tower, Opéra District, Tuileries & Louvre
Sunrise Photography | Eiffel Tower, Trocadéro, Avenue de Camoëns & Bir Hakeim: We will photograph the Eiffel Tower at first light, before the crowds arrive, working with several very different perspectives of Paris’s most recognizable landmark.
Breakfast and Free Time: Return to the hotel, recharge, download images, or enjoy the neighborhood.
After Breakfast | Musée Gustave Moreau, Palais Garnier & Galeries Lafayette: We will head to the Musée Gustave Moreau, followed by Palais Garnier and Galeries Lafayette. This part of the day gives us a mix of intimate interiors, grand architecture, details, and elevated city views, with plenty of opportunities to work on composition and photographing indoors.
Afternoon Break: Return to Hôtel Dame des Arts for some downtime, image review, battery charging, or simply a little rest.
Group Dinner
Evening Photography | Louvre Pyramids & Tuileries Garden: In the evening, we will photograph the Louvre Pyramids and Tuileries Garden, working from golden hour into blue hour. This session is ideal for practicing architectural composition, reflections, symmetry, and long exposures as the city lights begin to come on.
Day 2 | April 14: Pont des Arts, Palais Royal, Rodin & Pont Alexandre III
Sunrise Photography | Pont des Arts, Louvre & Seine Riverbank: We will begin the morning at Pont des Arts, then work our way toward the Louvre and along the Seine Riverbank. This session focuses on soft morning light, reflections, leading lines, and finding strong compositions before the city gets busy.
Breakfast and Free Time
After Breakfast | Palais Royal, Colonnes de Buren, Galerie Vivienne & Musée Rodin: We will photograph Palais Royal and the Colonnes de Buren, then continue to the elegant Galerie Vivienne before heading to the Musée Rodin and its gardens. This session gives us a great mix of architecture, symmetry, interior details, sculpture, and garden photography.
Afternoon Break: Time at the hotel to rest, review images, or work on photographs from the first two days.
Group Dinner
Evening Photography | Pont Alexandre III & Invalides: In the evening, we will photograph Pont Alexandre III and the Invalides area from golden hour into blue hour. This session gives us excellent opportunities to work with symmetry, leading lines, reflections, city lights, and long exposures along the Seine.
Workshop Day 3 | April 15: Montmartre & Paris Street Art
Early Morning Photography | Montmartre: We will begin in Montmartre before the neighborhood gets busy, photographing Rue de l'Abreuvoir, La Maison Rose, Le Consulat, the Montmartre stairways, and the Lamarck area. Along the way, we will also spend time on street photography, using the quieter morning streets to work on composition, layers, people, and the character of the neighborhood.
Breakfast and Free Time
After Breakfast | 13th Arrondissement Street Art: We will head to the 13th Arrondissement to photograph some of Paris’s most impressive large-scale street art and murals. This session will focus on color, graphic composition, scale, storytelling, and how to photograph urban art in a way that incorporates the surrounding environment rather than simply documenting a mural.
Afternoon Break: Return to the hotel for some downtime and image review.
Group Dinner
Evening Photography | Flexible Location: We will keep this evening flexible so we can respond to the weather, light, and the group’s energy. Depending on conditions, we may return to the Eiffel Tower, Pont Alexandre III, or another location that offers the best photographic opportunities that evening.
I like keeping this one flexible. By Day 3, you will know which locations deserve another look and where the weather may have worked against you earlier in the week.
Workshop Day 4 | April 16: Notre Dame, Île Saint Louis, Pont Neuf, Latin Quarter & Luxembourg Gardens
Sunrise Photography | Notre Dame & Île Saint Louis: We will begin the morning photographing Notre Dame and the Seine before crossing onto Île Saint Louis. This session will focus on soft morning light, reflections, quiet streets, architectural details, and finding strong compositions before this part of Paris gets busy.
Breakfast and Free Time
After Breakfast | Notre Dame Interior, Sainte Chapelle, Place Dauphine, Latin Quarter & Luxembourg Gardens: We will explore the interior of Notre Dame before continuing to Sainte Chapelle, Place Dauphine, the Latin Quarter, and Luxembourg Gardens. This session gives us a mix of dramatic interiors, historic architecture, quiet squares, gardens, and street photography, with plenty of opportunities to work on light, detail, composition, and storytelling.
Afternoon Break: Return to Hôtel Dame des Arts to rest and prepare for the evening session.
Group Dinner
Evening Photography | Pont Alexandre III, Eiffel Tower & Champ de Mars: In the evening, we will photograph Pont Alexandre III before continuing toward the Eiffel Tower and Champ de Mars. This session will focus on golden hour, blue hour, city lights, reflections, and long exposure techniques, while giving us another chance to photograph some of Paris’s most iconic views under changing evening light.
Workshop Day 5 | April 17: Louvre, Le Marais & Final Night in Paris
Sunrise Photography | Louvre Pyramids & Seine Riverbank: We will return to the Louvre early in the morning when the area feels completely different from our evening session earlier in the week. We will photograph the pyramids, surrounding architecture, and Seine Riverbank while working with soft morning light, symmetry, reflections, and cleaner compositions before the crowds arrive.
Breakfast and Free Time
Late Morning | Le Marais, Hôtel de Sully & Place des Vosges: We will spend the late morning exploring one of Paris’s most photogenic neighborhoods. Rather than moving from monument to monument, this session will focus on finding photographs in everyday Paris, historic streets, architecture, cafés, storefronts, people, details, and the quieter moments that give a neighborhood its personality.
Lunch & French Culture: We will slow things down over lunch and enjoy the food and atmosphere that make Paris such a special place to experience and photograph.
Afternoon Break: Back at the hotel, we will spend dedicated time working through images from the week. We will discuss selections, composition, editing choices, Lightroom techniques, and how to take a strong image from capture through the final edit.
Final Group Dinner: Our last dinner together and a chance to look back at the week.
Final Evening Photography | Photographer’s Choice: We will use our final evening to respond to the weather conditions and what we have learned throughout the week. We may return to the Eiffel Tower, Notre Dame, Pont Alexandre III, the Seine, or another favorite location.
Rather than forcing one predetermined location, this final session can also give participants an opportunity to revisit a subject they want to photograph differently after everything they have learned during the workshop.
Departure Day | April 18
Enjoy breakfast at your own pace before checking out of Hôtel Dame des Arts and heading home.
There is no formal photography session scheduled for departure morning. Anyone who wants one final walk with a camera can certainly head out, but I would keep this morning relaxed.
Participants leave Paris with new photographs, stronger photography skills, a better understanding of editing and composition, and, hopefully, a few new friendships.
After the Workshop | Post-Trip Zoom
About two to three weeks after we get home, we reconvene on Zoom for one last session together. Everyone shares their favorite images from the trip. No critiques, no pressure. Just a group of photographers who spent five days shooting Paris together, showing each other what they came away with. It is always one of the best parts of the whole experience.
Meet Your Instructor
Vito L. Tanzi is an internationally published travel and wildlife photographer, author, and educator based in Washington, DC. He has photographed across more than 75 countries and taught photography workshops and photo walks for students ranging from beginners to working professionals. His work has appeared in Condé Nast and CNN, among others. Vito teaches with a focus on practical, real-world technique, and his goal is simple: help you leave better than you arrived. He is also fluent in French and Italian, and speaks Spanish and Arabic.
What You Will Learn
How to read and use natural light in urban environments
Camera settings for golden hour, blue hour, and low-light shooting
Composition techniques for cityscape and architectural photography
Long exposure techniques for motion and light effects
Practical editing in Lightroom and Photoshop
How to develop your own visual style with personalized feedback
Instruction is tailored to your experience level. Questions are always encouraged.
Frequently Asked Questions
How much does the workshop cost? $6,800 USD. This covers the full workshop fee, six nights of hotel accommodations in a private room, airport pickup, daily breakfast and welcome dinner, all transportation within the workshop, and entry tickets to all scheduled locations.
What is the activity level? We shoot every day, starting at dawn and wrapping up after sunset. You should be comfortable walking with a camera bag and standing for extended periods. Participants range from their 20s to their 80s. If you have specific mobility concerns, contact us before registering.
Where are we staying? A centrally located 4-star boutique hotel in the heart of Paris near Notre Dame. Most likely, we will be at the Dames Des Arts in the 6th Arrondissement. All participants receive a private room. Full hotel details are provided after registration. Reach out if you have specific questions or preferences.
What should I wear? Paris in late April and early May typically runs between 50°F and 68°F (10°C to 20°C) with a mix of sun and spring showers. Pack comfortable walking shoes, layered clothing, a light jacket, and a rain jacket or small umbrella. Dress is casual but practical for long days outdoors.
Should I bring medications? Pack any prescription medications you take regularly, along with a small supply of personal essentials.
What gear should I bring?
Camera and lenses:
DSLR or mirrorless camera
Wide-angle to medium telephoto lens (16-35mm or 24-70mm)
Telephoto lens (70-200mm)
Support and accessories:
Sturdy tripod
Wireless remote or cable release
Extra batteries and memory cards
Microfiber lens cloth
Rain cover for your camera
Camera backpack
Recommended filters:
Circular polarizer
10-stop ND filter (ND1000)
3-stop and 6-stop ND filters
Tech essentials:
Laptop with Lightroom and/or Photoshop
Battery charger and card reader
USB cables
France travel adapter (Type C/E)
What experience level is required? All skill levels are welcome, from beginners to advanced shooters. Instruction is adapted to where you are. No prior workshop experience is necessary.
What is not included?
Airfare and airport transfers
Visa fees (if applicable)
Early check-in or late check-out
Lunch & Dinners
Alcoholic beverages
Personal expenses and travel insurance
City tax
Tips and gratuities
Can my spouse join? Your spouse is welcome to stay at the hotel (the hotel typically charges a small additional fee for a second guest). They can join us for breakfast and dinner.
To maintain the group dynamic and learning environment, spouses are not permitted to join the sunrise photography sessions. Paris offers no shortage of ways to spend a day, and our afternoon breaks give you time together before the evening shoot.
Spouses or travel companions may occasionally be invited to join an evening photography session, dinner, or a social activity at the workshop leader's discretion.
Participants are responsible for any additional hotel, meal, transportation, admission, or other costs associated with their spouse or companion.
How do I get to the hotel? We will provide an airport transfer to your hotel.
Cancellation and Refund Policy
Your workshop registration reserves one of a limited number of spaces and may result in nonrefundable expenses and commitments made by Chasing Hippoz LLC on your behalf. The following cancellation policy therefore applies:
Deposit and Final Payment
A $1,000 deposit is required to reserve your place in the workshop. The remaining balance is due 90 days before the scheduled workshop start date. If you register within 90 days of the workshop, the full workshop fee is due at the time of registration.
The deposit becomes nonrefundable on January 12, 2027, unless Chasing Hippoz LLC cancels the workshop. During the first 14 days after registration, you may cancel and receive a refund of the deposit, less any nonrefundable payment processing fees actually incurred.
If the remaining balance is not received by the final payment deadline, Chasing Hippoz LLC may cancel your registration and offer your place to another participant. Any refund of amounts already paid will be governed by the cancellation terms below.
Cancellations more than 30 days before the workshop
If you cancel more than 30 days before the scheduled start date and Chasing Hippoz LLC is able to fill your space with another paying participant, you will receive a refund of all amounts paid, less any nonrefundable payment processing fees actually incurred.
If your space cannot be filled, you will receive a refund of all amounts paid, less a $1,000 cancellation fee and any nonrefundable payment processing fees actually incurred.
For purposes of this policy, a space is considered filled when a replacement participant has completed registration and paid the required workshop fee.
Cancellations 30 days or less before the workshop
No refunds will be provided for cancellations made 30 days or less before the scheduled workshop start date.
Travel Insurance
Participants are strongly encouraged to purchase comprehensive travel insurance that includes trip cancellation and interruption coverage. Chasing Hippoz LLC is not responsible for losses resulting from illness, injury, flight disruptions, personal emergencies, or other circumstances that prevent a participant from attending the workshop.
Cancellation by Chasing Hippoz LLC
The workshop requires a minimum of four registered participants. If the minimum enrollment is not reached, Chasing Hippoz LLC may cancel the workshop. If Chasing Hippoz LLC cancels the workshop, participants will receive a full refund of all workshop fees paid to Chasing Hippoz LLC, including the deposit.
Chasing Hippoz LLC is not responsible for airfare, hotels, transportation, travel insurance, visa costs, or other expenses incurred by participants in connection with the workshop. Participants should avoid making nonrefundable travel arrangements and are strongly encouraged to purchase appropriate travel insurance.
If circumstances beyond the reasonable control of Chasing Hippoz LLC materially affect the workshop, including severe weather, natural disasters, civil unrest, government restrictions, transportation disruptions, or similar events, Chasing Hippoz LLC may modify, postpone, relocate, or cancel the workshop. Any refund or credit in such circumstances will take into account amounts that Chasing Hippoz LLC has already paid or committed to third parties and cannot reasonably recover.
Still have questions? Email us at vito@chasinghippoz.com. We are happy to help.